Creamy, tangy raspberry ice cream pops dipped in luscious raspberry-flavored white chocolate and sprinkled with freeze dried raspberries. The perfect sweet treat for summer!
Part popsicle, part ice cream bar, entirely delicious: these white chocolate rapsberry ice cream pops are bursting with bright fruit flavor. They’d be great naked too, although I think the white chocolate coating makes them all the more impressive.
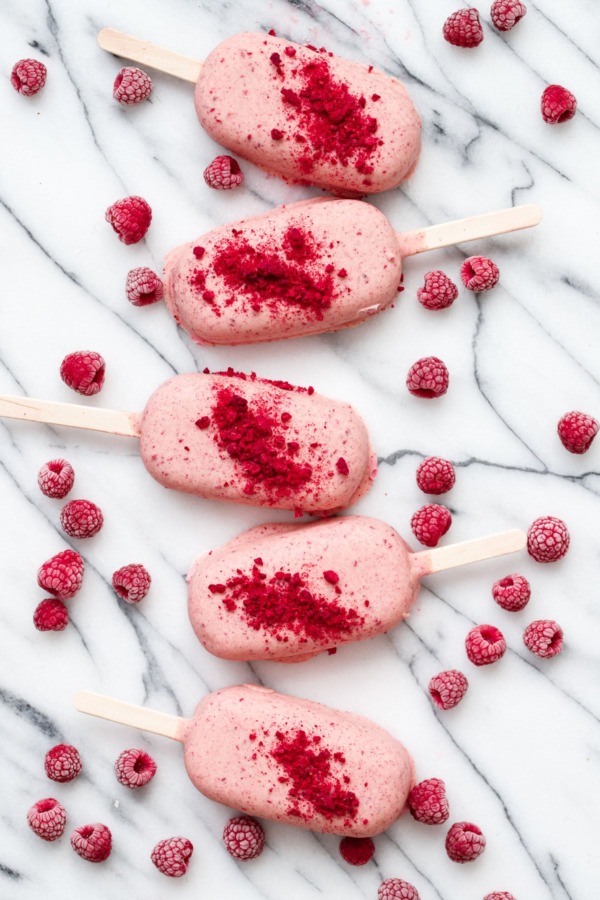
Happy #PopsicleWeek, y’all! Can we just say that I’ll gladly tolerate this ridiculous heat and humidity if it means I can eat popsicles every day.
I set out, on this most wonderful of weeks, to create a creamy fruit popsicle inspired by one of my favorite instagram accounts. I wanted a pop that was bold and fruity and molded into perfectly rounded bars. And bright pink. As pink as a pop can be.
I wanted a creamy consistency, not icy. So the big question is, to churn or not to churn?
I was hoping there’d be a way to get that ice creamy consistency without churning, but alas, even those ‘no churn’ ice cream recipes don’t hold a candle to the real thing. There really is no shortcut or substitute for the controlled freezing of ice crystals (which is what churning does, freezes the ice cream quickly and evenly, creating the smallest ice crystals possible. And smaller ice crystals = creamier ice cream).
The base of these pops is fresh raspberry puree, sugar, cream and buttermilk. The buttermilk is really the secret here, as it perfectly balances the sugar and enhances the tartness of the berries. Liquid yogurt or kefir would likely work as well and achieve the same effect.
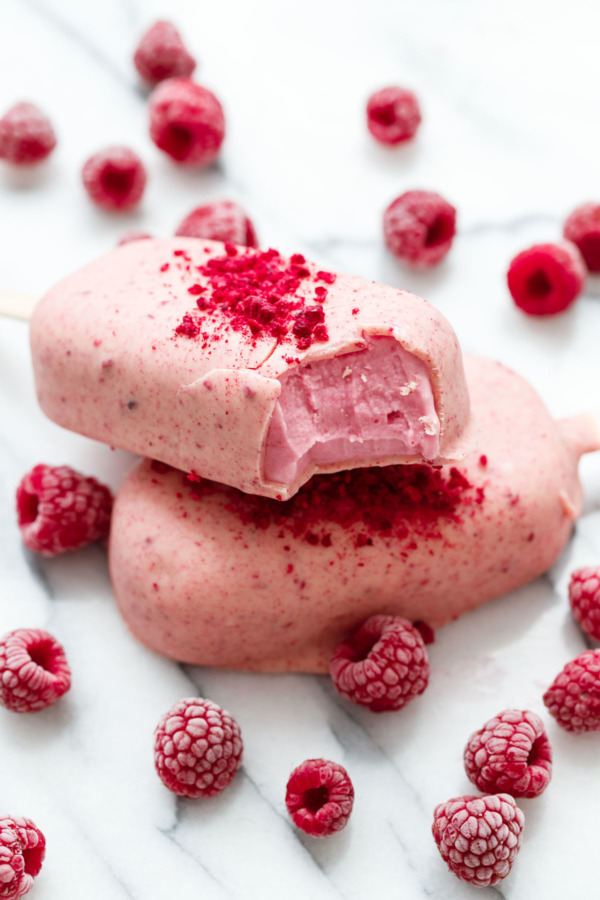
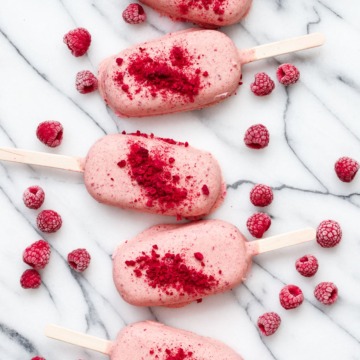
While the raspberry popsicles would be stellar on their own, I dressed them up a bit more by dipping them into raspberry-flavored white chocolate (just white chocolate mixed with crushed up freeze dried raspberries). Granted, I was hoping for a vibrant pepto-pink coating, but the crushed raspberries instead turned the white chocolate a lighter pink with red flecks. I think actual raspberry powder would be finer and would produce a more even shade of pink. Still, they turned out very pretty, even if it wasn’t what I was originally going for.
Now, I know not everyone likes white chocolate. My own husband flat out told me I ruined a perfectly good popsicle by dipping it in the stuff. So know that you can serve these naked and they’re pretty darn awesome.
For me personally though, I love white chocolate and thought it was the perfect compliment to the tart raspberry centers.
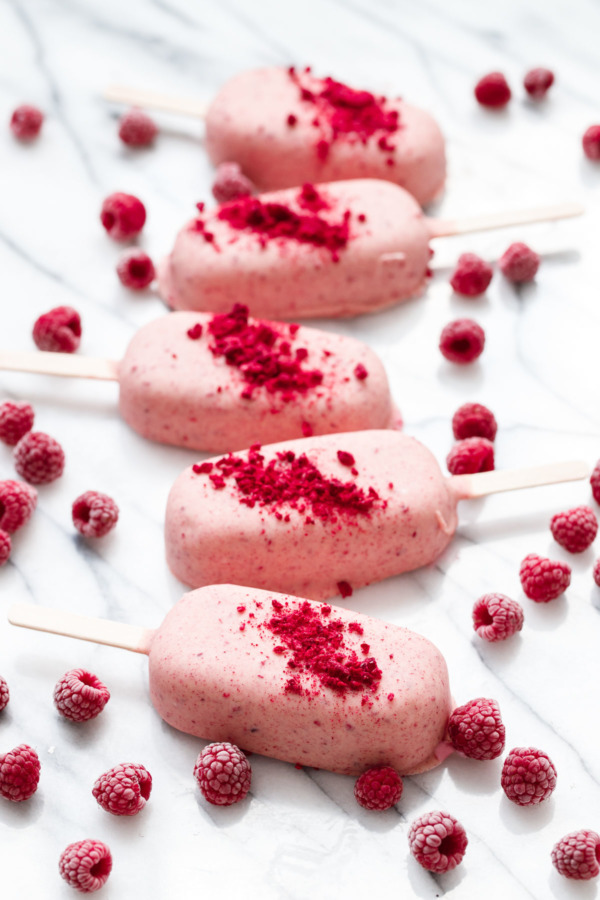
I experimented with both churned and unchurned ice cream bases here. Using the identical recipe, I poured a few pops worth straight into the molds. The rest I chilled overnight and then churned in an ice cream maker before spreading into my molds.
If you want to churn your ice cream, you must use a silicone mold, as it will not work in a standard hard-sided popsicle mold. Trust me, you won’t be able to get the ice cream out of the mold in one piece.
You could use paper dixie cups in a pinch, which can peel away from the ice cream. Or, spread the churned ice cream into a parchment-lined baking pan, freeze solid, then lift out the block of ice cream and cut into bars. Slide the stick into each bar, place on a parchment lined baking sheet and freeze again until the stick is good and stuck in there.
Otherwise, if all you have is a standard popsicle mold and don’t want to use any of my clever workarounds, simply skip the churning step and pour your raspberry base right into the molds. The pops will be more like a standard popsicle texture rather than creamy ice cream, but the flavor is just as good (note you’ll also end up with 1 less popsicle as there’s no air in there!)
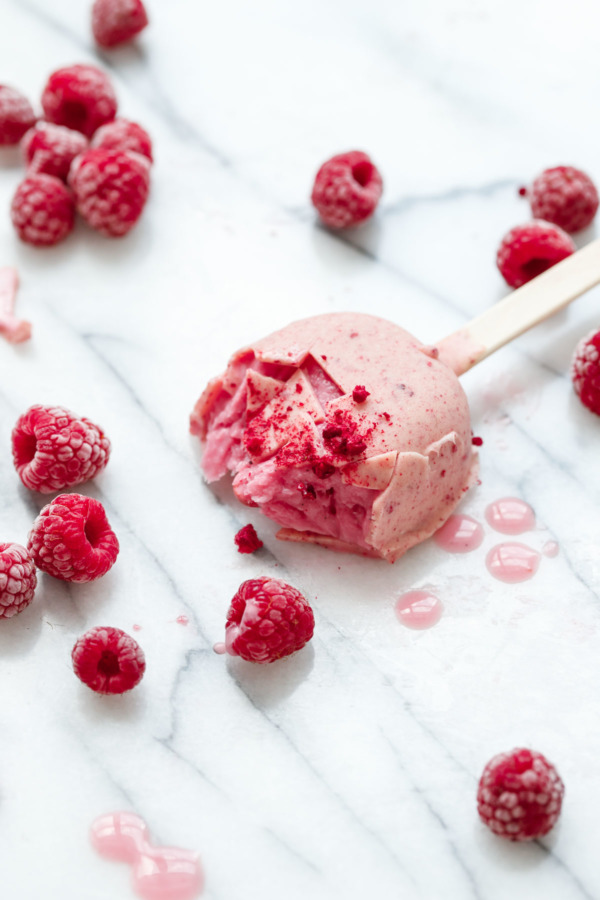
When dipping, pour your melted white chocolate coating into a tall drinking glass. It should be just wide enough for your popsicle to fit into, but not too wide or it won’t be deep enough to dip the full pop.
If you have leftover white chocolate coating (and you likely will, since you need enough coating to dip all your pops fully) – simply pour it out onto a piece of parchment paper or a silicone mat. Sprinkle with leftover freeze dried raspberries and refrigerate until set. Voila! Raspberry white chocolate bark (which, to be honest, is almost good enough to be an entire recipe post in and of itself!)
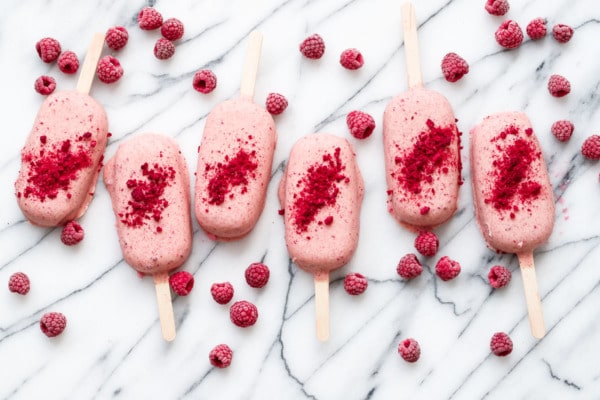
Raspberry White Chocolate Ice Cream Pops
Yield: 5 to 6 popsicles
Prep Time: 30 minutes
Total Time: 24 hours
Creamy, tangy raspberry ice cream pops dipped in luscious raspberry-flavored white chocolate and sprinkled with freeze dried raspberries. The perfect sweet treat for summer!
Ingredients:
- 1 1/2 cups (7 ounces) fresh or frozen raspberries
- 1/2 teaspoon lemon uice
- 3/4 cup (5 1/4 ounce) granulated sugar
- seeds of 1 vanilla bean, or 1 teaspoon vanilla bean extract or paste
- 1/2 cup heavy whipping cream
- 1/2 cup buttermilk
- 12 ounces white chocolate, finely chopped
- 1 tablespoon cocoa butter or vegetable shortening
- 1/2 cup (about 1/2 ounce) freeze dried raspberries
Directions:
- Combine raspberries, lemon juice, sugar and vanilla bean in a saucepan. Bring to a simmer over medium heat, mashing berries as the mixture cooks.
- Strain through a fine mesh sieve, pressing out as much of the liquid as possible. Discard seeds. Let cool to room temperature.
- Add whipped cream and buttermilk; cover, pressing plastic wrap down on the surface of the mixture. Chill for 3 to 4 hours or overnight until completely cooled.
- At this point, if you want to churn your popsicles, pour mixture into an ice cream maker and churn according to manufacturers instructions. Spread into silicone molds (standard popsicle molds will not work with churned ice cream). Alternatively, you can pour chilled raspberry mixture directly into popsicle molds. (Your pops won’t be as creamy, and you’ll end up with 5 pops instead of 6; but the flavor is still quite good!)
- Insert sticks into molds and freeze overnight until firm. Remove pops from molds and arrange on a frozen baking sheet lined with parchment paper. Return to freezer while you prepare the coating.
- Gently melt white chocolate and cocoa butter or shortening in a double boiler or in the microwave in short intervals at half power. When white chocolate is almost melted, remove from heat and allow the residual heat to melt the remaining pieces.
- Grind about half of the freeze dried raspberries in a small food processor or spice grinder until very fine, you should have about 1 1/2 tablespoons of powder. Add to melted white chocolate and stir until incorporated. Coarsely crush the remaining raspberries; these you’ll use to garnish the dipped pops.
- Transfer white chocolate mixture to a tall glass that’s wide enough to fit your pops. Working quickly, remove pops from the freezer and dip each one fully into coating. Return to parchment and sprinkle with crushed raspberries (you only have about 20 seconds to do this before the coating sets, so work quickly!) Repeat with remaining pops. Return to freezer for another hour or two to allow the pops to freeze up firmly once again. Pops will keep in the freezer for up to 2 weeks, optionally wrap individually in plastic wrap to protect from freezer burn.
Did you make this recipe?
Let us know what you think!
Leave a Comment or share a photo on Instagram with the hashtag #loveandoliveoil.
We are a participant in the Amazon Services LLC Associates Program, an affiliate advertising program designed to provide a means for us to earn fees by linking to Amazon.com and affiliated sites.

0 comments