These vegan cherry hand pies are delicious and adorable! The flaky crust and sweet filling of cherry pie in a single, hand-held serving. Great for the holiday season.
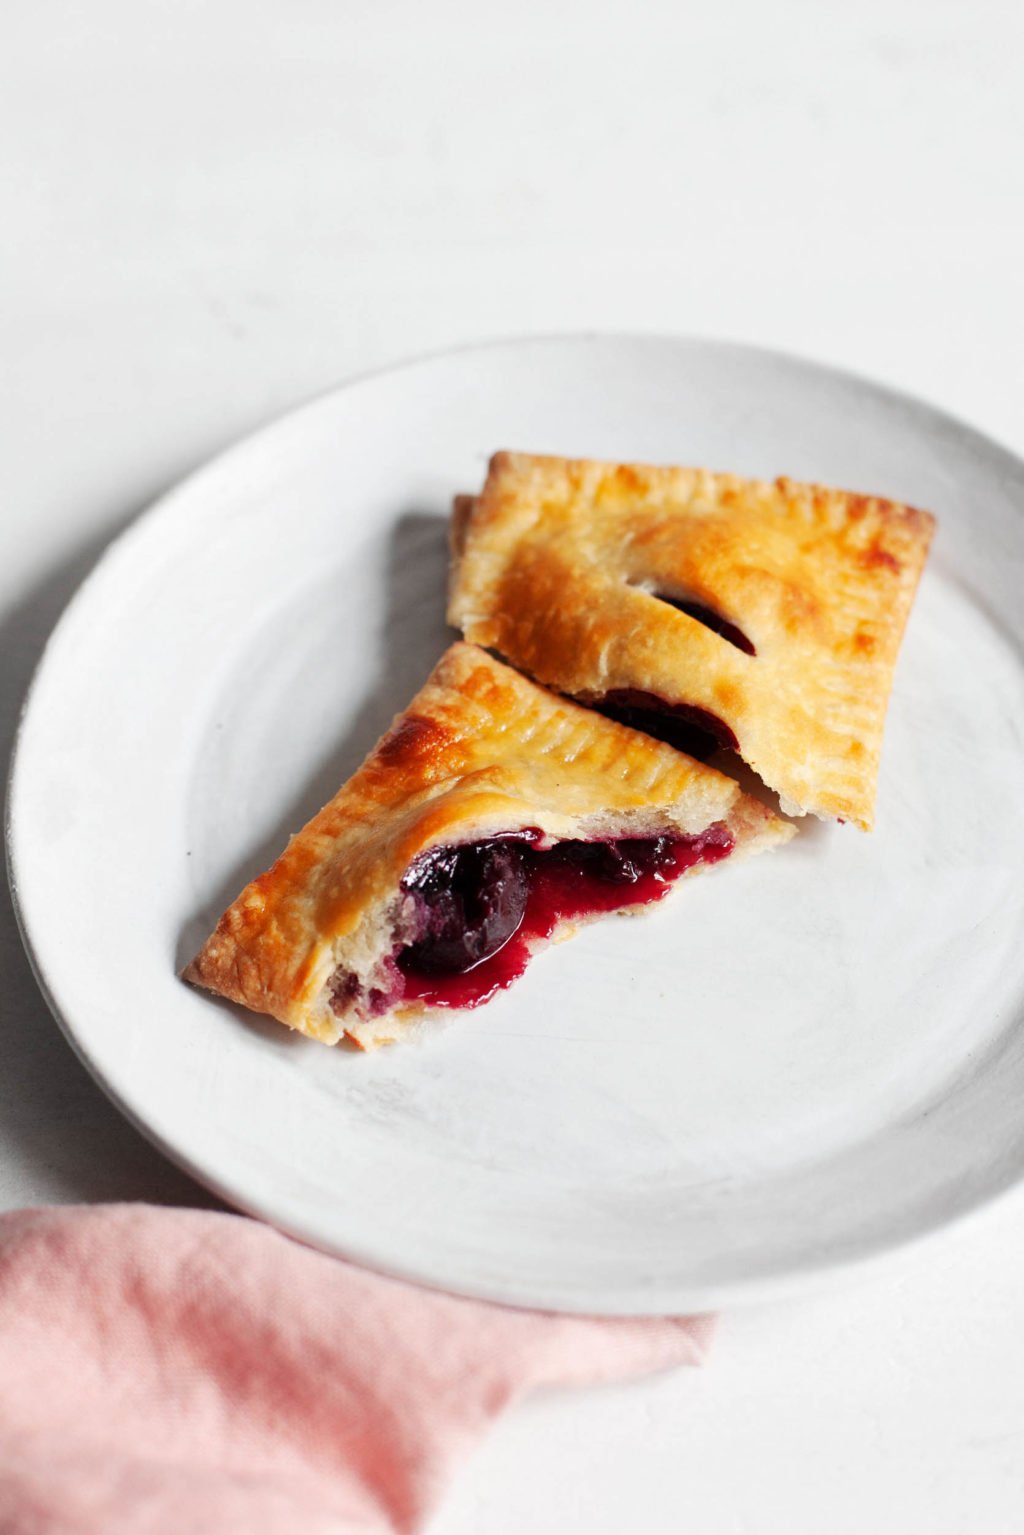
These vegan cherry hand pies are my first foray into festive recipe testing for this year’s Thanksgiving. It’ll be a low-key holiday, given the circumstances—just me and mom. But I’m never sorry for a chance to prepare a plant-based feast.
My love of sweet cherries is no big secret. I especially love baking with them. This sweet cherry upside down cake, these sweet cherry bars, and this summer’s cherry cobbler are just a few of the cherry recipes that I make often.
I’ve had the idea of cherry hand pies in my mind for a while now. I was reminded of the idea while recently watching Great British Bake Off contestants make Cornish pasties.
This led me to reading about the history of hand pies, and to this article, which notes that cultures around the world have their own, unique hand pie traditions and recipes.
My vegan cherry hand pies are sweet, not savory, which follows in Southern US tradition. This makes them a perfect dessert for the upcoming holiday season. Using frozen sweet cherries makes it possible to enjoy them year-round!
Holiday snooze: why sweet cherries are perfect for the season
In spite of my best efforts to focus on connection, I usually feel more rushed than usual during the holiday season. This year will involve fewer social commitments and less running around than usual. Yet it’s already shadowed by stressful world circumstances and a steady sense of uncertainty about the future.
2020 was marked by sleeplessness and anxiety for many. I’m sure I’m not the only person who’s entering the holiday season feeling unusually burnt out. I’ve also been having a lot of difficulty with focus, concentration, and getting things done. The more I fret about this, the more it seems to affect my sleep and my ability to rest, and the cycle continues.
The good news is that sweet cherries—already one of my favorite ingredients—could potentially help to regulate both sleep and stress.
Sleep supporting benefits of sweet cherries
Sweet cherries are a natural source of tryptophan, serotonin and melatonin, which interact with phenolic compounds in the cherries to help regulate sleep cycles.
Sleep quality can improve stress levels on its own. But sweet cherries may also be beneficial for managing stress. Cherry phenolics appear to protect neuronal cells from cell-damaging oxidative stress. And a number of studies have shown that serotonin, which occurs naturally in sweet cherries, is an important neurotransmitter that reduces stress and improves mood.
Studies show that plant compounds and pigments in cherries may have a vasorelaxing and antihypertensive effect—a fancy way of saying that cherries be beneficial for blood pressure control! Hypertension is a risk factor in cardiovascular disease, and it’s exacerbated by the everyday stress that affects so many of us.
Finally, cherries have health benefits that extend beyond seasonal sleeplessness. Regular cherry consumption has been found to decrease biomarkers that are associated with various inflammatory diseases. Polyphenols in cherries may minimize or prevent inflammation and oxidative stress, which may be risk factors for diseases like arthritis, diabetes, cancer and hypertension.
Enjoying sweet cherries year round
As you’ll see, I used frozen cherries in these vegan cherry hand pies. While fresh cherries are available only during the summer months, frozen, dried, and preserved cherries are available year-round. I often use dried cherries in muffins, and I’ve even put them into cashew cheese.
Meanwhile, frozen cherries are my favorite alternative to fresh! I use them in smoothies, as an add-in for banana soft serve, and in baking.
You can find frozen cherries in grocery stores year round. But if you have the option of freezing your own cherries while they’re in season, it’s so rewarding to do that. You’ll lock in the health benefits of cherries at their peak ripeness, and you’ll stock up for the winter ahead.
When substituting frozen cherries for fresh in baking, keep in mind that you may need to adjust ingredients like cornstarch or flour a little. If you make these hand pies with frozen sweet cherries, you’ll need a tablespoon of cornstarch and no added liquid. If you make the filling with fresh, pitted sweet cherries, you may a few extra tablespoons of water.
Vegan cherry hand pie tips
The process of making these hand pies may sound daunting, but don’t be afraid! It’s all easier than it might look, so long as you follow the steps closely. Here are some tips to help guide you:
Keep your pastry cold
I used my standard vegan pie crust for these hand pies. It’s a variation on classic, all-butter pie crust, to which I add a tiny amount of vinegar. (This helps with flaky texture.) As you work with the pie crust, it’s essential to keep it as cold as you can.
I recommend refrigerating the pie crust dough overnight once it’s made. You should pop it into the fridge again for thirty minutes after it’s rolled and cut into rectangles for the hand pies. Once the pies have been filled, put them into the fridge for another 30 minutes before baking.
I like to shape my pie crust into four disks for this recipe. It allows me to keep more of the crust cold while I work, and it’s appropriate for my very limited counter space! If you have a lot of counter space, you can shape the dough into a single disk, rather than rolling in smaller batches.
Keep your filling cold, too
These hand pies are unlike some of my recipes for pie or fruit galette in that the filling is cooked. If you add hot filling to the hand pies, you’ll also heat up the pie crust. This will make the crust soft and difficult to shape, plus it’ll make the crust less flaky upon baking.
I recommend cooling the cherry filling for at least four hours, and up to overnight, before shaping and baking the hand pies.
Don’t overfill your hand pies
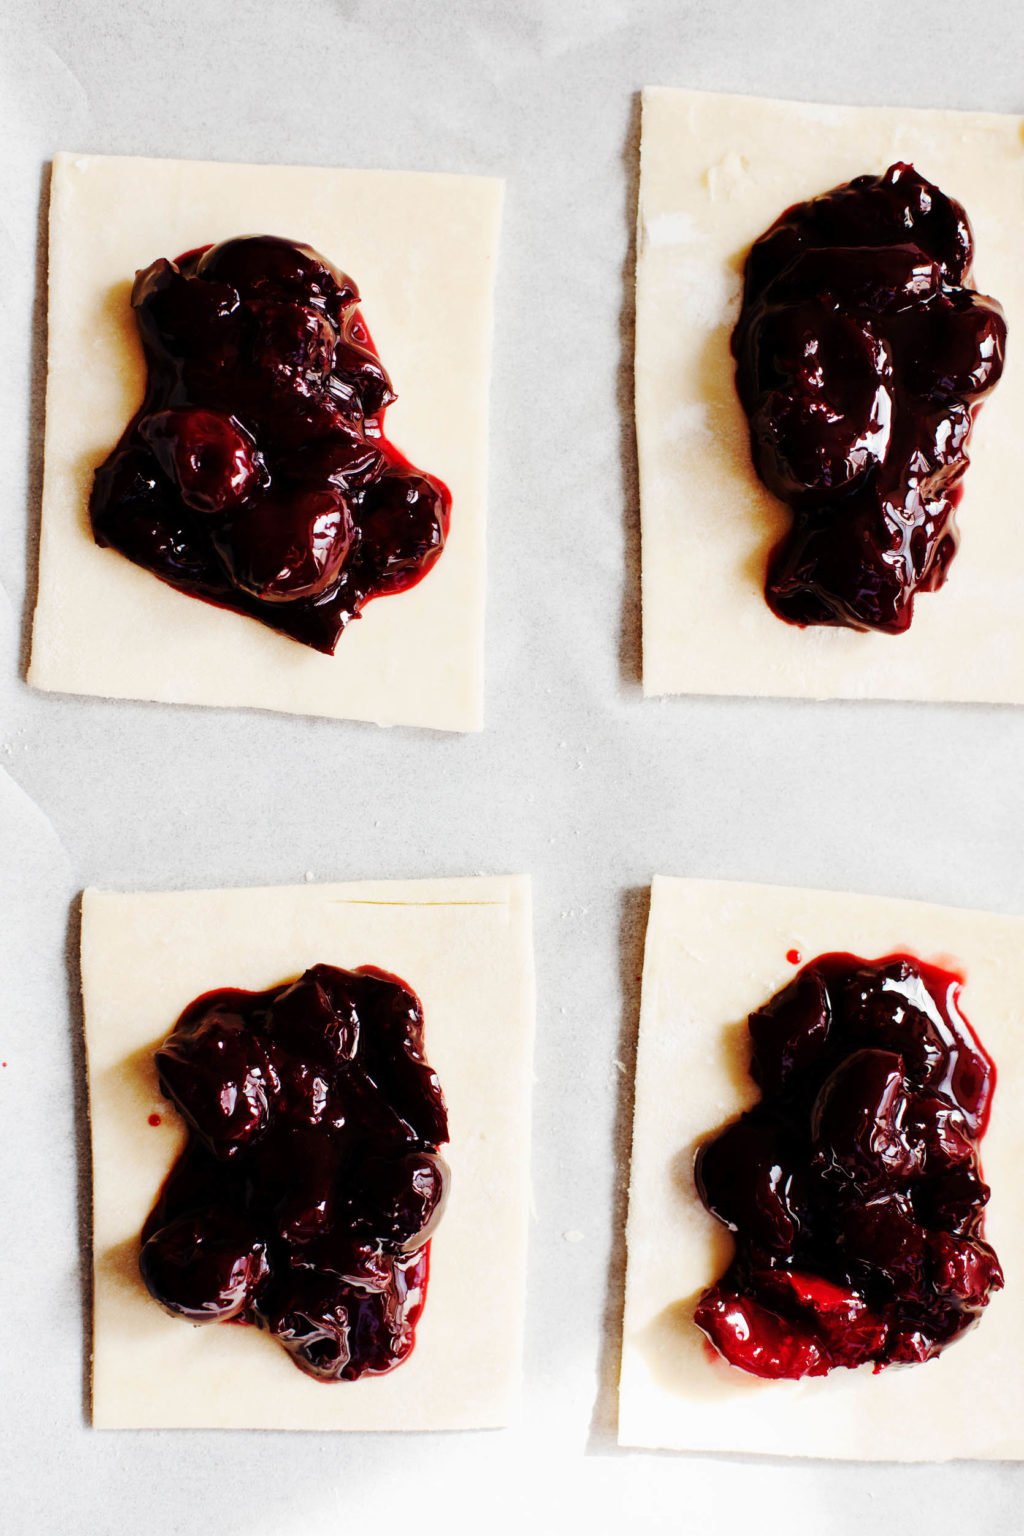
If you add too much cherry filling to the hand pies, they’ll be impossible to close. They may also burst while they bake. I recommend the equivalent of 3 tablespoons (or so) of cherry filling per hand pie. That’s about 4 plump, sweetened cherries.
Crimp and vent
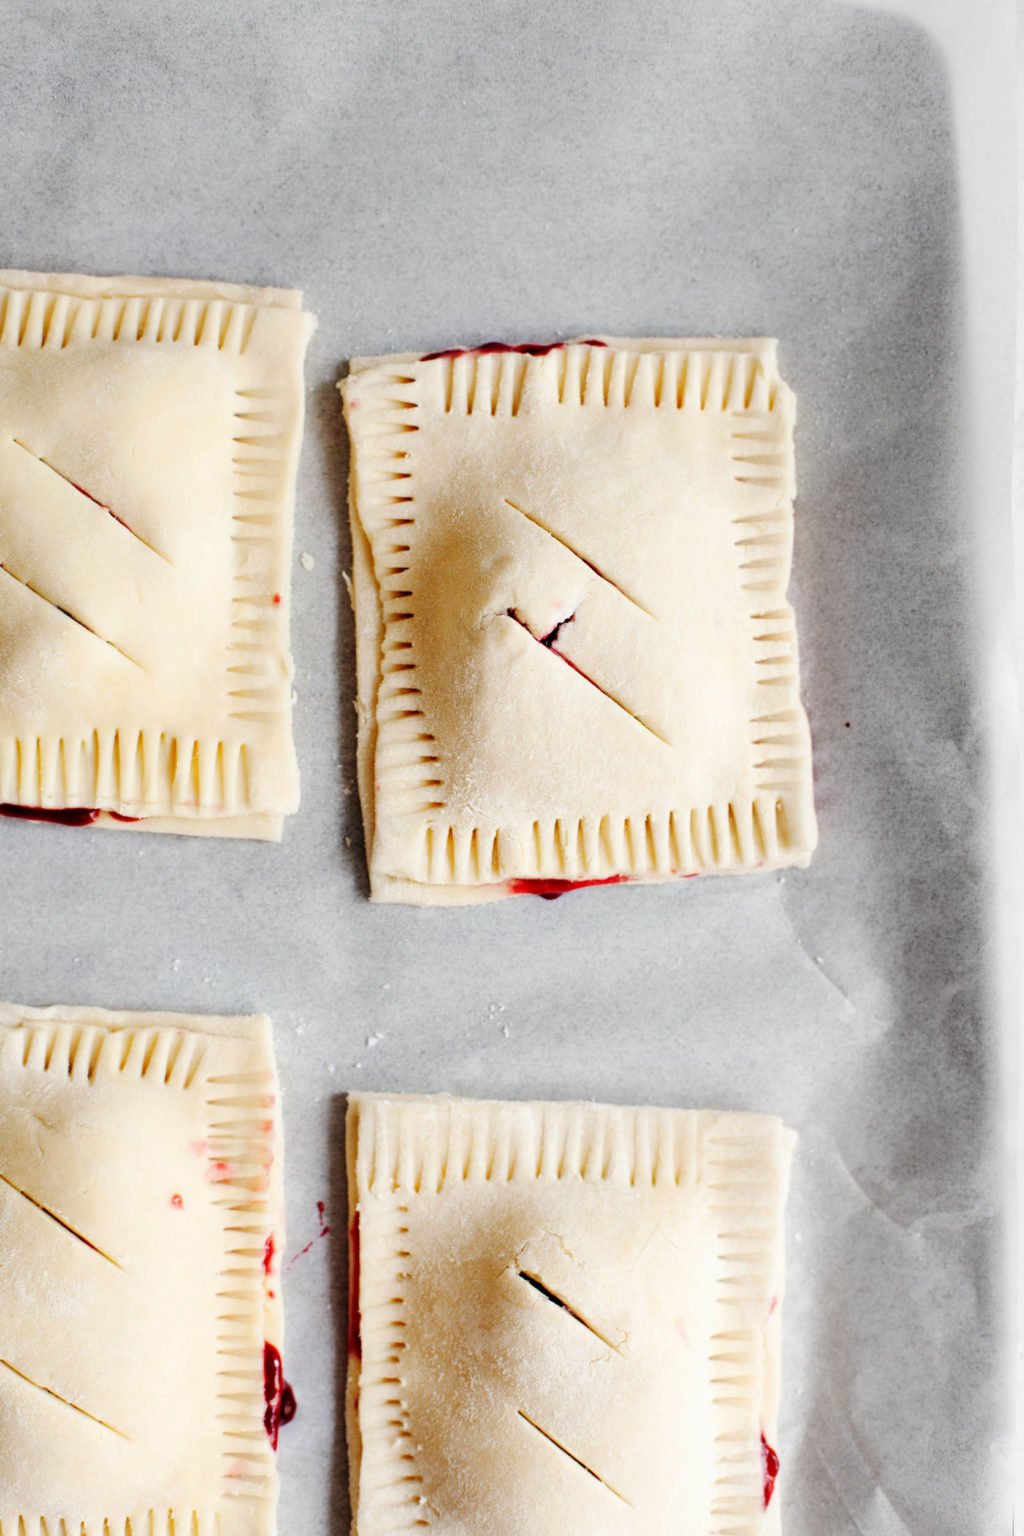
Using a fork to crimp the edges of your hand pies will help them to stay sealed as they bake. It also makes them look pretty!
And don’t forget to make two small cuts in the top of the cherry hand pies. These vents will allow steam to escape during cooking, and that will prevent the crust from getting soggy and soft.
Vegan cherry hand pie ingredients
Unbleached, all-purpose flour
I recommend all-purpose flour for this pie crust. It’s my first choice for baking. If you’d like to add a little whole grain flour, that’s OK, but I wouldn’t add more than a half cup (about 20%) if you’d like to keep a light, flaky texture.
If you need to modify the crust to be gluten-free, I recommend using a gluten-free, all-purpose flour blend.
Sweet cherries
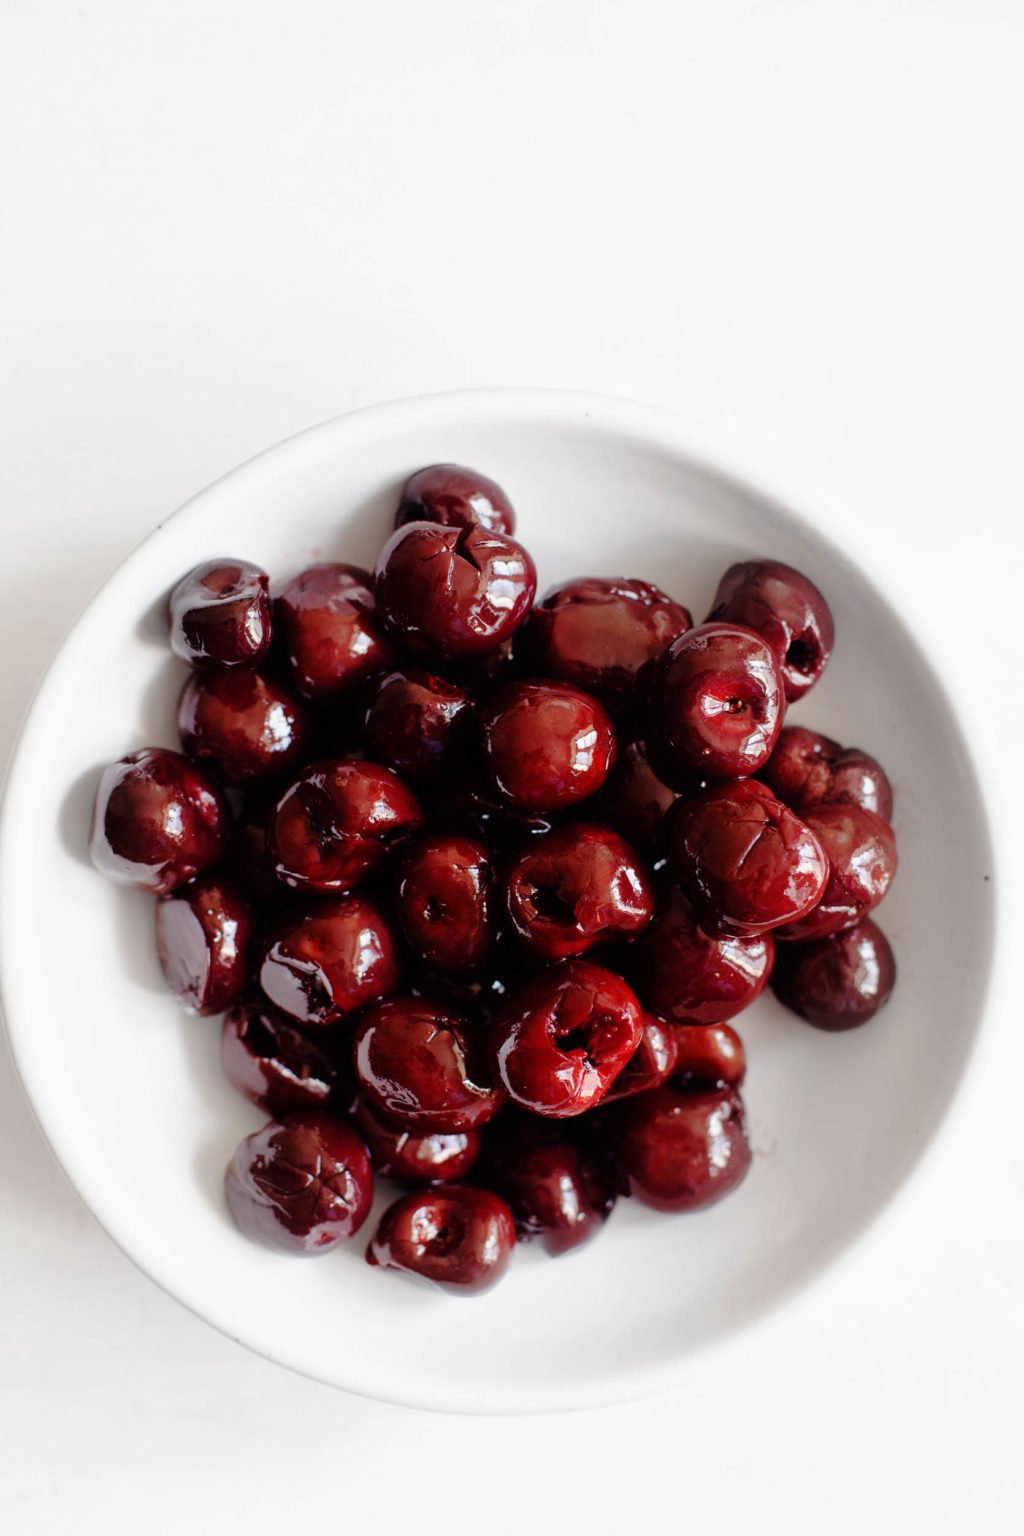
I used 1 pound of frozen, dark sweet cherries for the recipe. You can also use fresh, pitted cherries, too! If you use fresh cherries, simply add an extra two tablespoons of water to the filling when you make it.
I allowed my frozen cherries to thaw at room temperature (in the bag) for two hours before making the filling. This softened them and decreased the cooking time. I recommend doing this for 1-2 hours if you can remember, too.
Vegan butter
I usually bake with Earth Balance butter sticks. They’re reasonably priced, which is a consideration since I do a lot of baking. There are a lot of cool new plant-based butter brands, but I save the pricier ones for a slice of toast.
You can use the brand of vegan butter that you like best for this recipe, but I recommend one that comes in stick form. Using sticks makes it easier to cut the cold butter into pieces before incorporating it into the crust recipe. They’re also easy to measure.
Make ahead prep and storage
This is definitely the sort of baking recipe that lends itself to some advance preparation.
I made the filling and the pie crust a day in advance of baking. Assembly was the only remaining step when it was time to bake. The process felt seamless at that point! If you can prepare at least one component (filling or crust) ahead of time, it’s worth doing that.
The pies can be stored at room temperature for a day or two. If you need to store them longer, cover them and transfer them to the fridge. If you’d like to store them for longer than four days, I recommend freezing them.
You can warm them up prior to enjoying by placing them on a lined baking sheet and popping them in a 350F oven for ten minutes.
By the way, you may have a bit of cherry filling leftover once you bake the pies. If you do, lucky you! Try swirling it into warm oatmeal or piling it on toast for a breakfast treat.

Vegan Cherry Hand Pies
Ingredients
For the filling
- 1 lb (454 g) frozen or fresh pitted sweet cherries (if frozen, allow sweet cherries to thaw in the bag at room temperature for about two hours)
- 3 tablespoons (36 g) cane sugar
- 1 tablespoon freshly squeezed lemon juice
- 1 tablespoon lemon zest
- 1 tablespoon (8 g) cornstarch
For the crust
- 2 1/2 cups (240 g) unbleached, all-purpose flour
- 1 teaspoon kosher salt
- 1 tablespoon cane sugar
- 2 sticks (224 g) cold vegan butter
- 1 teaspoon white wine vinegar
- 7-8 tablespoons ice water
For the vegan egg wash
- 1 tablespoon non-dairy milk
- 1 tablespoon maple or agave syrup
Instructions
-
To make the cherry filling, place the cherries, sugar, lemon juice and zest, and cornstarch in a medium saucepan. Mix well. Bring to a simmer over medium heat. Cook, stirring constantly, for about 2 minutes. Reduce the heat to low and continue to simmer and stir periodically for about 3 more minutes. The cherries should be soft. There should be a little liquid in the saucepan, but not much. If there’s no liquid at all, add an extra tablespoon or two of water. (If you use fresh cherries, add two tablespoons of water to begin with.)
-
Transfer the cherry filling to a non-reactive bowl. Cover and allow it to cool for thirty minutes. Transfer it to the fridge and allow it to cool completely (about 4 hours, or overnight is fine).
-
To make the crust, mix the flours, salt, and sugar in a large mixing bowl. Add the butter and use a pastry cutter or two knives to cut the butter into the flour, until the pieces of butter are about the size of peas (alternately, you can put the flours, salt, and sugar into a food processor, add the butter, and pulse until the ingredients are combined and the butter is the size of peas).
-
Mix the ice water (starting with 7 tablespoons) and vinegar. Add the water into the flour mixture in a thin stream, using a spatula to mix as you go. As soon as the dough holds together without being wet or sticky, and it sticks together when you squeeze a small amount in your hand, it's ready. If your dough is too crumbly and isn't holding together, add additional ice water by the tablespoon until it does. Transfer the dough to a floured work surface and shape it into two disks. Wrap it in plastic wrap and refrigerate for at least 1 hour. At this point, you can keep the dough in the fridge for up to 2 days or freeze it for later use.
-
When the filling is cool and the dough has chilled, flour a work surface and rolling pin. Roll the first disk of dough out into a roughly rectangular shape. Using a straight ruler and a pizza cutter (or a knife), cut the dough into rectangles about 3 ½ x 4 ½ inches. You’ll probably need to roll the dough once, cut four rectangles, gather the scraps, roll again, and repeat. Then, repeat this process with the other disk of dough, so that you have 16 rectangles total. Place the rectangles of dough onto two parchment lined baking sheets and refrigerate for 30 minutes.
-
To prepare the hand pies, place about 3 tablespoons of filling in the center of 8 of the dough rectangles. One by one, cover each piece with another rectangle of dough. Use your fingers to gently smooth and press the dough together at the edges of the rectangle. Use a fork to crimp the edges of the hand pies. Then, use a paring knife to cut two small, diagonal holes in the top of the pies. Transfer the 8 hand pies to the fridge for another 30 minutes.
-
While the hand pies chill, preheat your oven to 425F. When the oven is hot, mix the non-dairy milk and syrup together for your vegan egg wash. Use a pastry or basting brush to glaze the tops of the hand pies lightly. Transfer the hand pies to the oven. Bake them for 20 minutes. Remove the pies from the oven and give them another glaze (they’ll already be turning golden at this point). Return the pies to the oven and bake for 5 more minutes, or until browning at the edges and golden all over. Transfer the hand pies to a cooling rack and allow them to cool for at least 20 minutes before enjoying!
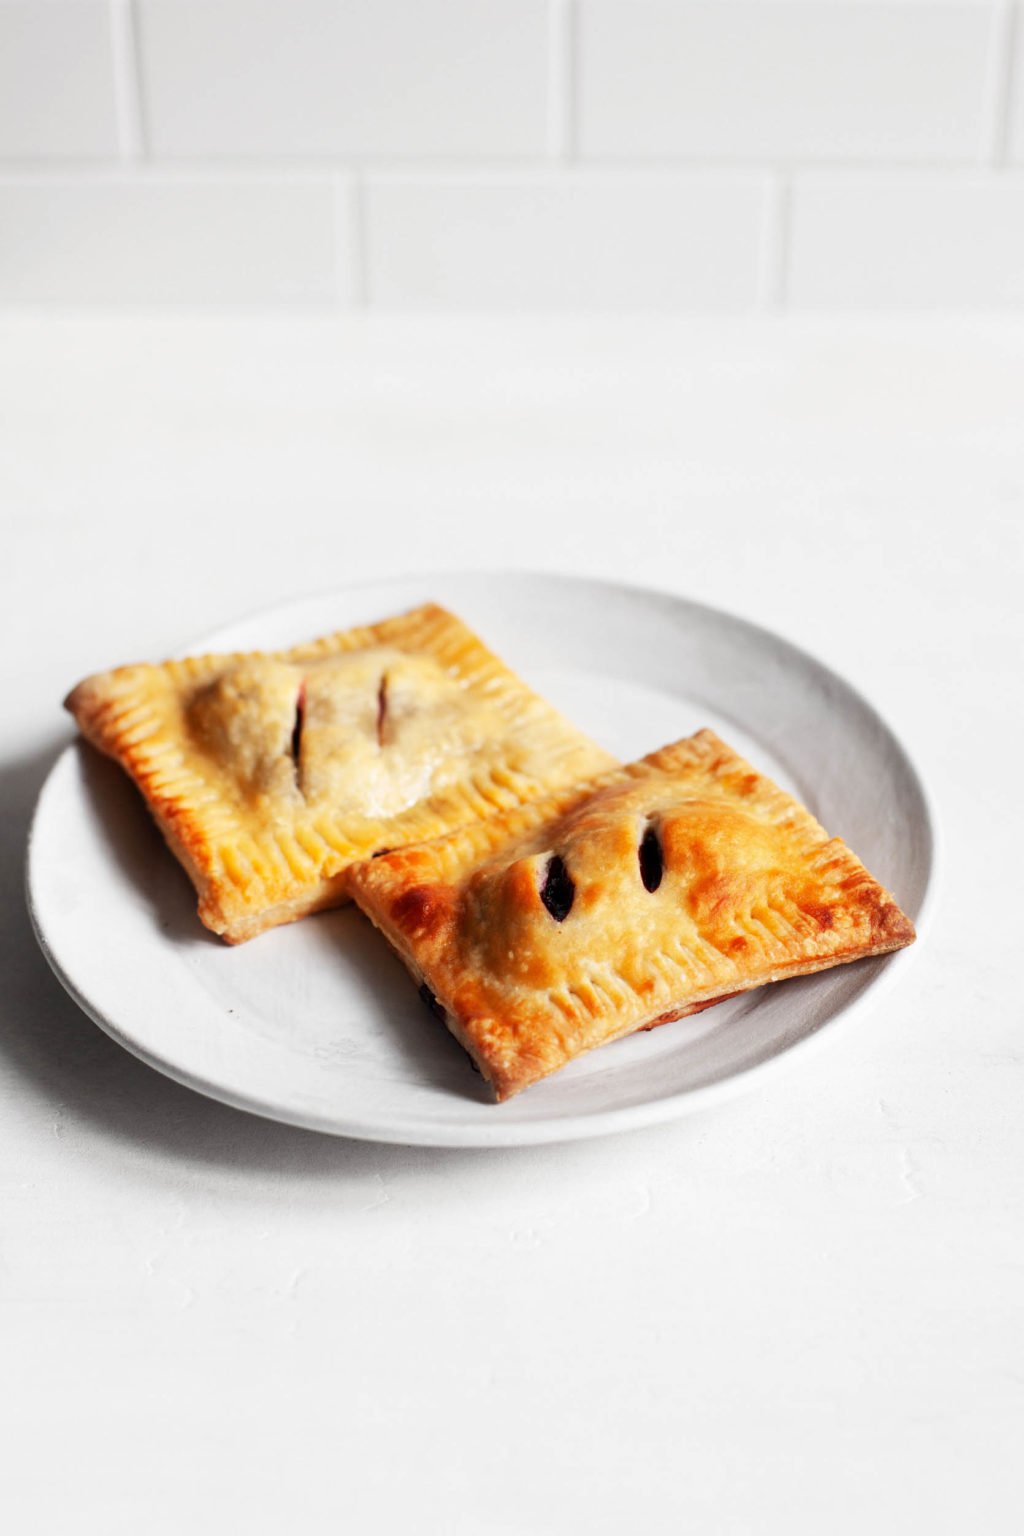
It’s really nice when a dessert as homey and tasty as this one also showcases a beneficial ingredient. Baking with dark, sweet cherries gives me lots of opportunities to squeeze cherries into my diet in delightful ways.
This year more than ever, it’s nice to have homemade dessert traditions to look forward to. I’m happy to have made these as part of my typically month-long culinary celebration of Thanksgiving (the actual day is a little more restrained).
Hope you enjoy them, too. And wishing you rest and ease—and ingredients that support those things—as we enter a busy season.
xo
This post is sponsored by Northwest Cherry Growers. All opinions are my own. Thank you for your support!
The post Vegan Cherry Hand Pies appeared first on The Full Helping.

0 comments