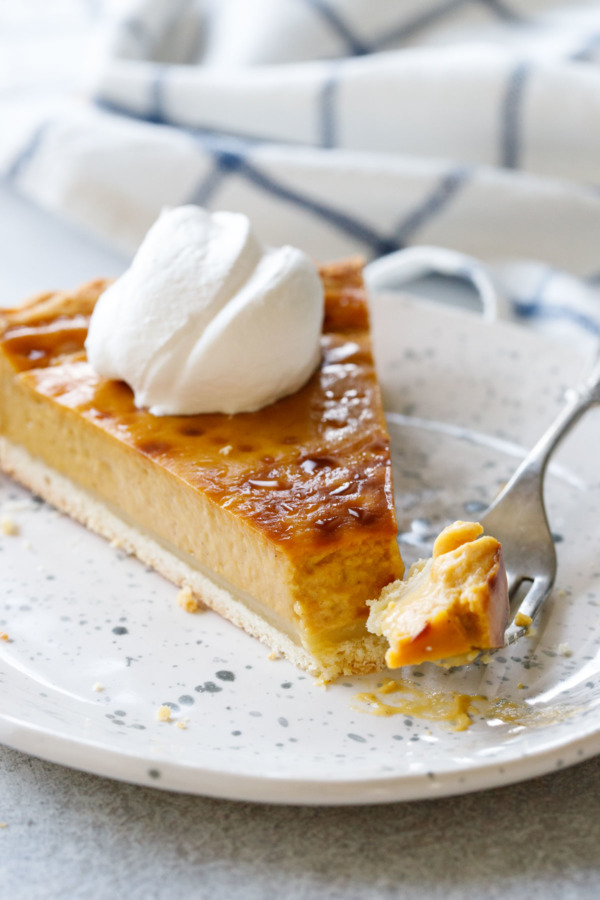
If pumpkin pie and creme brûlée had a baby, this is what it’d grow up to be. Delightfully creamy, almost luxuriously so, with a lightly spiced pumpkin flavor baked in a flaky pastry crust.
If you’re looking for a something a little bit different this Thanksgiving, but not SO different that your family will revolt (I’ve also been working on a purple sweet potato pie recipe so you’ll understand what I mean here)… look no further than this Pumpkin Custard Tart.
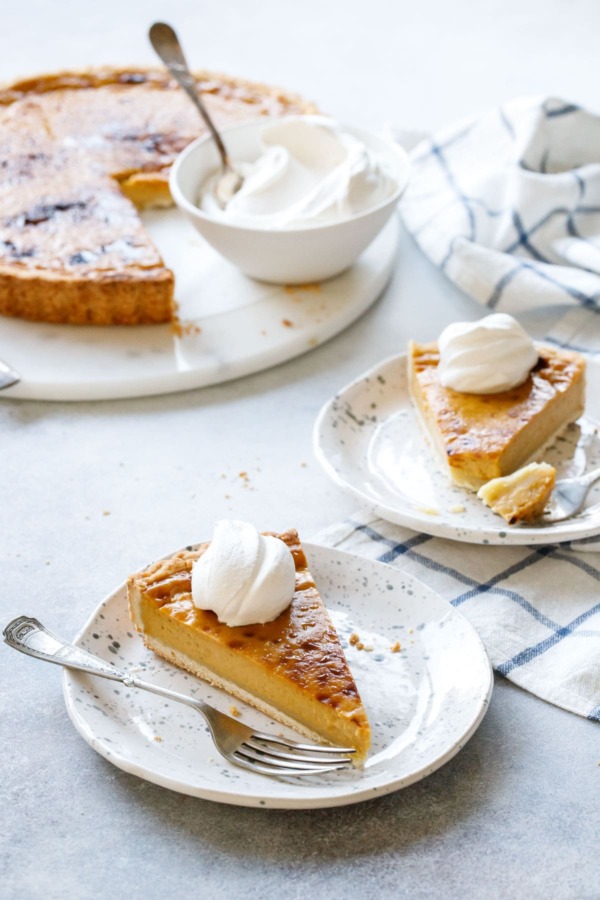
Whereas pumpkin pie is what I’d call a custardy pumpkin filling, this tart is a pumpkiny custard, light and ultra creamy with just a hint of pumpkin flavor and spice.
If you’re the type that finds pumpkin pie too dense and squashy, this recipe might be right up your alley. It’s got the essence of pumpkin, without the weight of it.
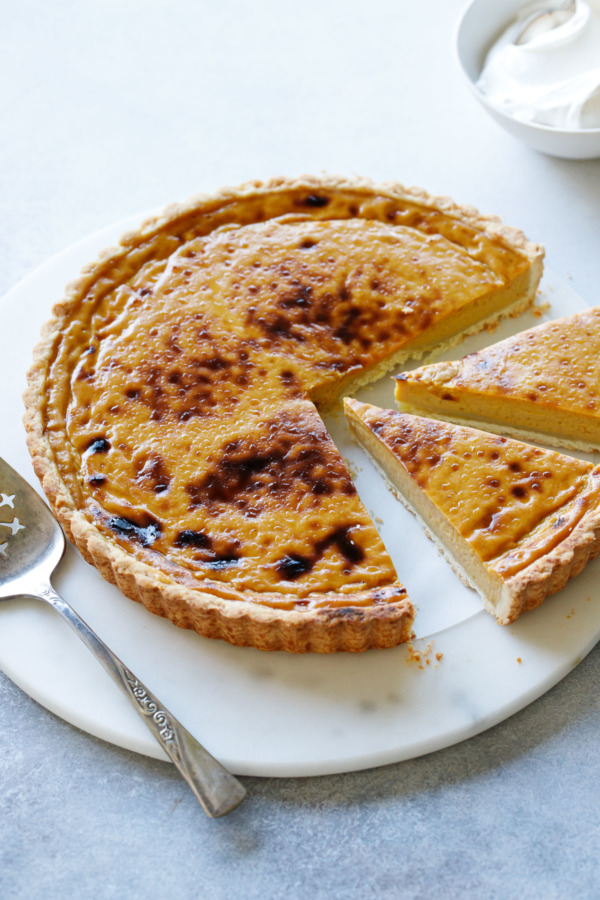
The recipe is based on a French custard tart or Parisian flan: a silky baked custard in a pastry crust. With the exception of the crust (a standard shortcrust vs a flakier pastry), it’s also quite similar to Portugese egg tarts, especially with regards to that final broil that leaves the top delightfully singed.
All it needs is a generous dollop of freshly whipped cream (bonus points if it’s spiked with bourbon or brandy) and you’re golden.
It’d be the perfect way to end your Thanksgiving feast (go out with a bang, I say!)
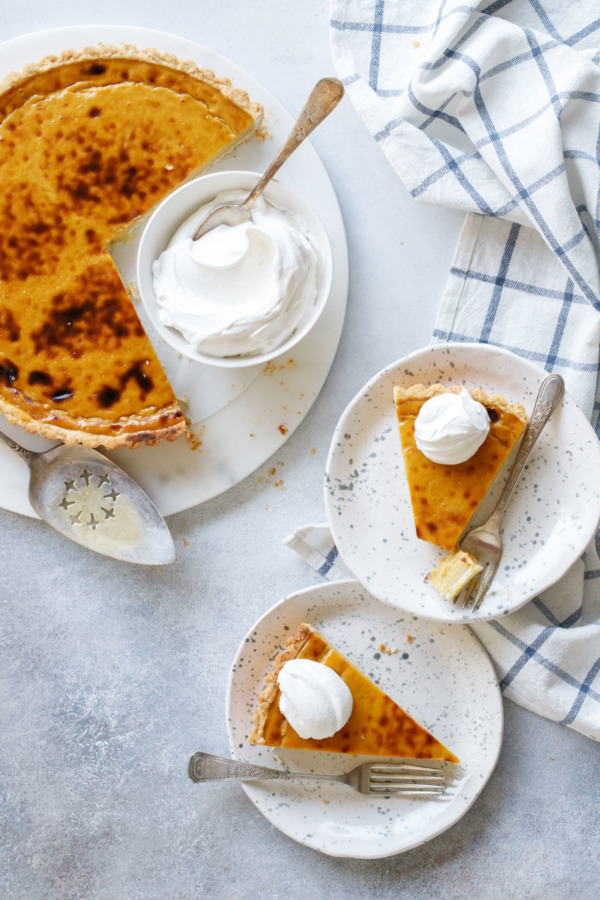
The tart itself consists of two basic parts that are surprisingly easy to assemble.
The crust is a basic short crust enriched with egg yolks that comes together quickly in a food processor and is surprisingly easy to work with. You roll it out immediately, no pre-chilling required, then drape it into the tart pan and trim the edges. Once it’s comfortably settled into the pan, then you chill it: the cold crust will hold its shape better while baking.
The unbaked crust is then filled with an egg and cornstarch-thickened custard, not unlike an egg-based homemade ice cream (the process to make it is basically the same, and in fact, this custard would make a mighty fine pumpkin ice cream!)
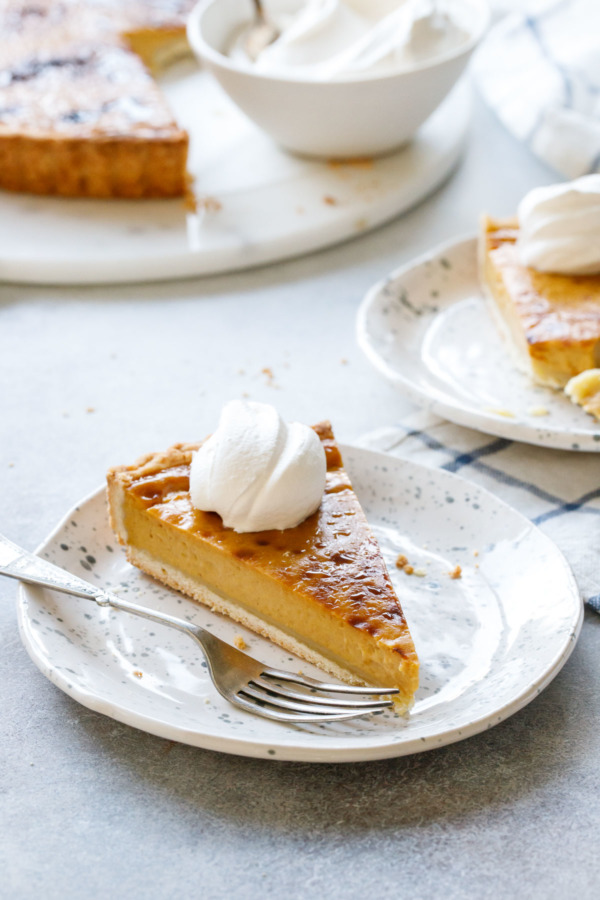
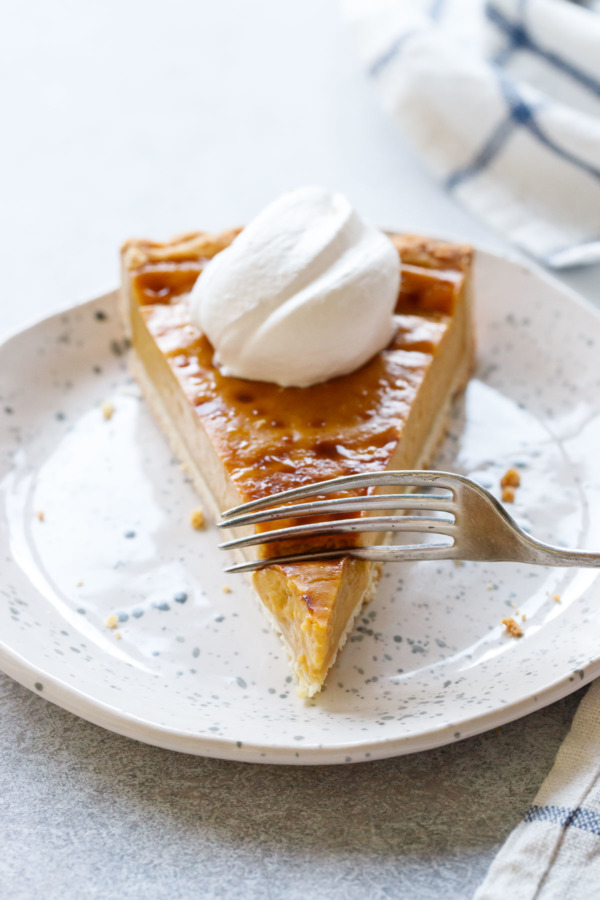
One characteristic of this style of French custard tart, unlike, say, a creme brûlée, is that the custard is first cooked and then cooled completely before being baked in the crust. Every recipe I looked at had this step. I’m not entirely sure as to the science of it, and I did not test pouring the warm custard right into the crust so I can’t say what might happen.
So be sure you leave yourself a few hours for the custard to cool (you can even make the crust and custard a day ahead of time, in fact I’d encourage it!)
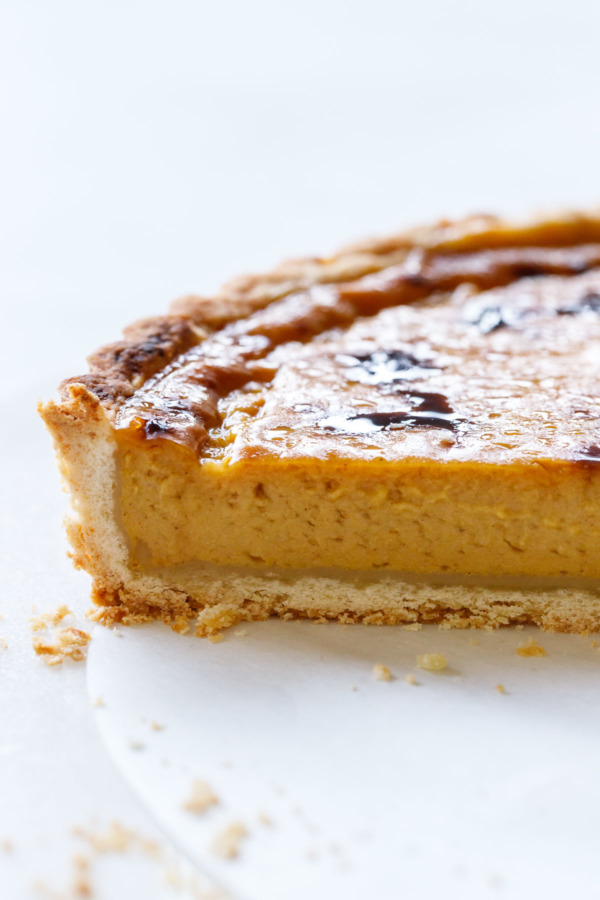
I used a 9-inch tart pan here, but it would also work in a standard 8 or 9-inch pie pan (not a deep one, there’s not enough custard to fill it).
If you do use a tart pan like I did, just fill it to within 1/4-inch of the top edge of the crust: any fuller than that and you’ll have a heck of a time moving it to the oven (trust me, I learned that one the hard way).
How to know when it’s done? Luckily, this recipe is pretty forgiving. It’ll still be smooth and custardy if it’s overbaked a bit. Still, keep an eye on it. Ideally the edges should be fully set, but the center will still have a little movement to it: a jello-like jiggle when you disturb the baking pan. This should be a solid jiggle, not a liquidy one (that’s the best way I know how to describe it). Judge it for doneness the same way you would a cheesecake, for example.
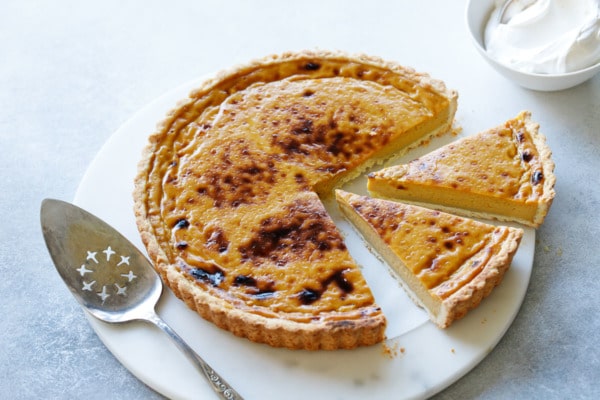
After baking, the whole tart takes a ride under the broiler, where it develops its gorgeous speckled top.
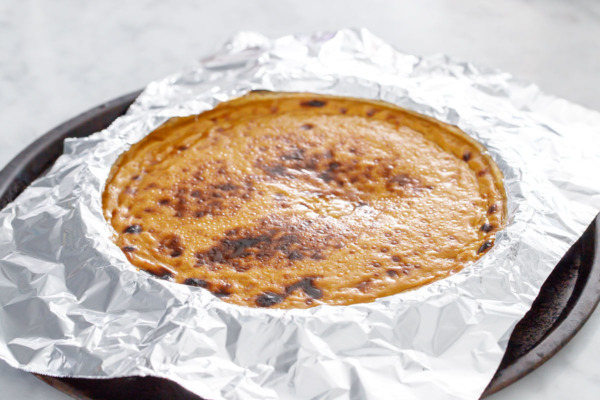
Baking Tip: to prevent the edges of the crust from burning, cut out a foil shield before you put the tart in the oven. Fold a piece of foil in quarters and cut out a circular hole slightly smaller than the size of your tart pan, so the foil covers the edges of the crust but does not touch the custard itself.
When you are broiling the tart at the very end, keep a close eye on it, as it can go from not quite done to burnt if you aren’t paying attention. The tart is done when it has a nice speckling of brown spots on the surface of the custard.
And hopefully, if you’ve used your foil shield, your crust should be perfectly golden brown.
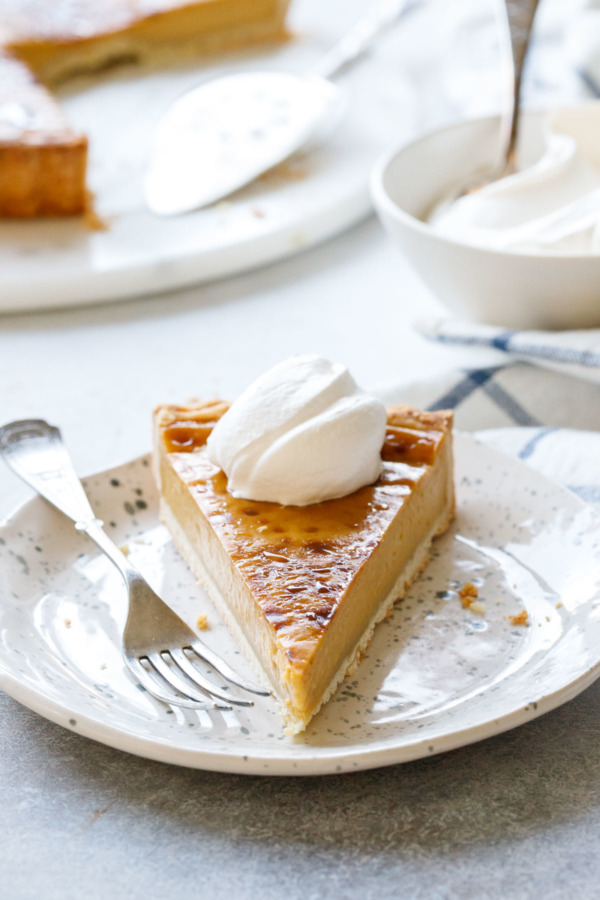
I know that being able to make a dessert ahead of time is one of my primary criteria for a Thanksgiving dessert, and this one fits the bill perfectly.
You can also easily make the crust and the custard one to two days ahead of time, then assemble and bake it off the day before.
The baked tart needs a solid 5 to 6 hours of chilling anyway, so you really have no choice but to make on Wednesday before Thanksgiving. Be sure to let it fully cool to room temperature before covering and chilling to prevent condensation from forming on the surface.
Pumpkin Custard Tart
Yield: 1 9-inch tart
Prep Time: 1 hour
Cook Time: 45 minutes
Total Time: 8 hours
A little something different for Thanksgiving, this lightly spiced pumpkin custard tart is lighter and creamier than your typical pumpkin pie.
Ingredients:
For Custard:
- 2 cups whole milk
- 2/3 cup packed light brown sugar
- 1/2 teaspoon ground cinnamon
- 1/4 teaspoon freshly ground nutmeg
- 1/4 teaspoon kosher salt
- 2/3 cup heavy cream
- 1/4 cup cornstarch
- 1/2 cup canned pumpkin puree
- 3 large egg yolks
For Crust:
- 1 cup (4 1/4 ounces) all-purpose flour
- 2 teaspoons granulated sugar
- pinch kosher salt
- 1/2 cup cold unsalted butter, cut into cubes
- 1 large egg yolk
- 2-4 tablespoons milk
Directions:
- For custard filling, combine milk, brown sugar, cinnamon, nutmeg and salt in a saucepan. Heat over medium heat until mixture starts to steam and just begins to bubble around the edges (do not let it fully boil).
- Meanwhile, in a medium heat-proof bowl, whisk cornstarch into cream until smooth. Whisk in pumpkin and egg yolks.
- Ladle 1/4 cup or so of hot milk mixture into cornstarch mixture, whisking vigorously. Continue to ladle 1/4 cup of hot liquid at a time into pumpkin egg mixture until about 1/3 of hot milk has been added and mixture is warm to the touch. Doing this will slowly temper the egg yolks up to temperature rather than cook them.
- Pour bowl with tempered yolks back into saucepan and whisk until smooth. Return to medium heat and cook, stirring regularly and scraping the bottom of the pan with a rubber spatula, until custard thickens to the consistency of latex paint and coats the back of the spatula. It should measure about 175 degrees on an instant read thermometer. If the custard starts to develop chunks, that means it’s too hot and the egg has begun to cook. It’s ok, just take it off the heat as it is more than done at this point.
- Strain custard through a fine mesh sieve to remove any bits of cooked egg. Press a layer of plastic wrap down onto the surface of the custard, then refrigerate until completely cooled, about 1 hour.
- For crust, combine flour, sugar and salt in a food processor and pulse once or twice to combine. Sprinkle over butter cubes, then pulse a few times until butter forms pea-sized chunks. Add egg yolk and 2 tablespoons milk and pulse until mixture starts to form a dough. Add more milk as needed until dough comes together in a ball.
- Turn out onto a lightly floured surface and knead into a ball. Roll out to 1/4-inch thick circle (approximately 11-12 inches in diameter to fit a 9-inch wide by 1 1/8-inch deep tart pan with a removable bottom.) Gently ease into tart pan, taking care not to stretch the dough. Trim 1/2 inch from the edge and fold edge under itself, making the side walls slightly thicker than the bottom. Press off excess so dough is flush with the top of the pan.
- Refrigerate crust for 30 minutes or freeze for 15 minutes.
- Preheat oven to 400 degrees F. Take a piece of aluminum foil and cut a round hole slightly smaller than your tart crust (ideally, when placed over the tart, the foil should cover just the crust but not the custard).
- Pour cooled filling into chilled crust so the custard comes within 1/4-inch of the top (any fuller and you won’t be able to move it to the oven, trust me!) Depending on the size of your tart pan you might have a little leftover.
- Place tart pan on a baking sheet and bake for 30 to 40 minutes (slightly longer if using a deeper pie pan) or until edges are set but center is still slightly jiggly.
- Gently place the foil shield on top of the tart to cover the crust (it shouldn’t touch the custard at all). Return to oven and turn on broiler to high.
- Broil for 3 to 5 minutes, watching it VERY CAREFULLY (seriously, don’t turn your back for a second) until top is bubbling and browned in spots.
- Remove from oven and place on a wire cooling rack; let cool to room temperature for about 1 hour, then cover lightly with plastic wrap or foil and refrigerate for at least 5 hours until fully set. Slice and serve at cool room temperature with a dollop of freshly whipped cream.
Did you make this recipe?
Let us know what you think!
Leave a Comment or share a photo on Instagram with the hashtag #loveandoliveoil.
We are a participant in the Amazon Services LLC Associates Program, an affiliate advertising program designed to provide a means for us to earn fees by linking to Amazon.com and affiliated sites.

0 comments