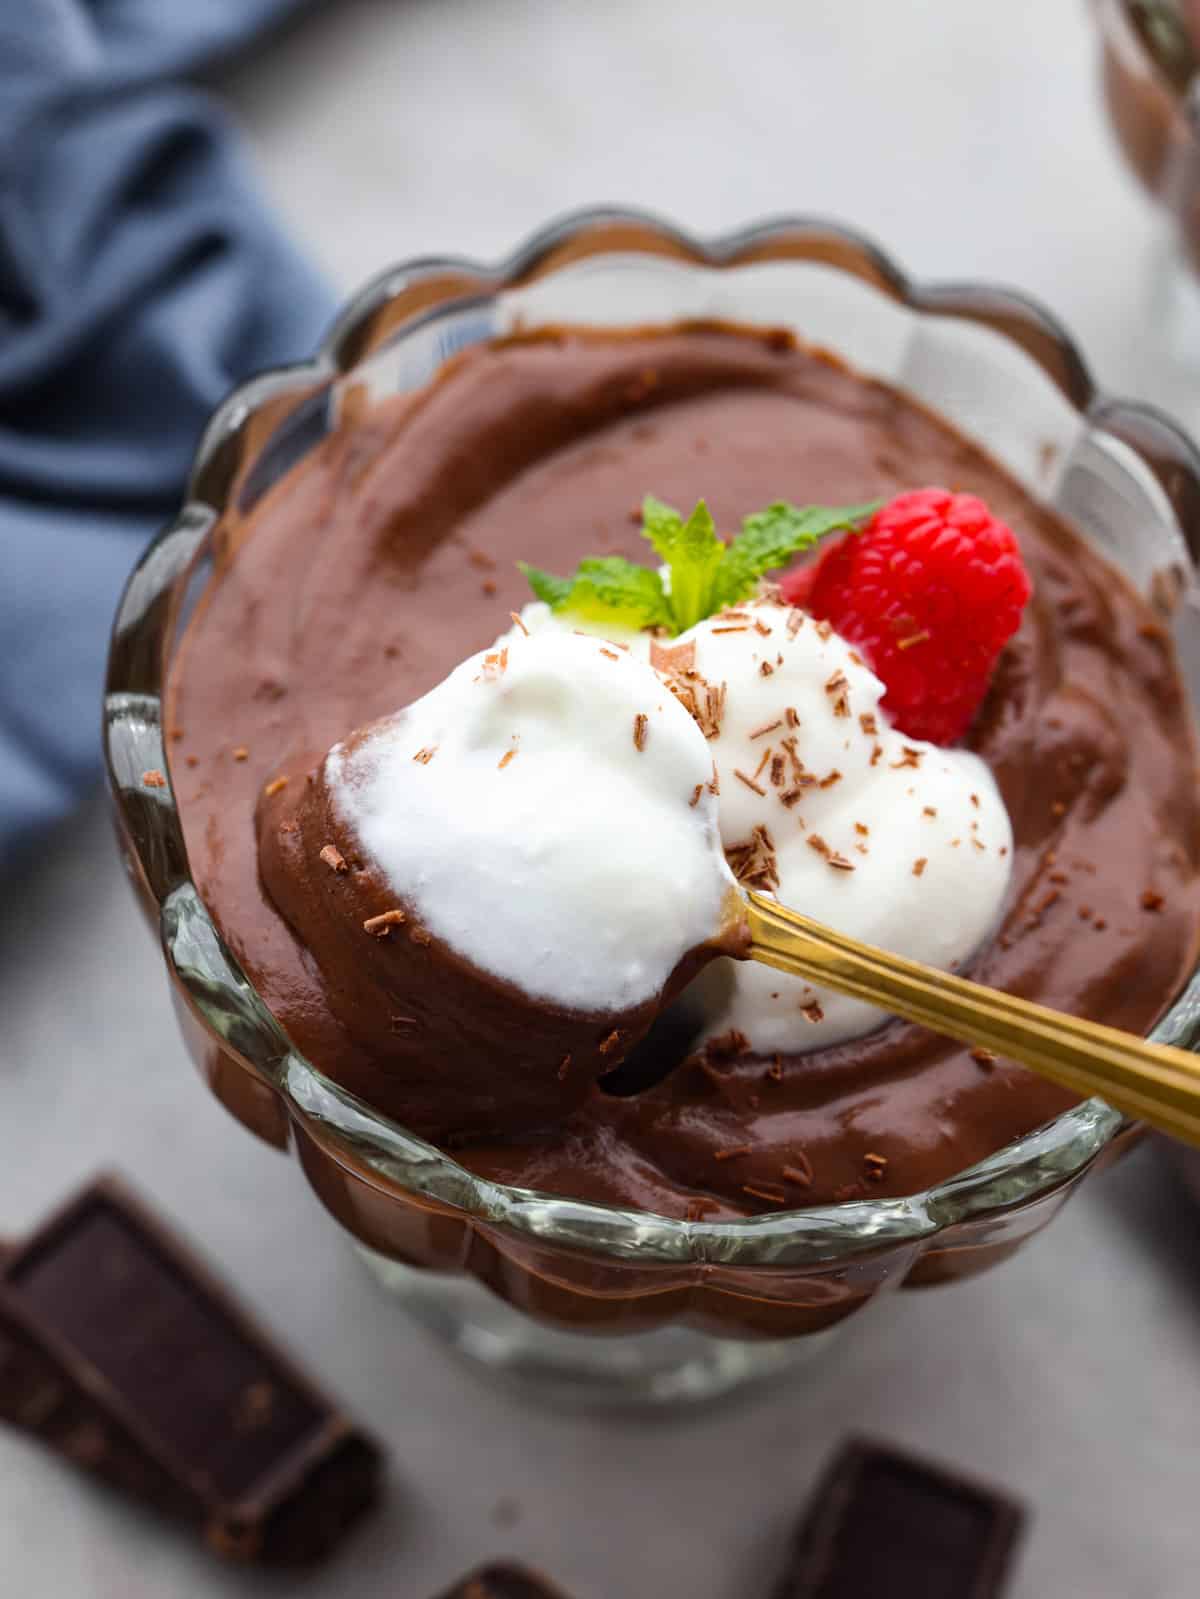
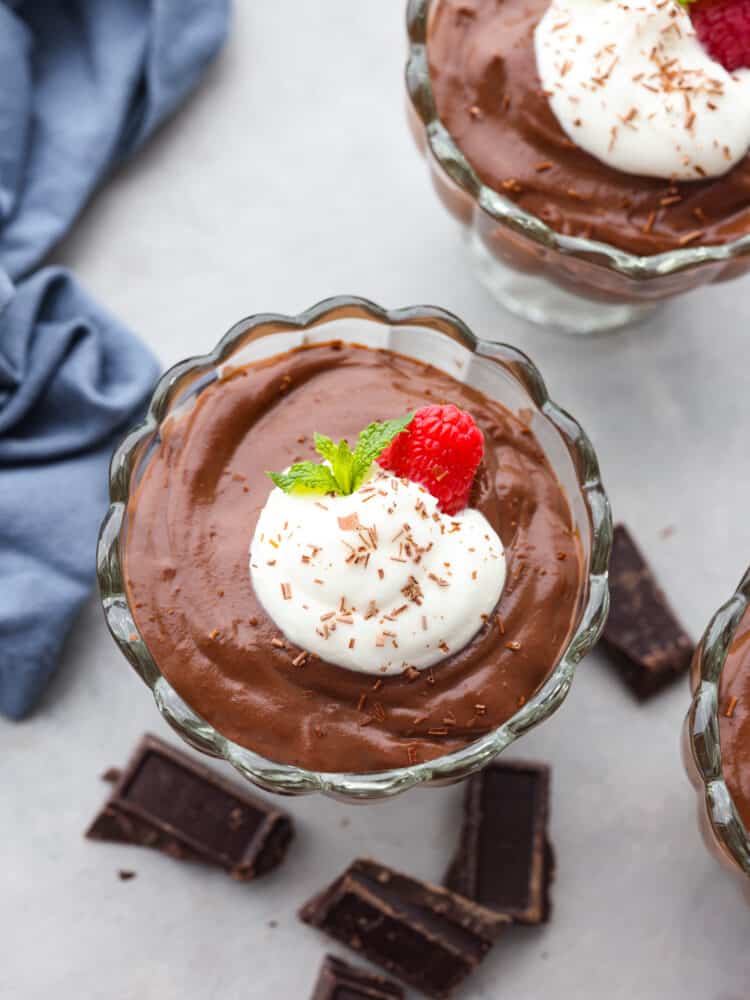
A classic dessert, this homemade chocolate pudding is here to please! Rich, indulgent, and silky-smooth, it’s everything you could want from a chocolate dessert!
I’m going to say it- there is NOTHING better than homemade pudding. It tastes so much better than anything you can find at the store! It’s just so smooth and creamy. A few more recipes to add to your dessert lineup are homemade vanilla pudding, rice pudding, and tapioca pudding. They won’t disappoint!
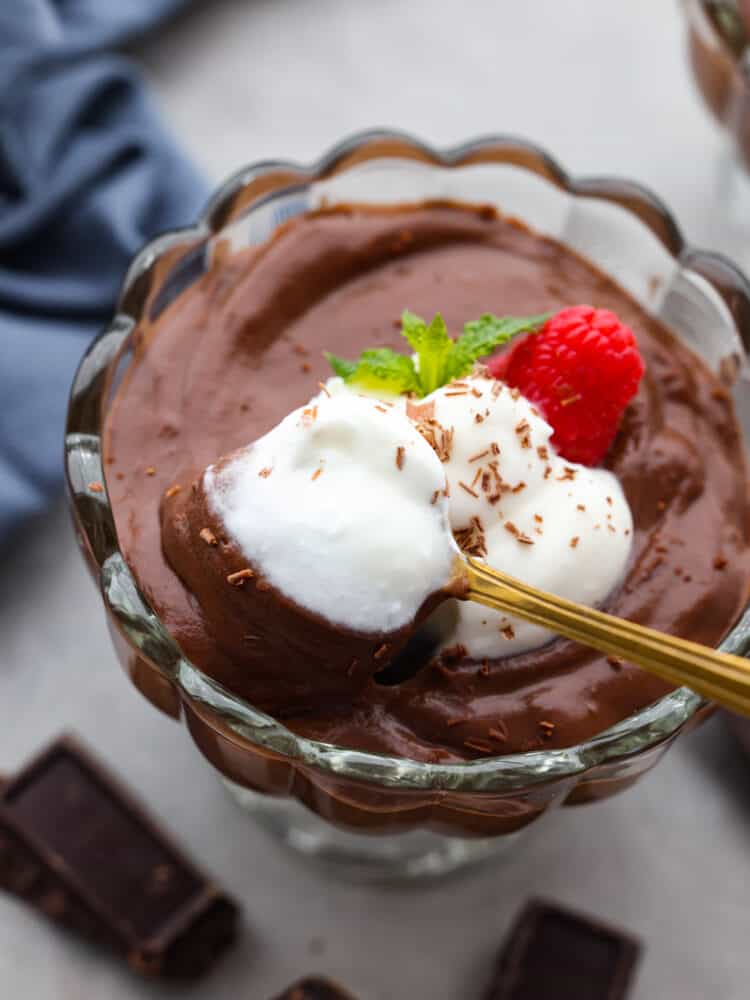
Homemade Chocolate Pudding Recipe
I posted this recipe for homemade vanilla pudding last week, and now it’s time for its chocolate counterpart. As much as I love vanilla, you always have to save the best for last, right? There’s just something about chocolate pudding that is so unbelievably good! (As much as I love them) we’re upgrading from those pudding cups that you get from the store today.
Making homemade pudding is so much easier than you’d think! Once you get a taste of the rich chocolatey flavor you’re going to want to make it all the time. I don’t blame you! Homemade chocolate pudding has quickly become one of my family’s favorite treats and I know yours will love it too. Just be sure to save some for yourself before it gets eaten!
Ingredients You’ll Need
Since chocolate is the main flavor of this dessert, using high-quality chocolate is key! As long as you’ve got some good chocolate, you likely have the rest of these ingredients in your pantry and fridge ready to go! Check out the recipe card below for exact measurements.
- Cocoa Powder: Gives your whole batch of pudding rich chocolate flavor.
- Granulated Sugar: Adds the perfect sweetness to the pudding.
- Cornstarch: Adds thickness and helps the pudding solidify.
- Salt: Just a pinch is all you need to enhance the chocolatey flavor!
- Large Egg Yolks: Egg yolks help bind all of the ingredients together and also create a nice, smooth texture.
- Whole Milk: The high fat content in whole milk will make your pudding extra creamy.
- Chocolate: I used semi-sweet chocolate so the pudding isn’t too sweet, but feel free to use dark or milk chocolate, whatever you prefer! Adding chopped chocolate gives the pudding an extra layer of flavor.
- Unsalted Butter: Adds richness and flavor!
- Vanilla Extract: Use pure vanilla extract if you can for the best flavor!
How to Make Homemade Chocolate Pudding
As delicious as this homemade chocolate pudding is, it needs to be chilled for 4 hours (preferably overnight) to set properly. Because of this, it’s not the best for making last minute but it’s great for making ahead of time!
- Combine Ingredients: Mix the cocoa powder, sugar, cornstarch, and salt together in a heavy-bottomed medium saucepan. Whisk in the milk and egg yolks.
- Cook: Heat over medium, whisking constantly until the mixture thickens and bubbles, which takes about 5-8 minutes. Once thickened, continue to cook for an additional 1-2 minutes all while still whisking constantly.
- Add Flavorings, Transfer to Container: Remove from the heat and whisk in the chopped chocolate, butter, and vanilla. Pour into a heat-proof container and press a layer of plastic wrap to the top of the pudding, making sure the plastic wrap makes contact with all of it in order to prevent a film forming as it cools.
- Chill: Chill in the fridge for 4 hours, or overnight.
- Stir and Enjoy: Before serving, stir the pudding well. Transfer to serving dishes, if desired. Top with toppings of your choice.
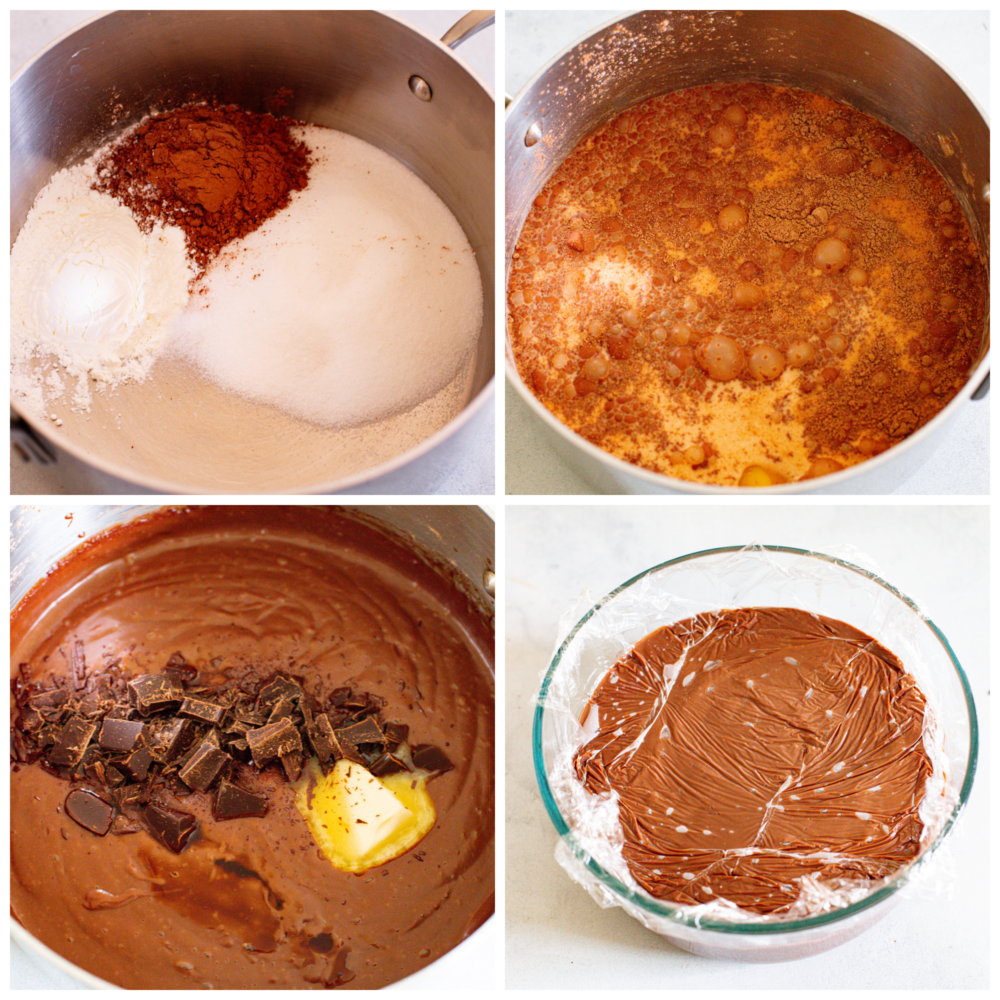
How to Make the Best Homemade Pudding
If you incorporate these simple tips and tricks into your cooking, your next batch of homemade pudding will be absolutely divine!
- Don’t Let Your Pudding Burn: Whisk constantly while on the heat to avoid the eggs and milk burning.
- Thicken: Once the mixture begins to bubble, be sure to continue to cook for a minute or two to ensure the pudding thickens properly. Undercooked pudding will turn out soupy.
- Add Plastic Wrap: Press the plastic wrap directly to the surface of the pudding (careful, it’s going to be hot!) to prevent a film from forming on top of it as it cools. Once it is completely cooled, it won’t need the plastic wrap directly on it again.
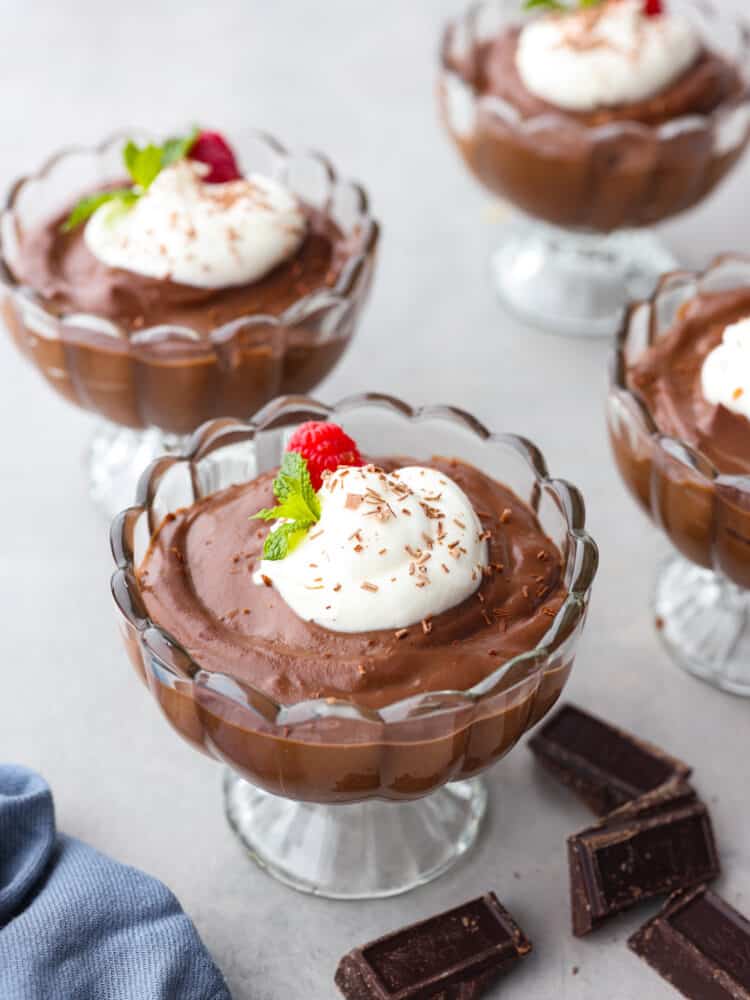
- Toppings: Fresh berries and a dollop of whipped cream is always a good idea! You can also add things like chopped nuts, toffee bits, or a drizzle of salted caramel sauce for extra indulgence!
Storing Leftovers
I love making a big batch of homemade chocolate pudding to enjoy throughout the week. It’s great for eating straight out of the fridge when you get a craving for something sweet!
- In the Refrigerator: Store in the fridge in an airtight container for up to 5 days.
More Amazing Chocolate Desserts
For all of my chocoholics out there, these recipes are for you! More rich, indulgent desserts sure to satisfy your sweet tooth. You can find my full list of amazing chocolate desserts here!
Desserts
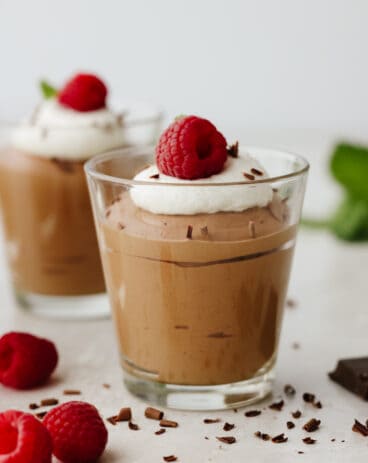
Chocolate Mousse
Desserts
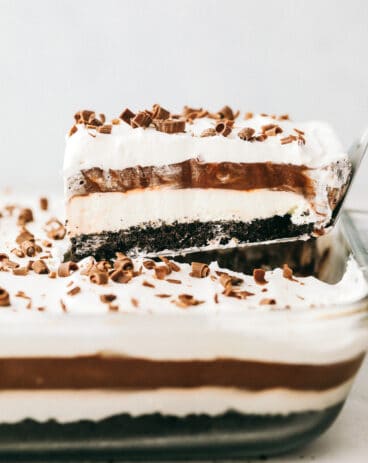
Chocolate Lasagna
Desserts
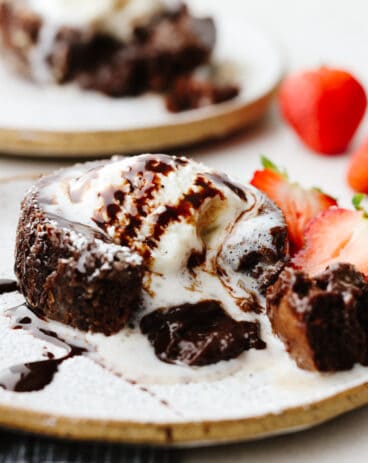
Chocolate Lava Cake
Bread
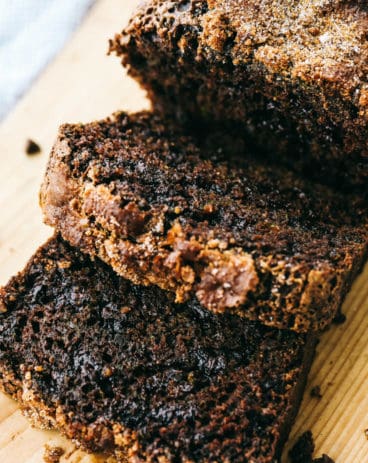
Chocolate Zucchini Bread
Homemade Chocolate Pudding
Ingredients
- 5 tablespoons cocoa powder
- ½ cup granulated sugar
- 3 tablespoons cornstarch
- ¼ teaspoon salt
- 3 large egg yolks
- 2 ¼ cup whole milk
- 2 ounces high-quality semi-sweet chocolate chopped
- 2 tablespoons unsalted butter
- 1 teaspoon vanilla extract
Instructions
-
Mix the cocoa powder, sugar, cornstarch, and salt together in a heavy-bottomed medium saucepan. Whisk in the milk and egg yolks.
-
Heat over medium, whisking constantly until the mixture thickens and bubbles, which takes about 5-8 minutes. Once thickened, continue to cook for an additional 1-2 minutes all while still whisking constantly.
-
Remove from the heat and whisk in the chopped chocolate, butter, and vanilla. Pour into a heat-proof container and press a layer of plastic wrap to the top of the pudding, making sure the plastic wrap makes contact with all of it in order to prevent a film forming as it cools.
-
Chill in the fridge for 4 hours, or overnight.
-
Before serving, stir the pudding well. Transfer to serving dishes, if desired. Top with toppings of your choice.

0 comments