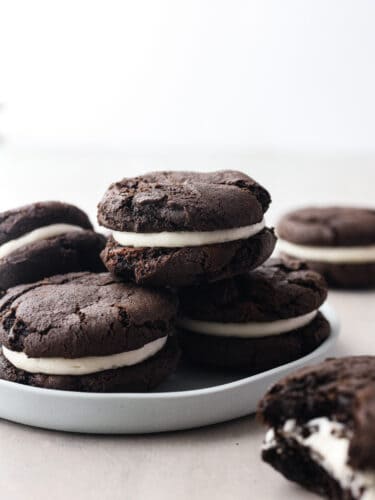
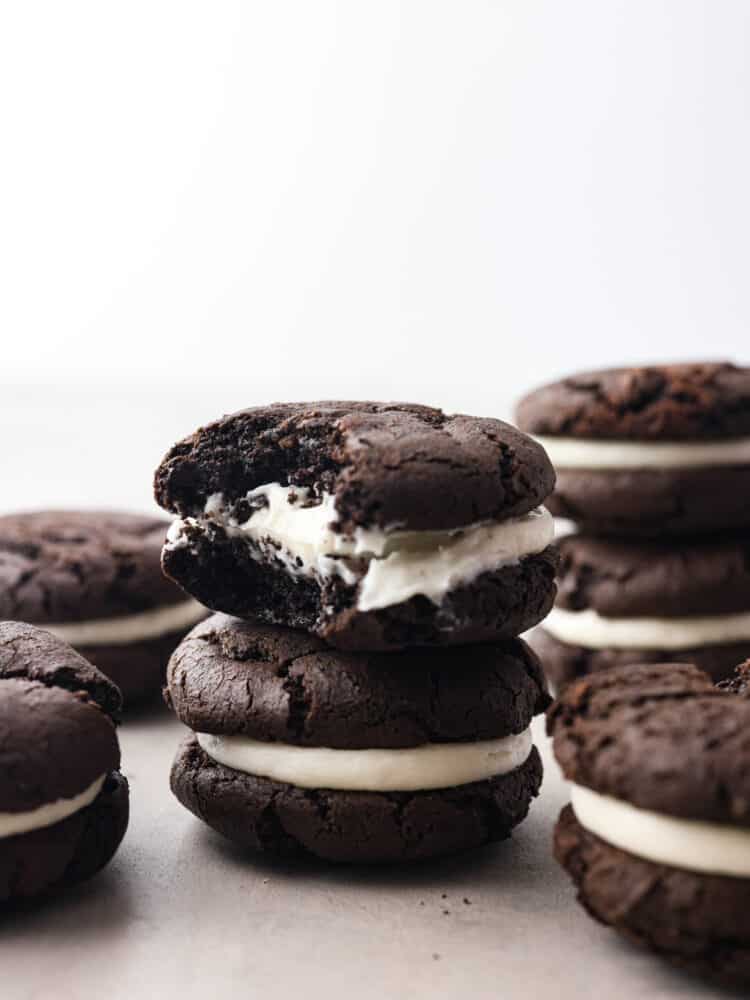
Get ready to enjoy the best homemade cookie out there! These Oreo cakesters are perfectly soft on the outside and filled with the BEST creamy oreo filling. You won’t be able to stop at just one!
Homemade cookies are always a hit at our house. Some of my favorites to bake for my kids are these Texas sheet cake cookies, these flourless peanut butter cookies and these delicious carmelitas (the best cookies known to man!).
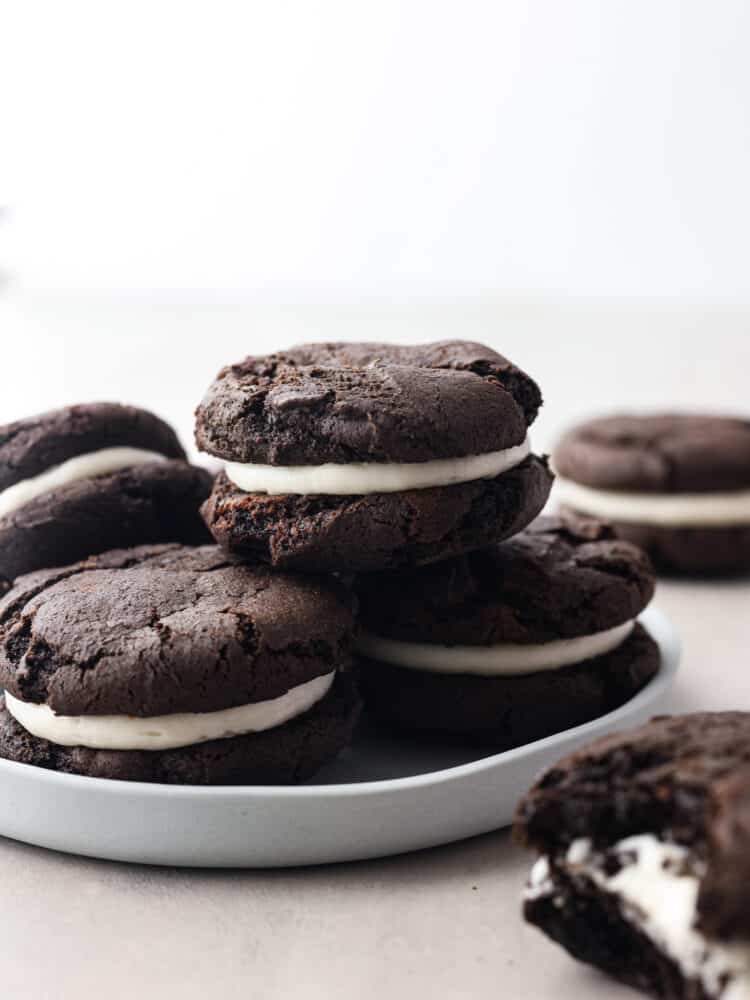
What are Oreo Cakesters?
If you have never had an Oreo cakester, then you are in for a treat! They made this classic treat back in the early 2000s and I LOVED them! They are basically like a whoopie pie. This delicious dessert has all of the good things from an Oreo: The creamy filling, that delicious rich chocolate flavor BUT… These are even better because they are as soft, chewy, and creamy as possible! Plus, they are homemade! It doesn’t get much better than that!
These soft snack cakes are not only delicious but simple to make, which is a MUST around our house, especially when my kids want to help! They love baking cookies with me, and this recipe is perfect because it switches things up. We always double this batch because they FLY off of the table. These are great to bring to any party or gathering because everyone goes crazy over them!
Ingredients in Oreo Cakesters
The secret to these delicious cookies is using a cake mix to make the dough… Yep, it’s so easy! Check out the recipe card at the bottom of the post for exact measurements.
Cookies
- Devil’s Food Cake Mix: Using a box cake mix for the dough means that it’s easy clean up and delicious taste!
- Vegetable Oil: This is what will make the cookies soft and moist.
- Eggs: The eggs bind everything together so that you can form a soft dough.
- Black Food Coloring: This is optional but it will give the Oreo cakesters that deep look of an actual Oreo.
Filling
- Cream Cheese: Leave your cream cheese out on your counter for a few minutes before you start baking to let it soften. That way, it mixes in without any lumps!
- Butter: I always use unsoftened, unsalted butter for this filling.
- Powdered Sugar: The powdered sugar brings in that sweet taste but it also dissolves so easily which creates a smooth texture.
- Salt: This enhances all of the flavors in the filling.
- Vanilla: Add a splash of vanilla flavoring to make this filling turn out perfectly.
How to Make Homemade Oreo Cakesters
You will find out just how easy these are to make, and then you will make them ALL the time! Be careful, though. If you don’t save any for yourself at the beginning, they will all be snatched up before you know it!
Cookies
- Prep: Preheat the oven to 350°F and line two baking sheets with parchment paper. Set aside.
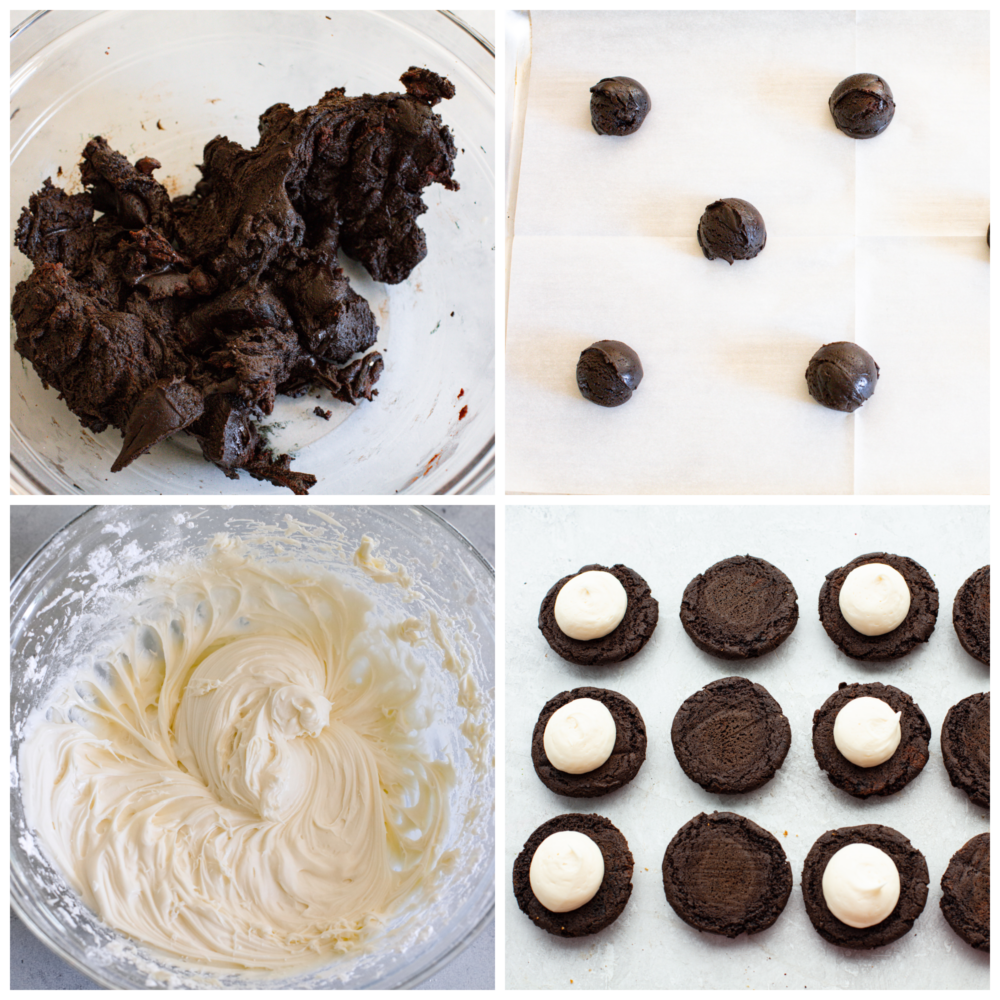
- Combine Ingredients: Add the cake mix, oil and eggs to a large bowl. Use a hand mixer or a stand mixer to combine. If a darker cookie is desired for that Oreo look, add a few drops of black food coloring until the desired color is achieved.
- Scoop and Bake: Use a medium cookie scoop to scoop dough onto the prepared baking sheets, leaving 2 inches between them. Bake for 11-12 minutes, until the edges of the cookies are set. Let them cool for 2 minutes on the baking sheet before transferring to a cooling rack to cool completely.
Filling
- Beat: In a medium bowl, beat the cream cheese and butter together until smooth. Add the powdered sugar, salt, and vanilla and beat again until fully combined.
- Add to Cookies: Add the filling to a piping bag or a ziplock bag and snip off the end for a medium sized opening. Squeeze a dollop of frosting on the backside of one cookie and sandwich another on top. Repeat with the rest of the Oreo cakesters.
Variations
Change these Oreo Cakesters so you can have a different one every time! Here are a few ideas that you can try:
- Change the cake mix: If you use a different cake mix, then you get an entirely different cakester! Try vanilla for a “Golden Oreo” look. Or strawberry for holidays! Really, whatever your favorite flavor is, go for it!
- Change the filling: You can add in some extract to the filling to make it different flavors. I love making coconut whoopie pies using coconut extract!
- Roll them in toppings: To add in some more texture or color, roll the sides in some sprinkles, mini m&m’s or shredded coconut! It will make them festive and kick them up a notch.
How to Store Homemade Cakesters
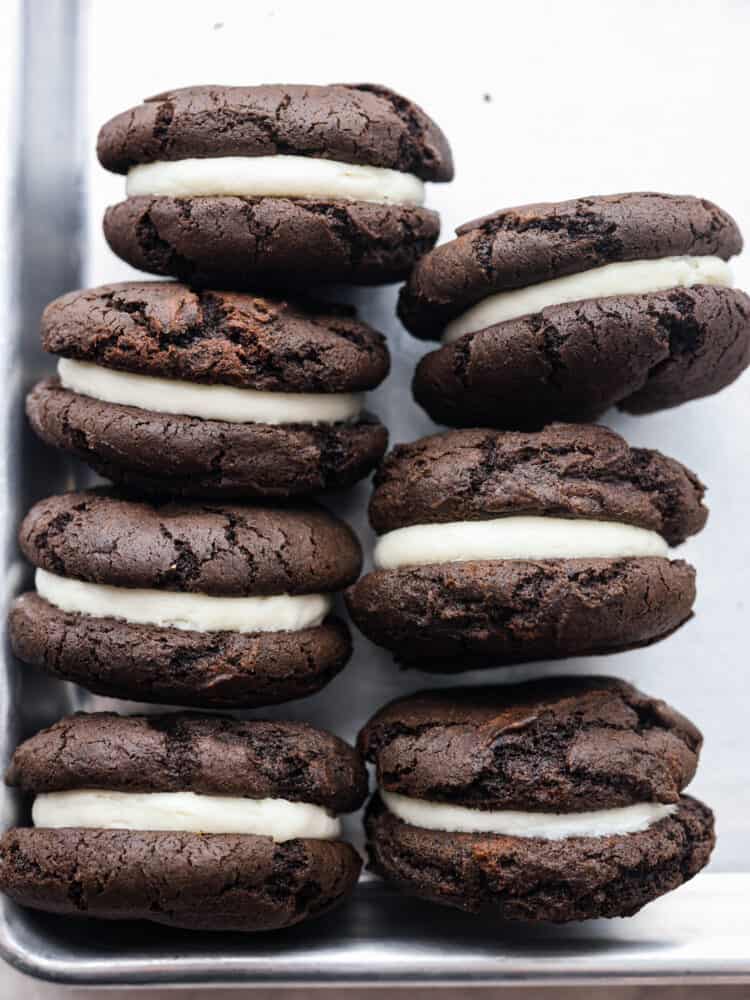
Once they are baked and assembled, place your cookies in an airtight container. They will last on your counter for up to 3 days! You can also freeze them and they will last up to 3 months. Just let them thaw at room temperature before you eat them.
More Easy Dessert Recipes
If you loved making these cookies because they were so easy then I have a few more to try! I love making things from scracth but sometimes, you need a recipe that whips up a little more quickly. Try these other recipes out. They are great for any occasion!
Desserts
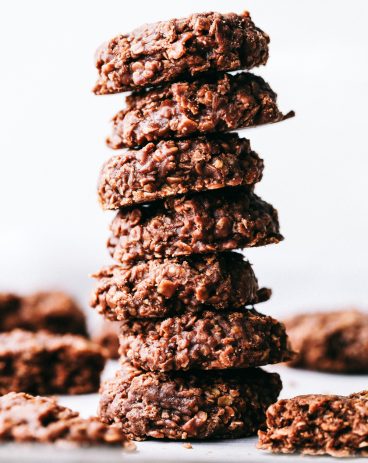
The Very Best No Bake Cookies
Desserts
Flourless Peanut Butter Cookies
Desserts
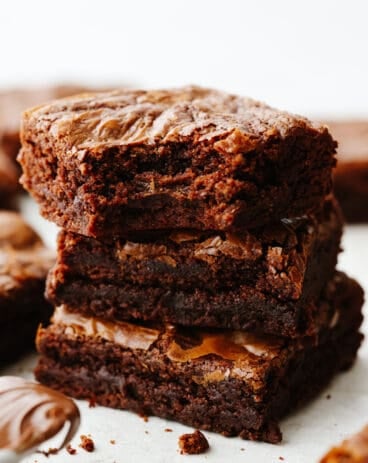
3-Ingredient Brownies
Oreo Cakesters
Ingredients
Cookies
- 1 Box Devil’s Food Cake Mix
- 1/3 Cup Vegetable Oil
- 2 Large Eggs
- Black Food Coloring Optional
Filling
- 4 Oz Cream Cheese Softened
- ¼ Cup Unsalted Butter Softened
- 2 Cups Powdered Sugar
- ¼ Teaspoon Salt
- ½ Teaspoon Vanilla
Instructions
Cookies
-
Preheat the oven to 350°F and line two baking sheets with parchment paper. Set aside.
-
Add the cake mix, oil and eggs to a large bowl. Use a hand mixer or a stand mixer to combine. If a darker cookie is desired for that Oreo look, add a few drops of black food coloring until the desired color is achieved.
-
Use a medium cookie scoop to scoop dough onto the prepared baking sheets, leaving 2 inches between them. Bake for 11-12 minutes, until the edges of the cookies are set. Let them cool for 2 minutes on the baking sheet before transferring to a cooling rack to cool completely.
Filling
-
In a medium bowl, beat the cream cheese and butter together until smooth. Add the powdered sugar, salt, and vanilla and beat again until fully combined.
-
Add the filling to a piping bag or a ziplock bag and snip off the end for a medium sized opening. Squeeze a dollop of frosting on the backside of one cookie and sandwich another on top. Repeat with the rest of the cookies.


0 comments