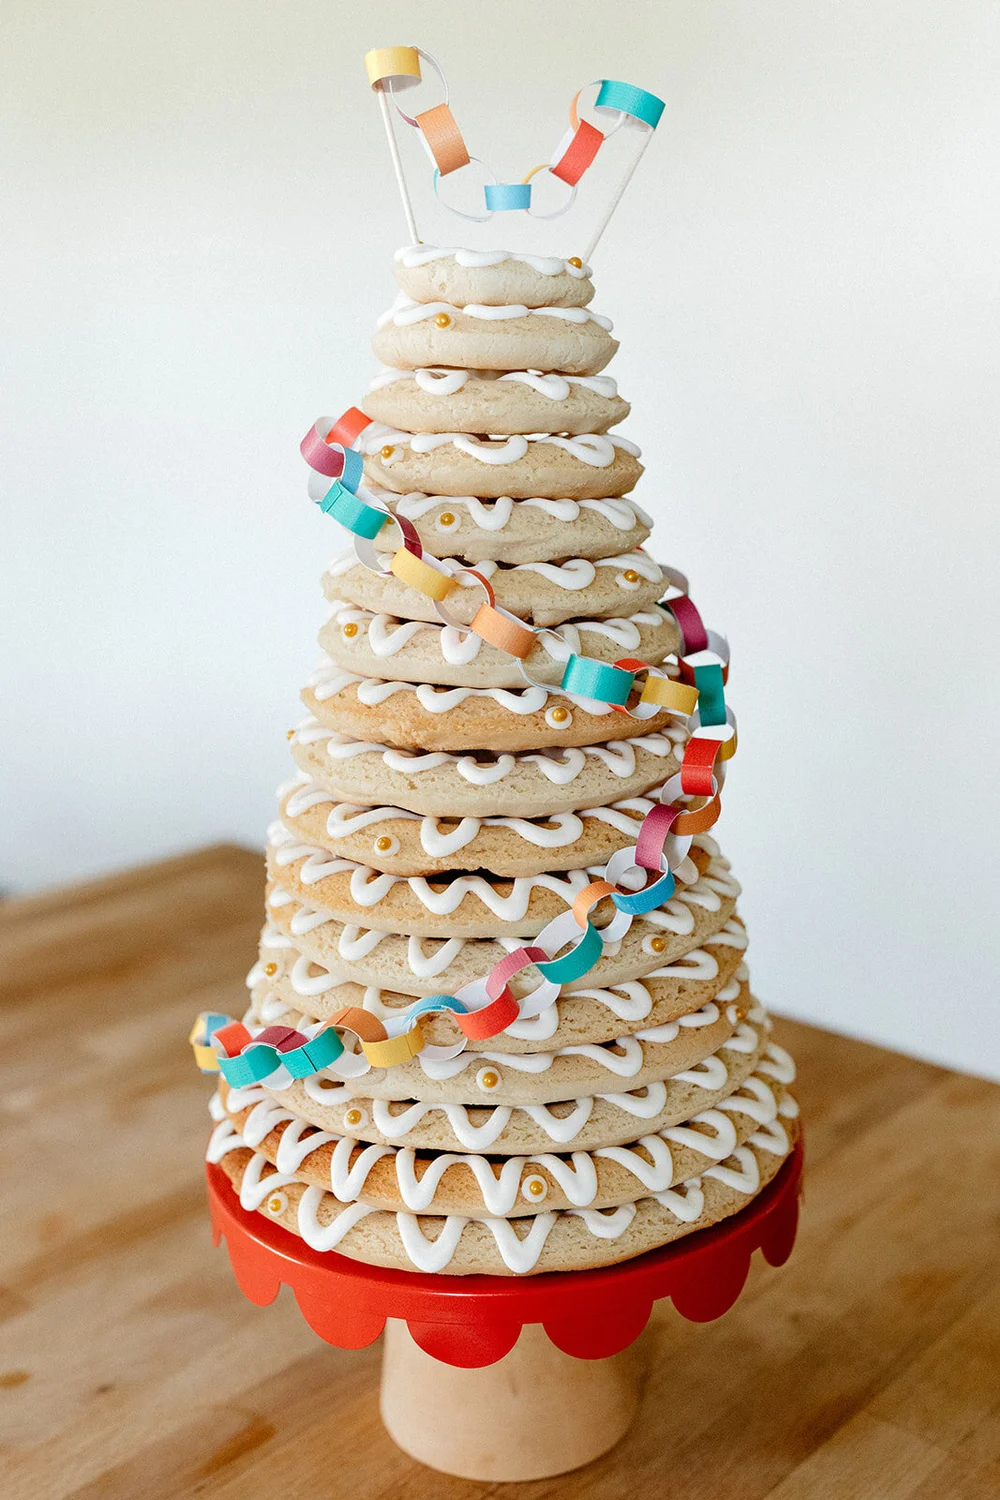
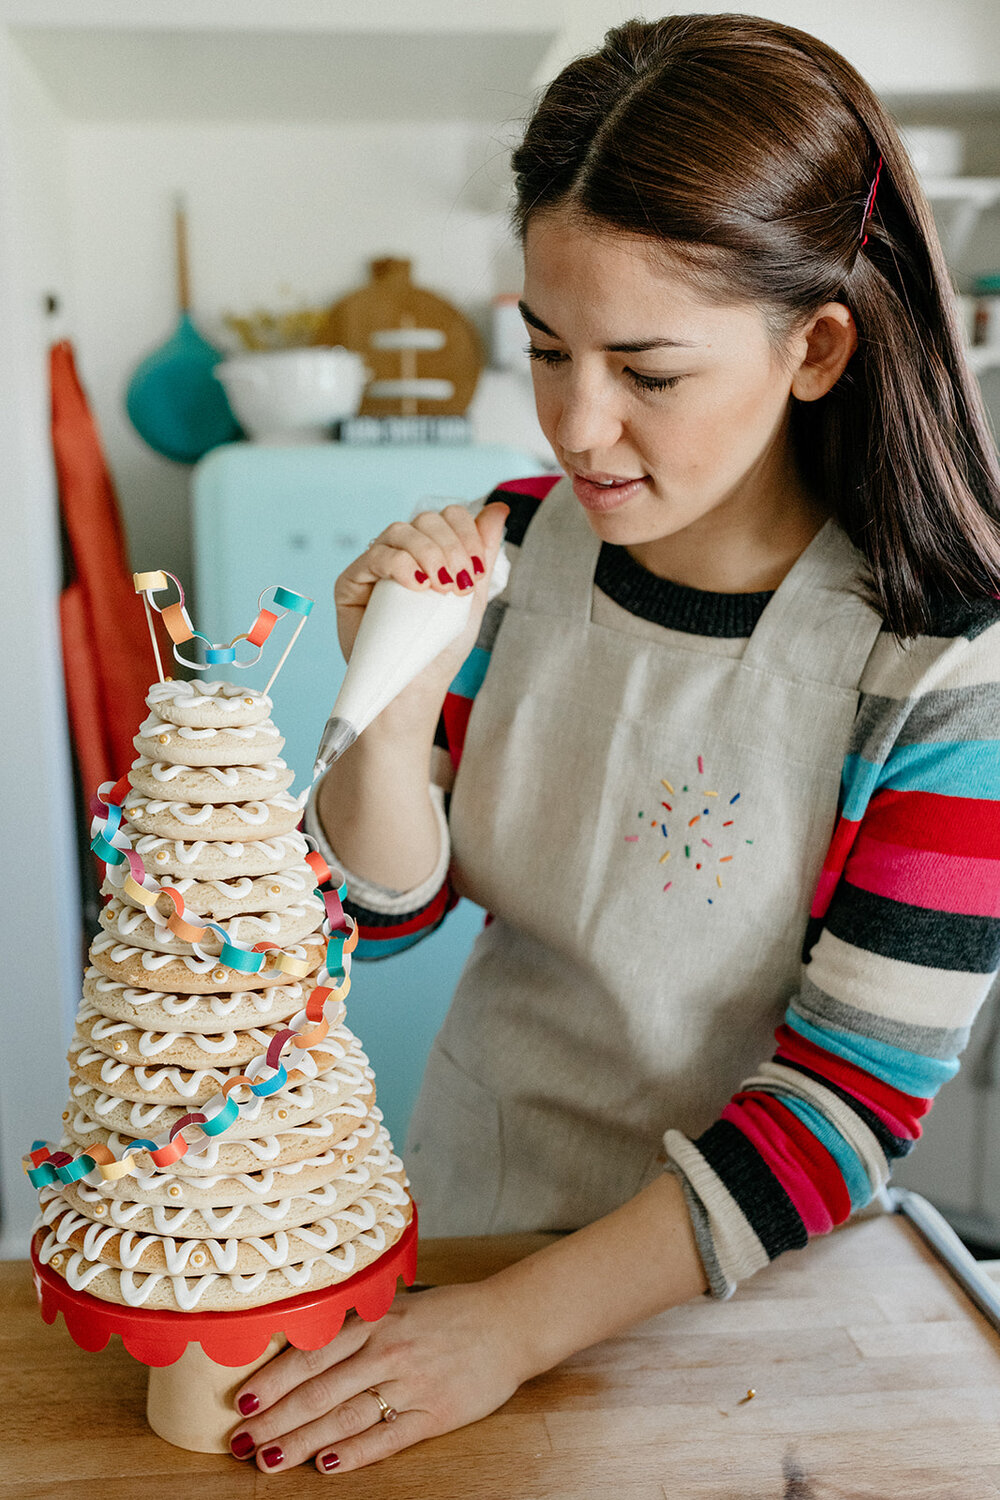
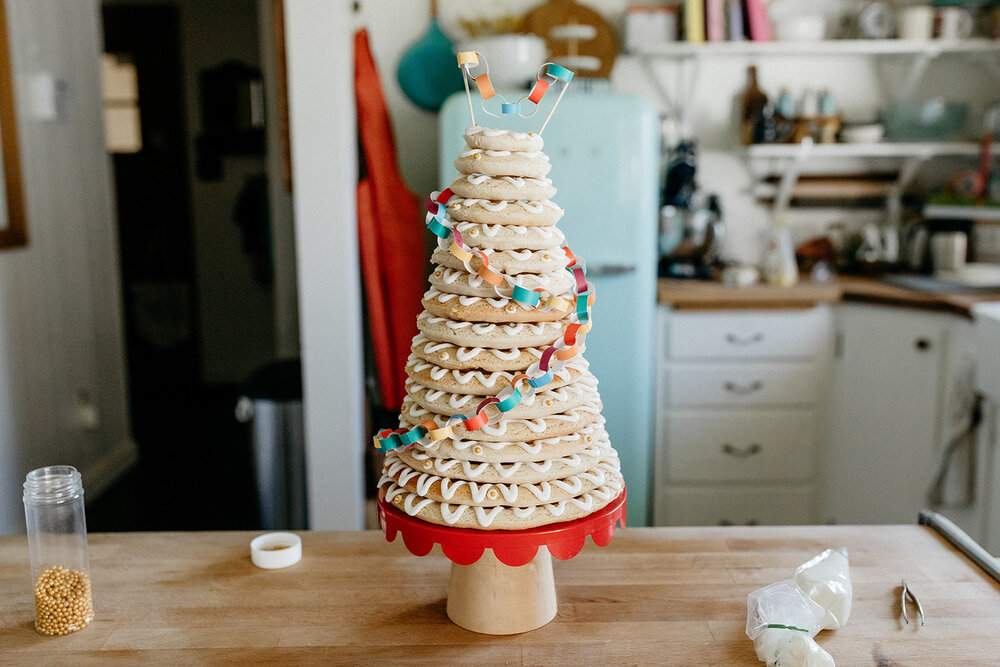
Around here, it just isn’t the holidays if, after being buried under a mountain of cookies all month, I don’t then emerge to make a holiday cake. It usually has marzipan or a storm of coconut snow or some type of gingerbread house-inspired element, and it’s typically my contribution to Nick’s extended family’s holiday party. This year I decided that it was time to tackle the magical Kransekake!
Kransekake is a Norwegian and Danish cake that’s traditional to have at big celebrations like weddings, Christmas celebrations, and Syttende Mai (Norwegian Constitution Day). In my eyes it’s the centerpiece of the celebration. It presides over the party. Whenever I’m in the room with one I just gaze at it with heart eyes because it’s so stunning and geometrically pleasing. The circles stacked up look so clean and pretty and I just always assumed that it would be extremely complicated and time consuming to make. So I started my research months ago and tapped friends and family for their recipes and tips. I learned of secret almond paste sources and admired Erin’s gingerbread version and got the story from Chantell and Brett on the wedding tradition of pulling off the top ring to see how many other rings stick to it and that symbolizes how many children you’ll have (!!!) Hah. I love it.
Probably my favorite thing that I learned was [whispers] that it’s actually easy to make. It may look delicate and time consuming, but in reality it’s quite sturdy and pretty difficult to screw up. The dough is easy to work with and there’s no gluten in it so you don’t have to worry about overworking it. The only thing that requires pre-planning is ordering the molds on Amazon. Past that, you don’t need a stand mixer or fancy ingredients or days and days of time. With good time management, you can crank one out in a day.
Also!!!! It’s so tasty!!! It’s basically baked marzipan. Crisp on the outside, super chewy on the inside, it bursts with almond flavor, and it also kinda lasts forever so you can totally make it far in advance. I can’t sing enough praises about Kransekake. It’s officially my favorite Norwegian thing since Bernie.
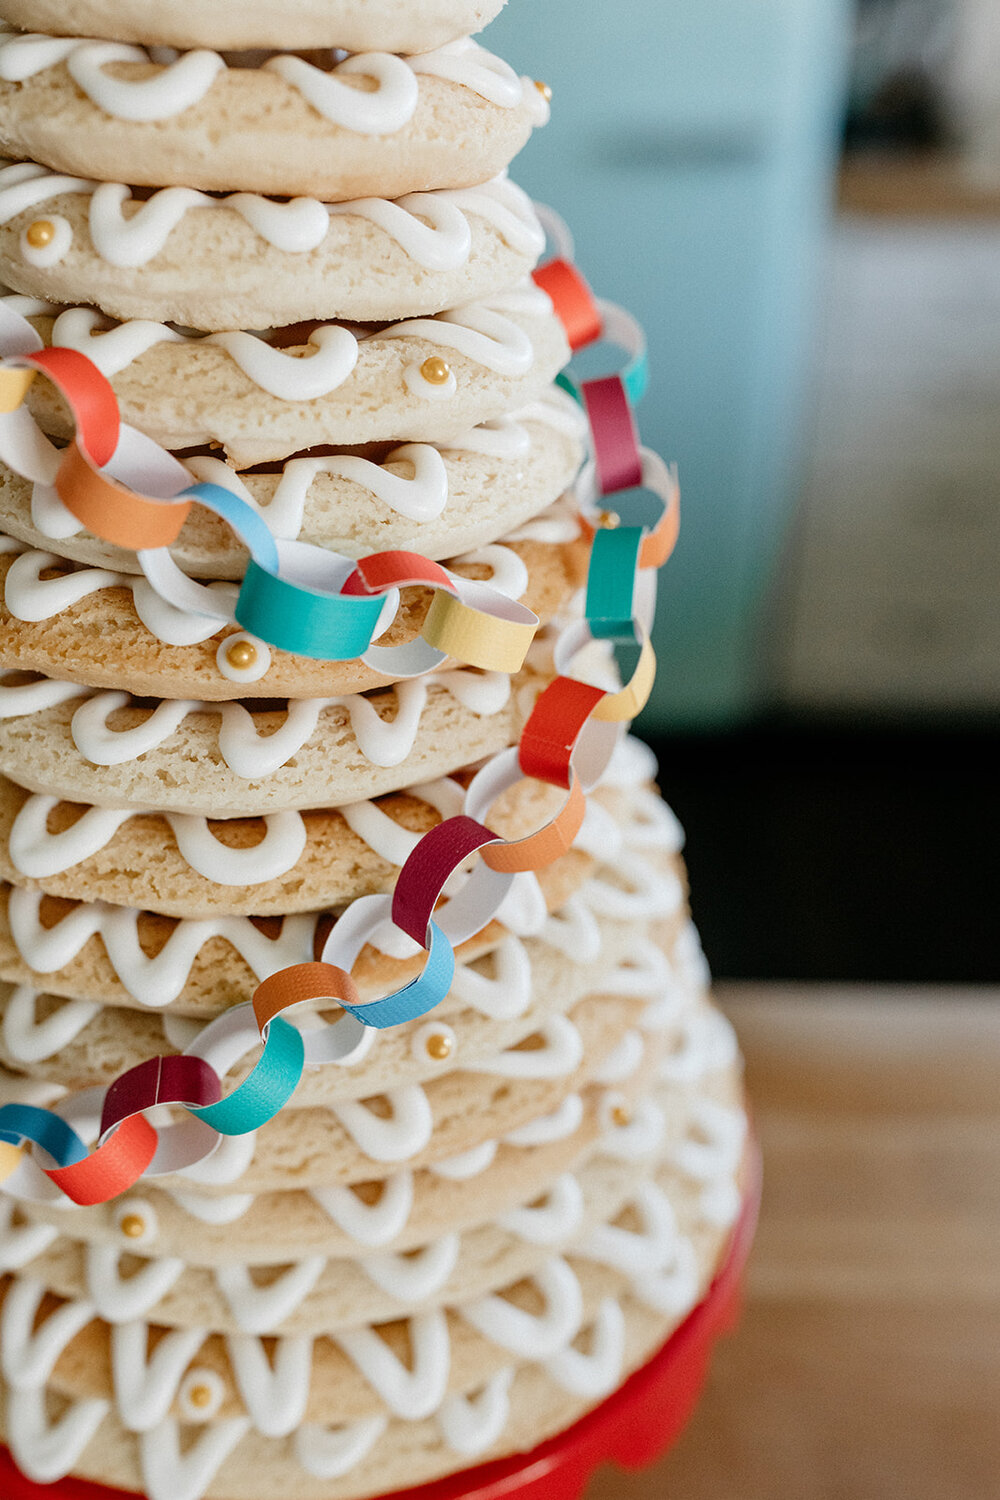
My version is a Chrismukkah Kransekake. It’s decorated with a paper chain that’s a miniature version of the rainbow felt chain that Nick and I made years ago for our Chrismukkah bush. (It’s rainbow because rather than going with a red/green Christmas theme or a blue/white Hanukkah theme, we just went with all of the colors!) It’s a pretty standard Kransekake recipe that I’ve embellished slightly with rosewater or orange blossom (both go so well with almond) and I like to grease the pans with coconut oil for a hint of coconut flavor. You could always go with butter though.
So if you’re looking to impress all of your fronds with a holiday party centerpiece that’s less labor intensive than a gingerbread house (and, well, much tastier), make this!!!!
Kransekake
Makes 1 large Kransekake
Ingredients
500g (4 c + 7 tb) almond meal, plus more for dusting
500g (4 c + 3 tb) powdered sugar
1/2 tsp kosher salt
4 large egg whites
1 tsp almond extract
1/2 tsp orange blossom water or rosewater, optional
Softened butter or coconut oil, for greasing
For assembly
Royal icing (I just bought meringue powder from my local grocery and followed the recipe on the back!)
Sprinkles, paper chains, flags, any other fun decor!
Clues
In a large bowl, whisk together the almond meal, powdered sugar, and salt. Add the egg whites, almond extract, and orange blossom water or rosewater (if using) and stir with a spatula to combine. At first it will seem like there is not enough liquid to hold everything together but just keep on mixing and it will eventually form a dough. Pat the dough into 2 discs, wrap in plastic wrap, and refrigerate for 2 hours or up to overnight.
Preheat the oven to 400ºf and position the racks in the center of the oven. Use your hands to grease your kransekake molds liberally with butter or coconut oil and set aside. I prefer to set the molds on large baking sheets so that they’re easier to move around.
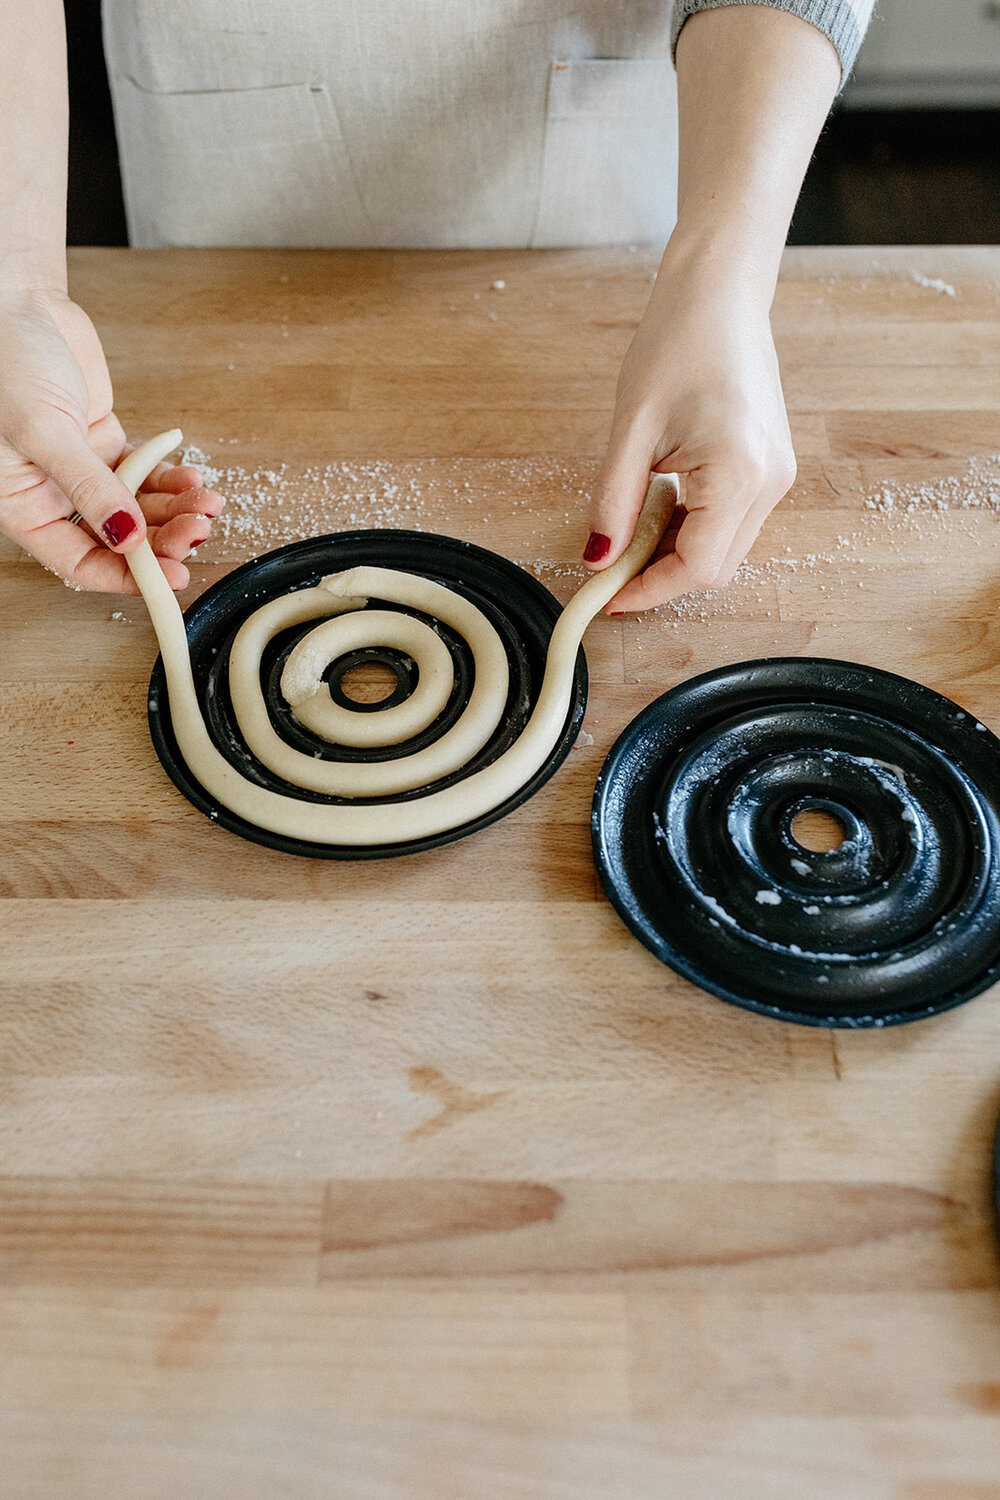
Working with one dough disc at a time, chop off a piece of dough and roll it into a rope that’s a generous 1/2” thick (or, if you’re pulling your kitchen ruler out, just go with 5/8” thick…), dusting with additional almond flour if the dough is sticky. Coil the rope into the molds, pinch off any excess dough, and pinch the ends to seal them together. Continue this, re-rolling scraps as needed, until all of the molds are filled. Don’t worry about overworking the dough! Bake until golden; begin checking for doneness at 9 minutes. You’ll likely need to bake these layers in batches, which is totally fine, just keep any dough that you’re not working with covered and in the refrigerator.
Let the rings cool in the pans and then carefully pop them out (a small offset spatula or butter knife will help) and transfer to a baking sheet or wire rack.
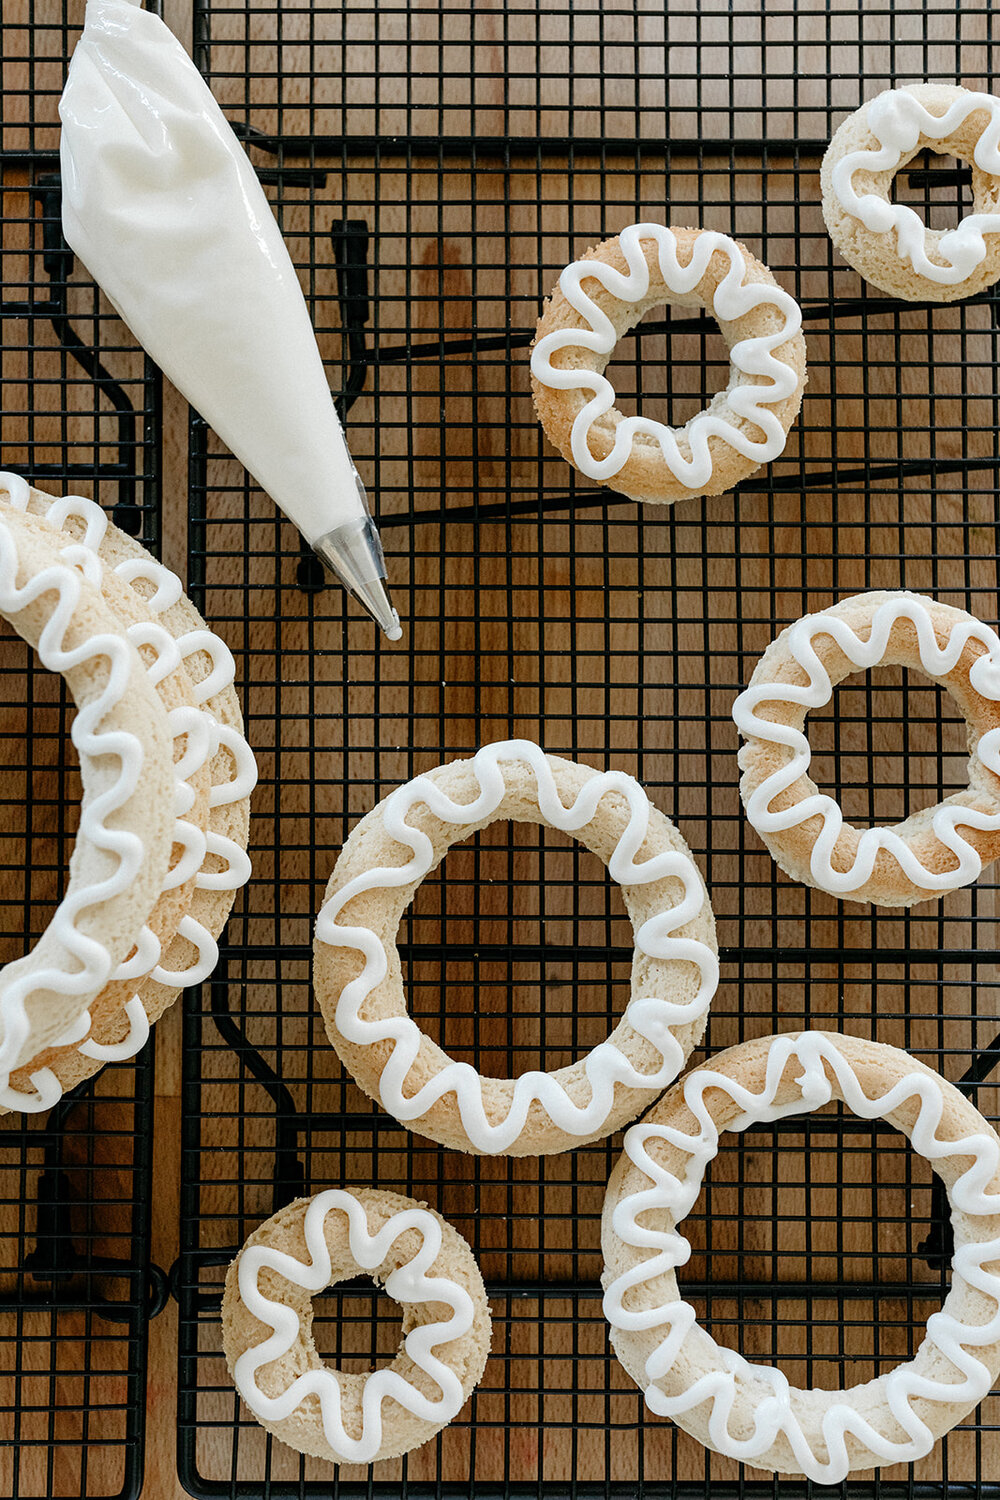
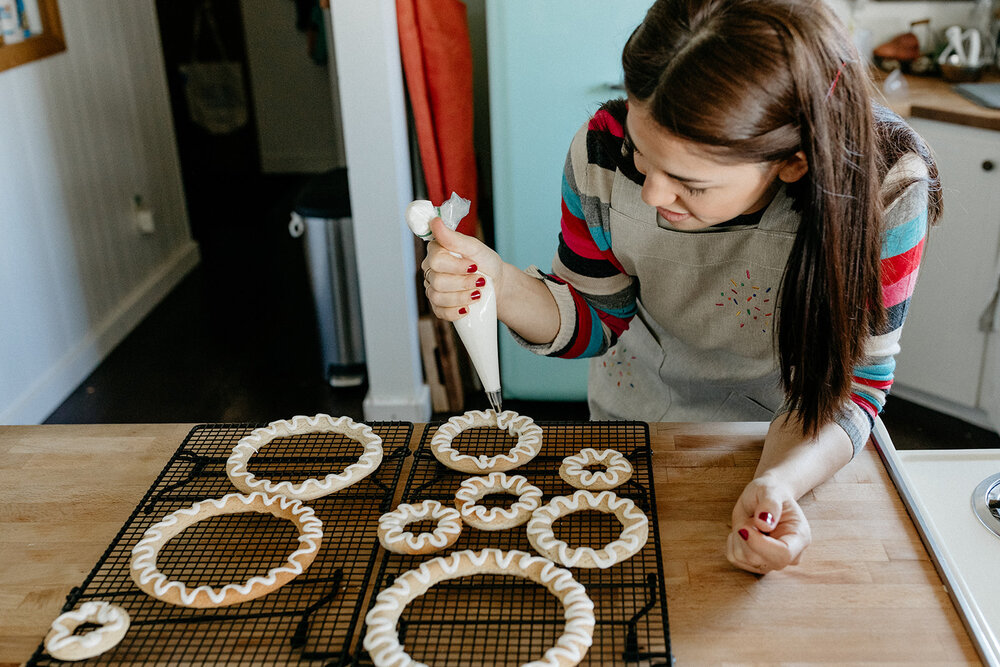
Make your royal icing and stack the rings up and then pipe on your decorations or pipe on your decorations, let them dry, and then stack them up. When you stack them up, “glue” them together with dots of royal icing (I do dots at 12 o’clock, 3 o’clock, 6 o’clock, and 9 o’clock). Let the icing dry and then decorate with sprinkles, paper chains, flags, or other decor as desired! This is good for at least a few days uncovered at room temperature, so feel free to make this in advance!
Print this recipe-yeh!
photos by chantell and brett quernemoen

0 comments