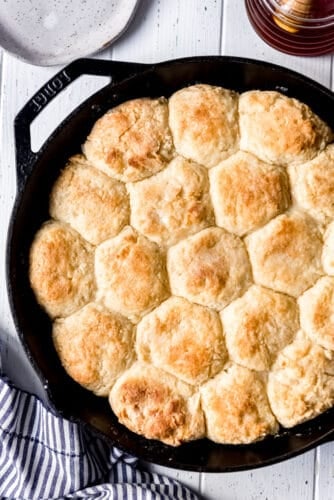
Angel Biscuits are a heavenly addition to any dinner table! These light and fluffy southern biscuits are quick and easy to throw together and they freeze great if you want to make them ahead!
There is no better way to round out dinner than with some kind of hot, fresh bread! Some of our other favorites are Easy Cheesy Garlic Bread or Jalapeno Cornbread.
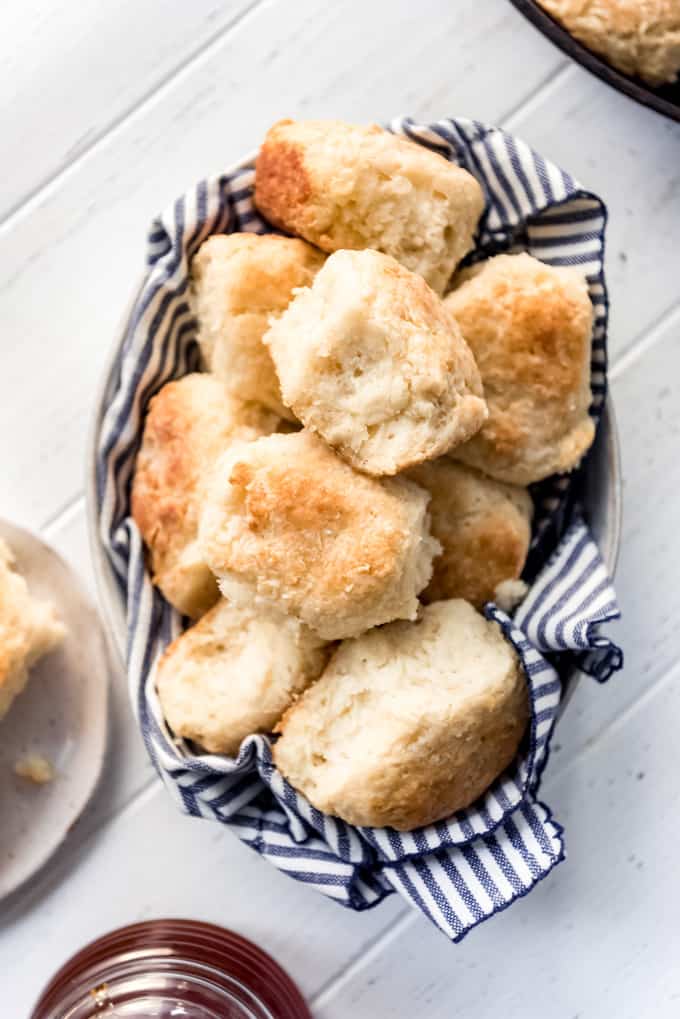
Fluffy Angel Biscuits
If you have never tried or even heard of angel biscuits, you are in for a treat! They are almost a cross between classic biscuits and a dinner roll, thanks to the addition of yeast, which helps both with flavor and lifting the biscuits to new heights!
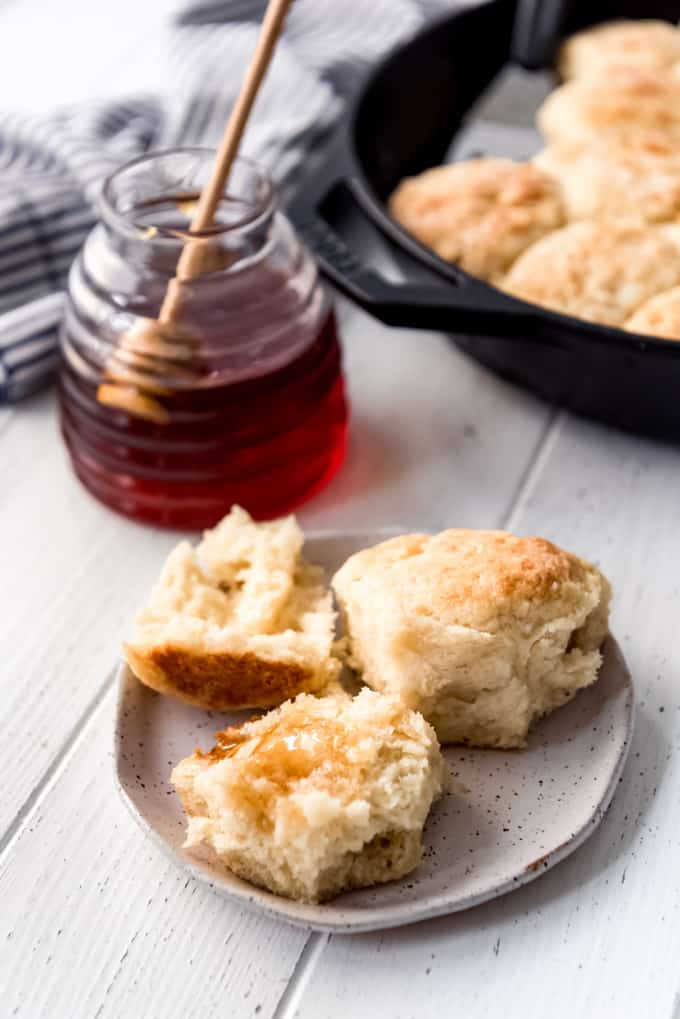
We love serving these as a side with soups, salads, or all kinds of dinner ideas. They are amazing split open and buttered with a drizzle of honey. Or use them to make the best sandwiches for breakfast or lunches. They are absolutely delicious with leftover ham!
And unlike other yeast breads, these don’t need a long proofing time before you can bake them, so they are perfect if you forgot to plan ahead.
What you Need to Make Easy Biscuits
You can literally have hot, fresh bread with any dinner with these angel biscuits since it only requires staple ingredients. Even the buttermilk has a quick and easy substitute that works well if you don’t happen to keep buttermilk on hand. Although since buttermilk freezes well, it’s always a good idea to keep some in the freezer, if you have space!
- Flour: Regular all-purpose flour makes up the bulk of these biscuits. You will need extra to pat out and cut the biscuits so they don’t stick to the counter, the biscuit cutter, or your hands.
- Butter & shortening: I know people have strong feelings about using shortening, but the combination of butter AND shortening gives the best texture to these biscuits. It’s the same approach I use in my favorite homemade pie crust!
- Yeast, baking powder & baking soda: This trio of leavening agents work together to give lift and flavor to the biscuits. While most biscuits are made with just baking powder or baking soda, the addition of yeast makes these biscuits almost like dinner rolls.
- Buttermilk: There is nothing like buttermilk for moist, flavorful biscuits! If you don’t have any on hand, I have a post on How to Make Buttermilk that can help!
- Sugar: The slight sweetness balances out the butter and salt of the biscuits without making them overly sweet. So they are still perfect with honey drizzled over the top.
- Salt: Adding salt to baked goods keeps them from being boring or bland!
Best Angel Biscuits Ingredients
These heavenly biscuits take hardly any work to throw them together. You can actually make your biscuit dough a couple of hours or even a few days in advance and just keep it in the fridge until you are ready to bake. The additional time just allows the flavor to develop from the yeast!
- Prep work: Start by preheating the oven to 400 degrees F. The higher cook temperature helps the biscuits rise quickly, along with the leavening agents, for the lightest, fluffiest biscuits. If you are using a cast iron skillet, go ahead and butter the bottom and sides of the pan. Or you can also make these on a baking sheet lined with parchment paper.
- Proof the yeast: I tested these biscuits using active dry yeast, which requires proofing for five minutes in a little warm water to wake it up. You can use the same amount of instant yeast and skip the proofing step, if you prefer.
- Cut in the fat: In a large bowl, mix the flour, sugar, baking powder, baking soda, and salt together. Then use a pastry cutter to cut the cold butter and shortening in until it resembles coarse crumbs or small peas. If you don’t have a pastry cutter, you can do this step with two knives or even just using your hands.
- Add the buttermilk and yeast: To keep your biscuits light and airy, use a fork to gently mix the flour mixture together with the yeast and buttermilk, stirring just until everything is moistened and coming together.
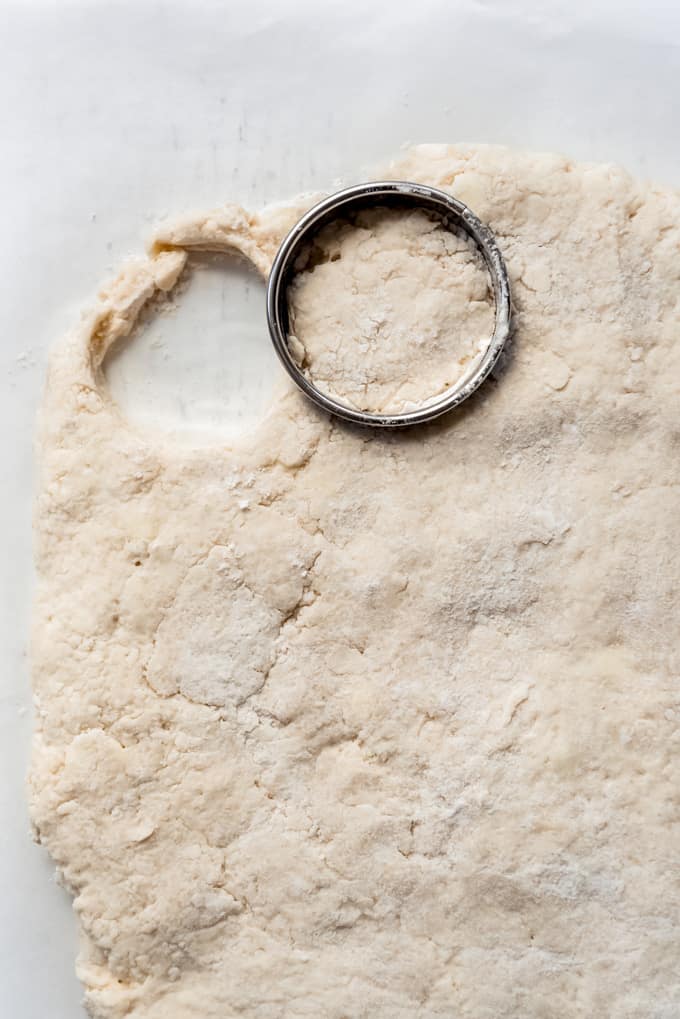
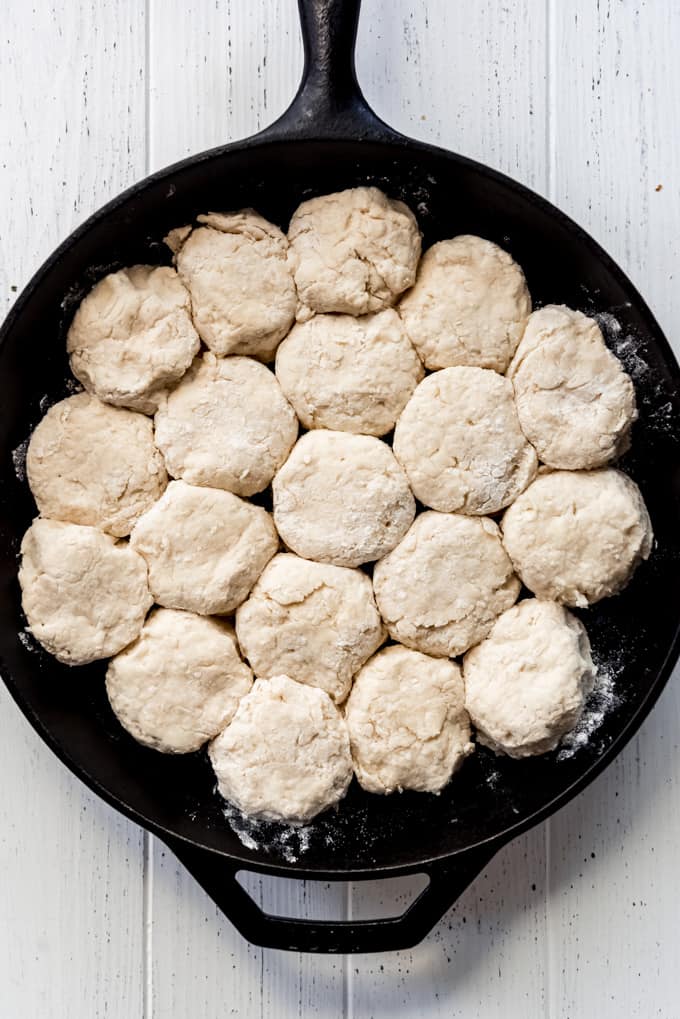
- Cut out biscuits: Turn the dough out onto generously floured surface. It’s a nice, soft biscuit dough and you may need to sprinkle additional flour on top of it and rub some on your hands to keep the dough from sticking. I like to just pat it out into a 1-inch thickness rather than using a rolling pin. Use a 2 1/2-inch biscuit cutter to cut out your biscuits and arrange them close together in your prepared skillet or baking sheet. It’s okay for them to touch!
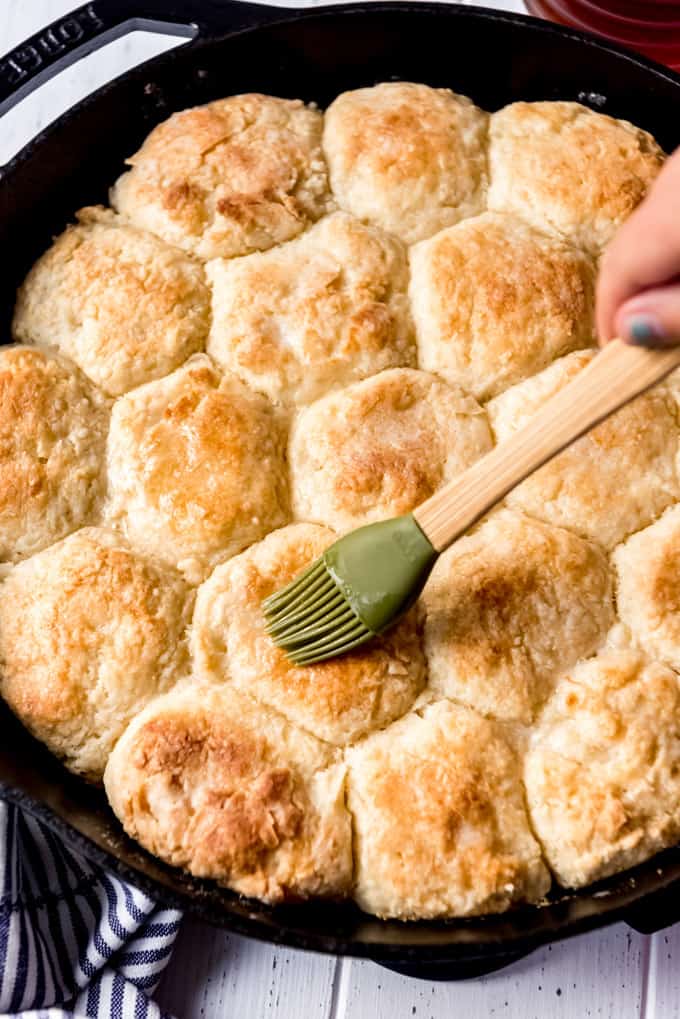
- Bake until golden: It doesn’t take long, only about 15 minutes, for these angel biscuits to puff up and get nice and beautifully browned on top. As soon as I pull them out of the oven I like to brush the tops of the biscuits with a little additional melted butter for extra flavor and a lovely sheen, but it’s an optional step that you can skip. The biscuits are plenty buttery as is.
How do you Make Fluffy Biscuits?
There are a couple of key things to know to get the fluffiest biscuits. The first is to use cold butter and shortening. Keeping the butter cold means that it will melt and steam while baking. This will help the biscuits to be light and fluffy every time!
Another key tip is to not overwork your biscuit dough, either when mixing it or when you are patting and cutting it out. I prefer to pat out the dough with my hands rather than rolling it. It is easier to overwork the dough with a rolling pin.
Tips and Tricks
- Make-ahead and freezing: You can make your biscuit dough up to 1 week in advance. Then store it in the fridge until you are ready to bake. Or bake and freeze the biscuits for up to 2 months. Just thaw them and pop them in a 350 degree oven for 8-10 minutes until they are nice and warm and they will be almost just as good as fresh!
- Brush the tops with melted butter: This step is optional, but the buttery finish on the tops of the biscuits is so good! You could even melt equal parts honey and butter together for a sweeter finish on top of the biscuits.
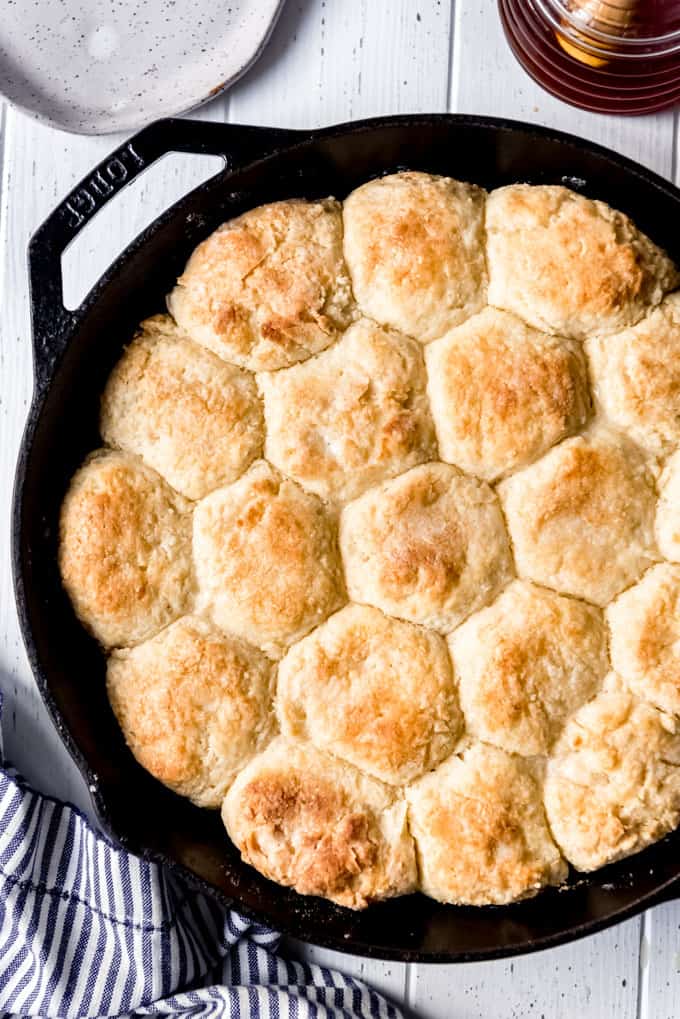
- Using cast iron: A cast iron pan is fantastic, but not essential to making angel biscuits. But whatever pan you use, I recommend arranging the biscuits close together before baking. This way they support each other and rise upwards instead of spreading out. Plus, then they have soft, almost pull-apart sides that are one of our favorite parts about them. A couple pie plates, a baking dish, or a baking sheet will work as well though.
- Making a half batch: This recipe makes a large batch of biscuits! But they are so irresistible and last so well in the freezer that we always go through them and wish we had more. You can make a half-batch if you only want a dozen biscuits though.
More Delicious Biscuit Recipes
Are biscuits the best part of the bread world? I think it’s a pretty good chance that they are! They are easy to make, unpretentious, and super comforting. They are also just as good on the dinner table as they are being served at breakfast! Be sure to check out some of these other delicious biscuit recipes that we enjoy at our house!
- 7-UP Biscuits
- Buttermilk Biscuits
- Copycat Red Lobster Cheddar Bay Biscuits
- Cinnamon Roll Biscuit Bake
- 5 Minute Air Fryer Biscuit Pizzas
Angel Biscuits
Ingredients
- 1/4 cup warm water
- 4 1/2 teaspoons active dry yeast
- 5 cups all-purpose flour
- 1/4 cup granulated sugar, divided
- 3 teaspoons baking powder
- 1 teaspoon baking soda
- 1 1/2 teaspoons salt
- 1/2 cup salted butter, cold and cubed, plus more for brushing on top of the biscuits
- 1/2 cup vegetable shortening, cold
- 2 cups buttermilk
Instructions
-
Preheat the oven to 400 degrees F. Butter the bottom and sides of a large cast iron skillet, or line a baking sheet with parchment paper.
-
Combine the warm water (between 100 and 110 degrees F) and yeast with 1 teaspoon of the sugar in a bowl and set aside to proof for 5 minutes until foamy.
-
While the yeast is proofing, add the flour, sugar, baking powder, baking soda, and salt in a large bowl. Add the cold, cubed butter and shortening. Use a pastry cutter, two knives, or your fingers to cut the butter and shortening into the flour.
-
Add the proofed yeast and buttermilk and stir with a fork or spatula to combine just until the dough starts coming together. Do not overmix. The dough can be covered tightly with plastic wrap and stored in the fridge for up to 1 week at this point.
-
Turn the biscuit dough out onto a floured surface and sprinkle the top with more flour. Dust your hands with some flour to keep them from sticking, then pat the dough out into a large rectangle about 1-inch thick.
-
Cut out biscuits using a sharp 2 to 2 1/2-inch round biscuit cutter and pressing straight up and down without twisting. You may need to dip your cutter into flour before cutting the biscuits to prevent them from sticking. Cut carefully to get as many biscuits as you can out of the first cutting. Scraps can be squished together, patted out, and cut out, but they won't be quite as light and tender as the first ones.
-
Arrange the biscuits in the prepared skillet or on a baking sheet with the sides touching. This will help them rise even more and give nice soft sides. If you have additional biscuits that don't fit in your skillet, you can always refrigerate and bake them later or bake them separately on a baking sheet.
-
Bake for 14-16 minutes until golden brown on top and cooked through. Remove from the oven and brush with an additional 3-4 tablespoons of melted butter, if desired.

0 comments