

Masada
Masada National Park
מצדה, Israel
The post Wordless Wednesday: Masada appeared first on BitterSweet.
10 years ago this week, this blog was born! I feel like I should make a speech?? I’m terrible at speeches (see: the time I officiated Stoop’s wedding and made the speech about farts), but I’ll give it a try anyway because I’ve been getting a little emotional reflecting on these past 10 years and thinking about how much fun and fulfilling it’s been to keep this blog. She’s been with me through so much! My bangs and eyeliner phase, my schnitzel eating phase, my lunch packing bike riding phase! The first layer cake I ever made is buried in these archives, as is the first recipe I ever wrote. I blogged about my first date with Eggboy, our move to the farm, our wedding, our Bernie... I’ve made so many of my closest friends through my blog and documented adventure after adventure after weeeeeeird adventure. And seriously now that I think of it, I really would have no friends here if I didn’t meet them through my blog haha.
This blog has led to my book and my show and helped me cobble together a job that I wake up every day excited to go to and I couldn’t be more grateful for that. I am also so extremely grateful for the connections I’ve made to you. I feel like I have pen pals all over the world! The internet and social media world has changed so much in the past 10 years (can you believe that this constituted a blog post back in the day?!) and it’ll continue to change but this blog is like a roach, it’ll never die because it’s my diary and since I was 7, I haven’t been able to *not* keep a diary. I just have always had this wild urge to document, no matter how normal my week was.
Thank you for being here and reading and following along and sending over your sweet comments. You really do make the world feel like a smaller warmer cozier place.
Ok that’s the end of my speech, I’m done being mushy, let’s celebrate with cake!!!
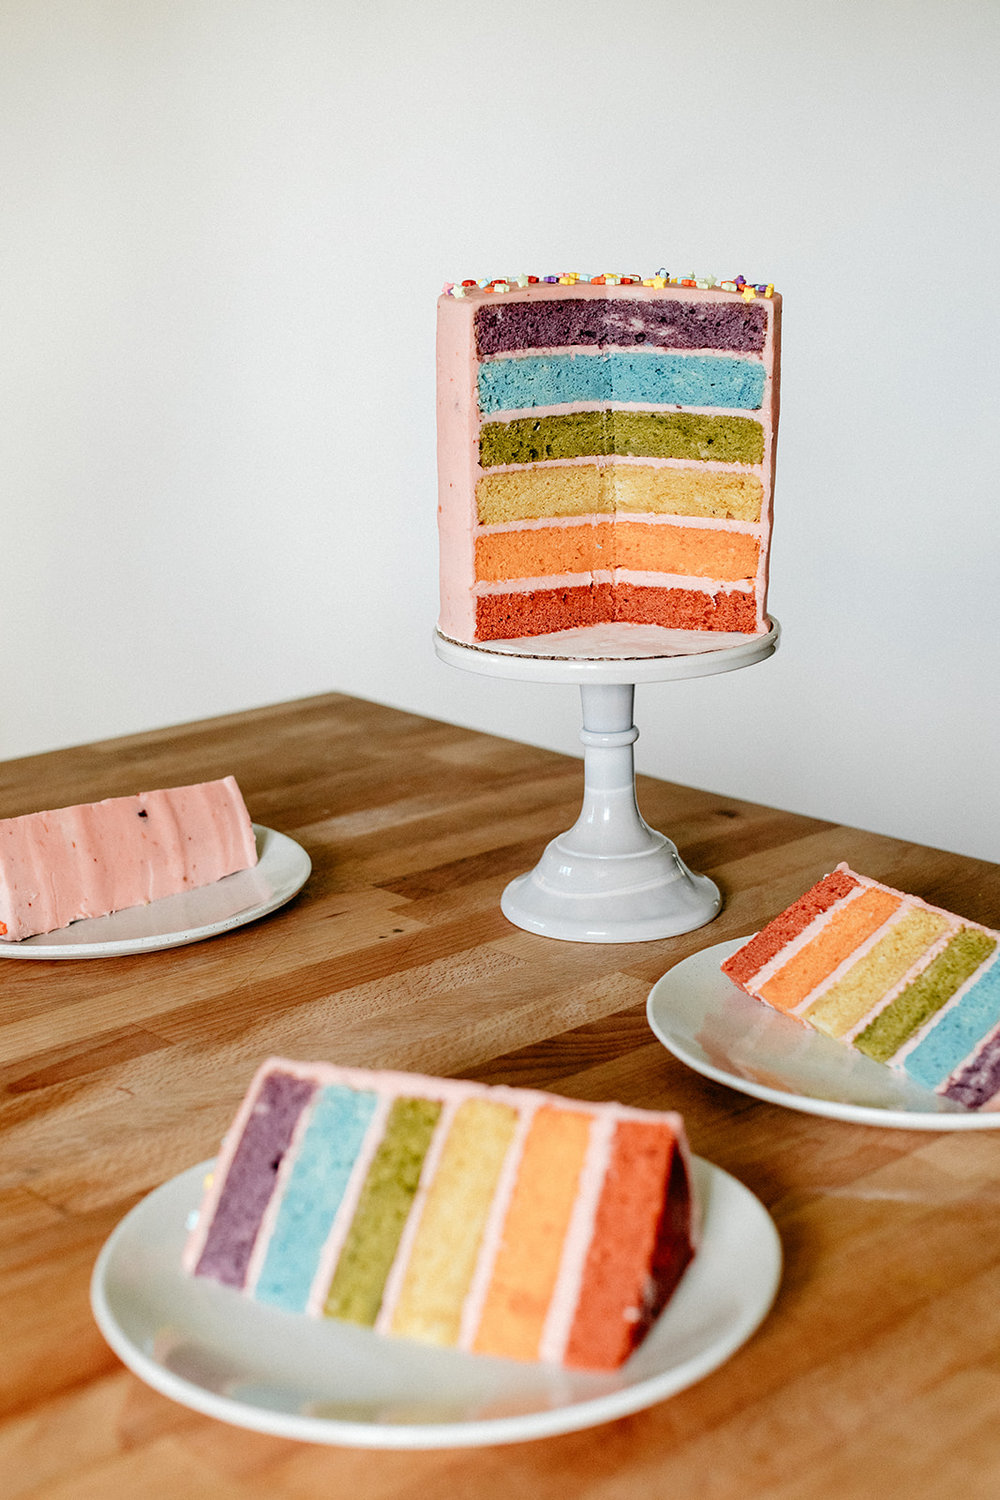
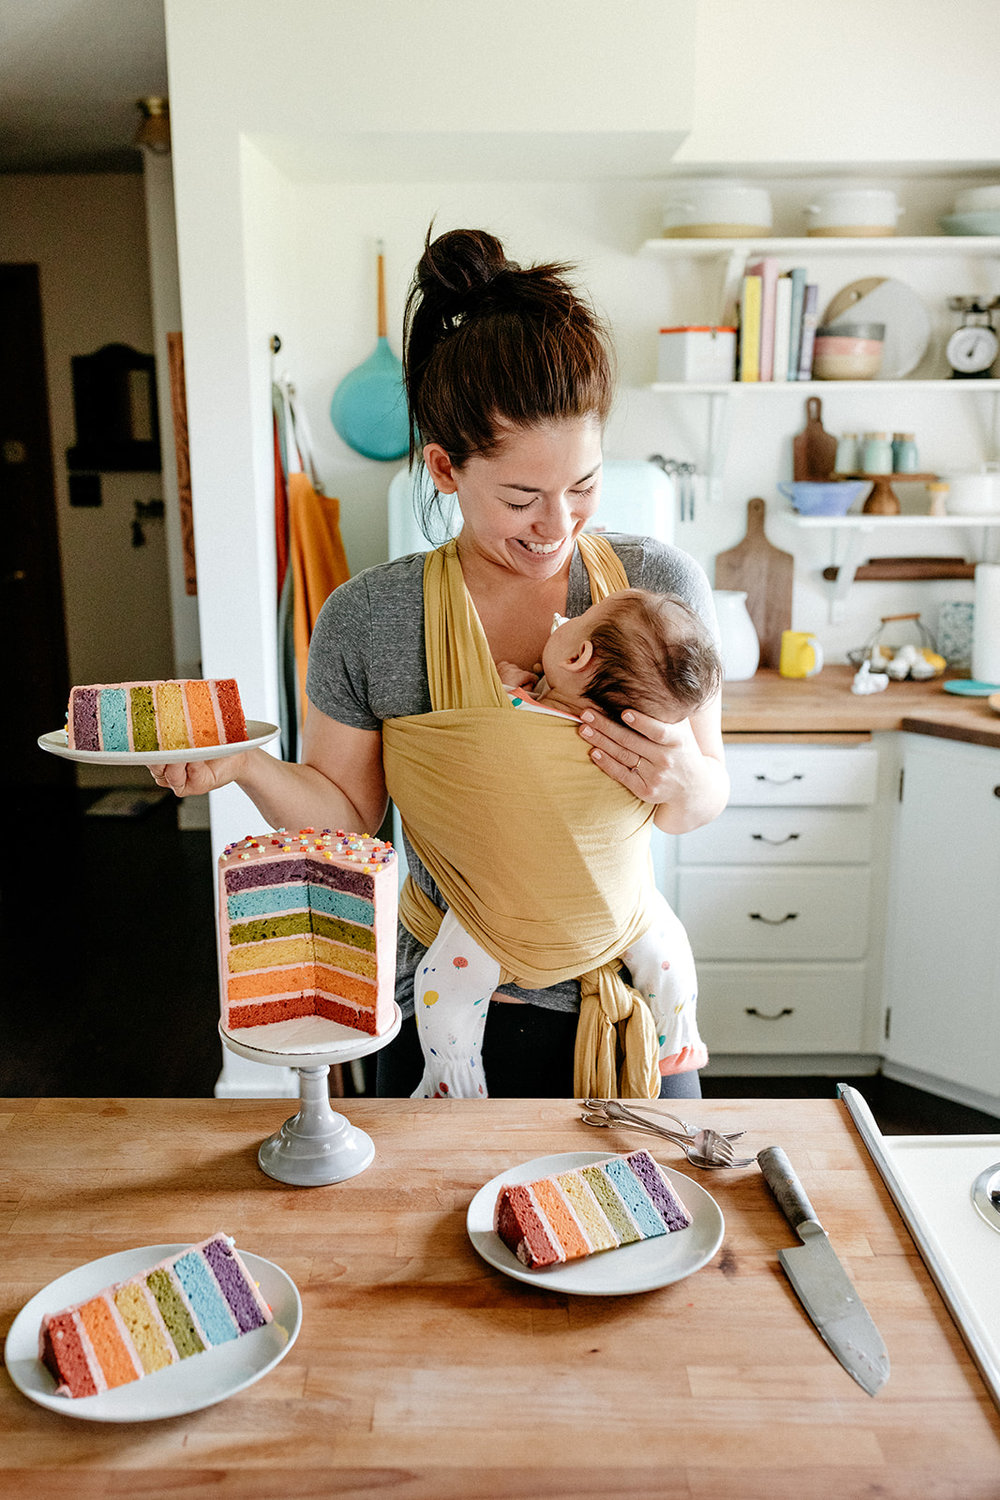
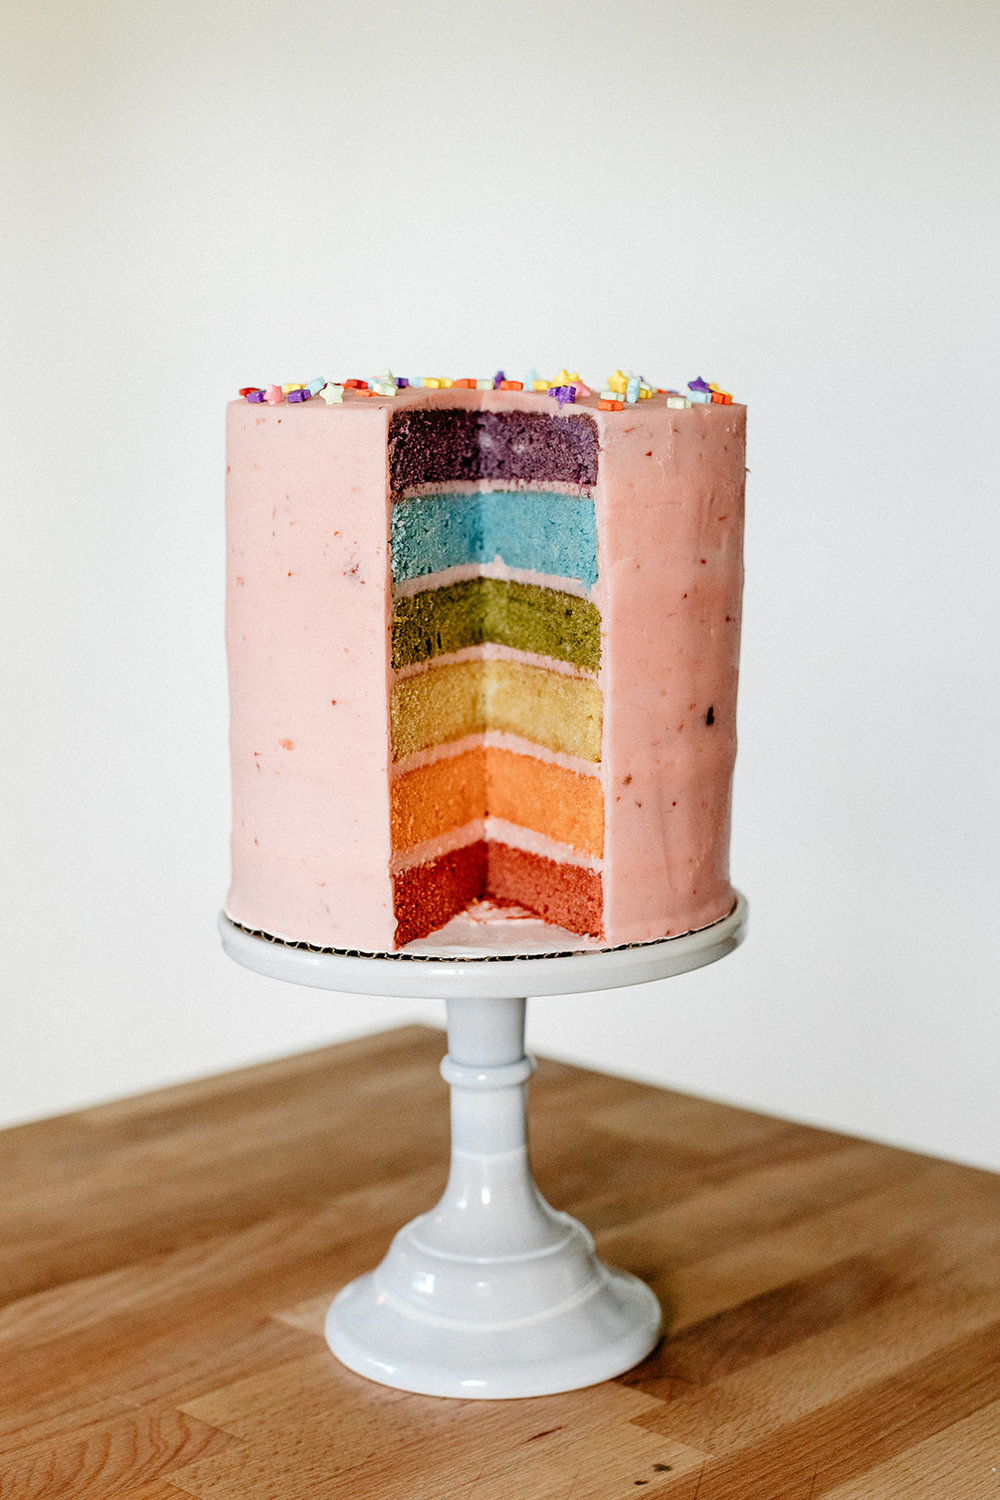
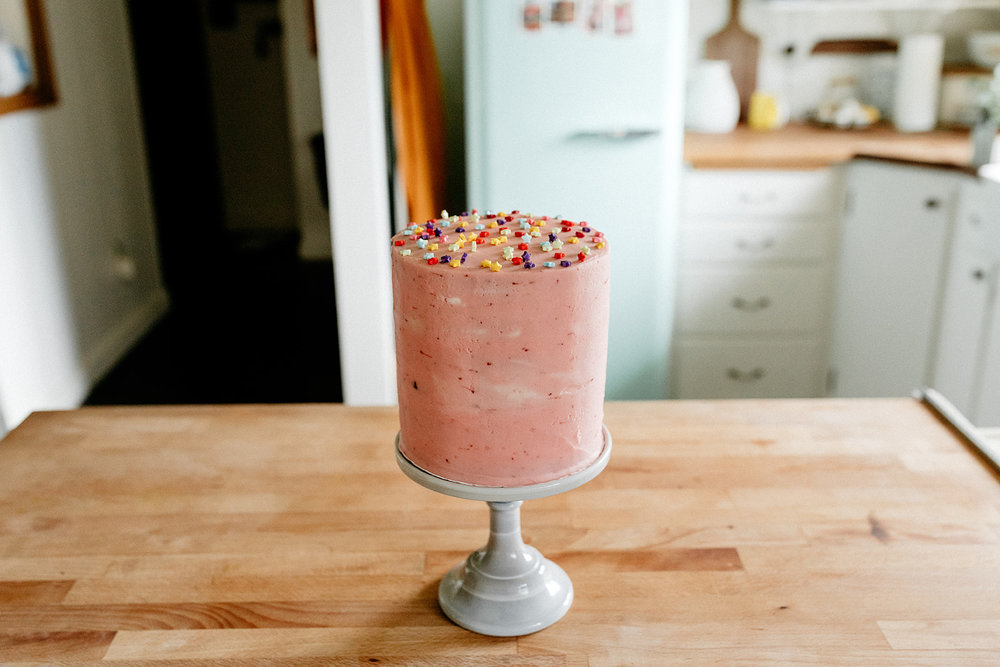
This is my first layer cake postpartum! Making it was a journey. it took like three days! I wasn’t even sure I’d be able to, with all of my time now spent singing Baby Beluga and changing diapers, but finally I put Bernie in the sling and committed. We walked around the house collecting ingredients and remembering where I put the measuring spoons, and the stand mixer white noise sound was like music to her ears. I stuck some cake scraps under her nose so she could smell them and I think she liked it! I also tried to make the colors good and bright so that she could appreciate them.
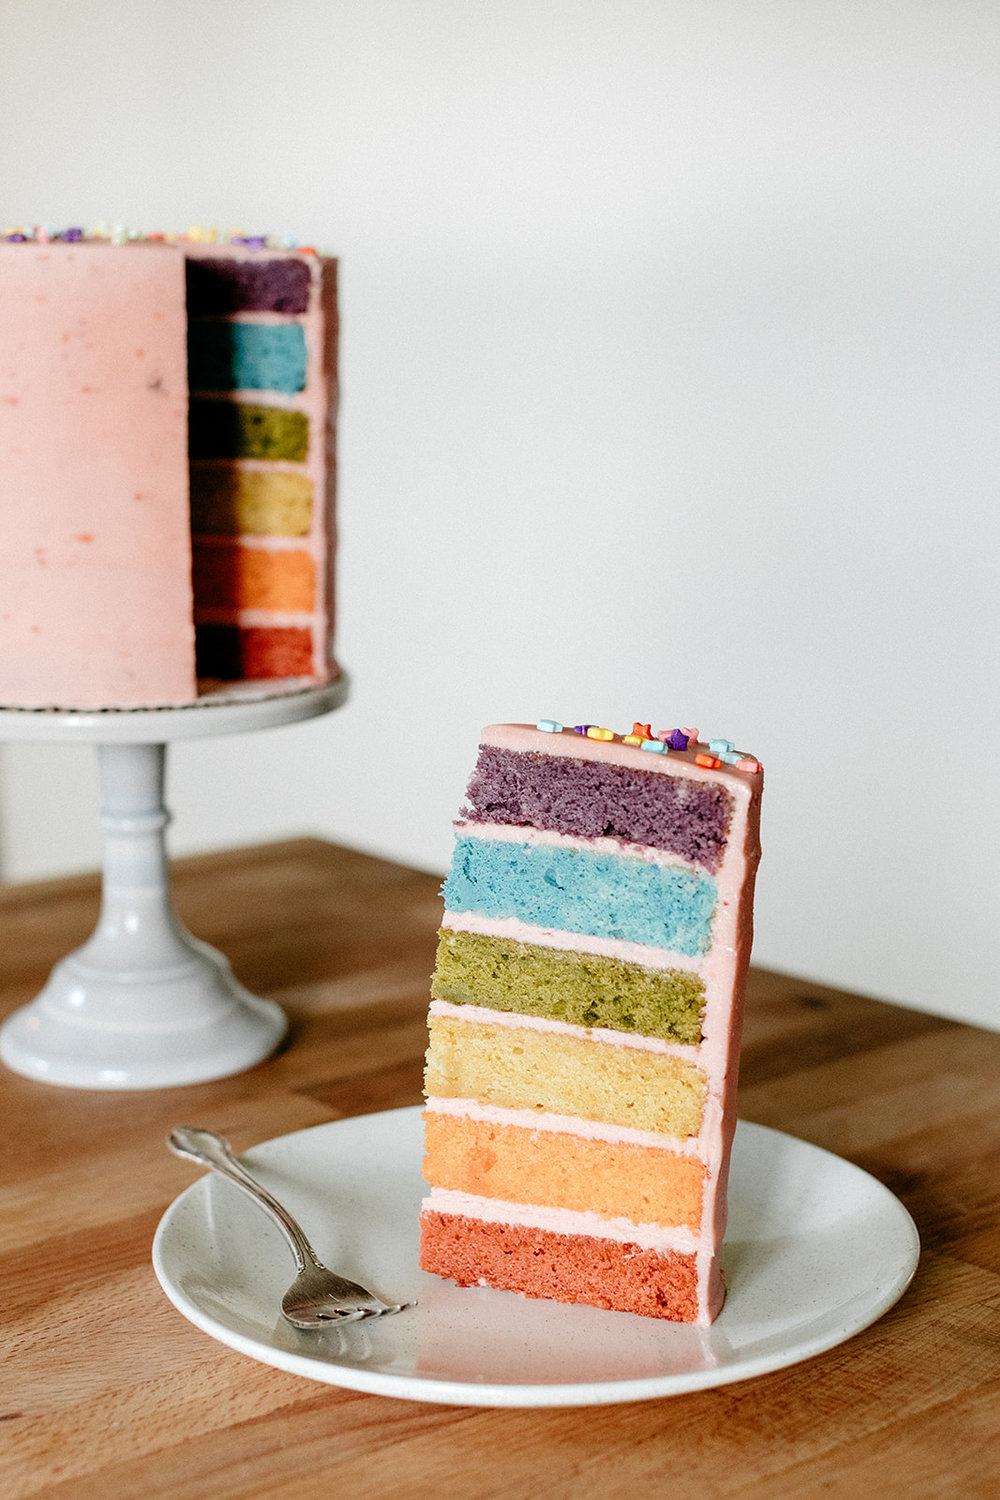
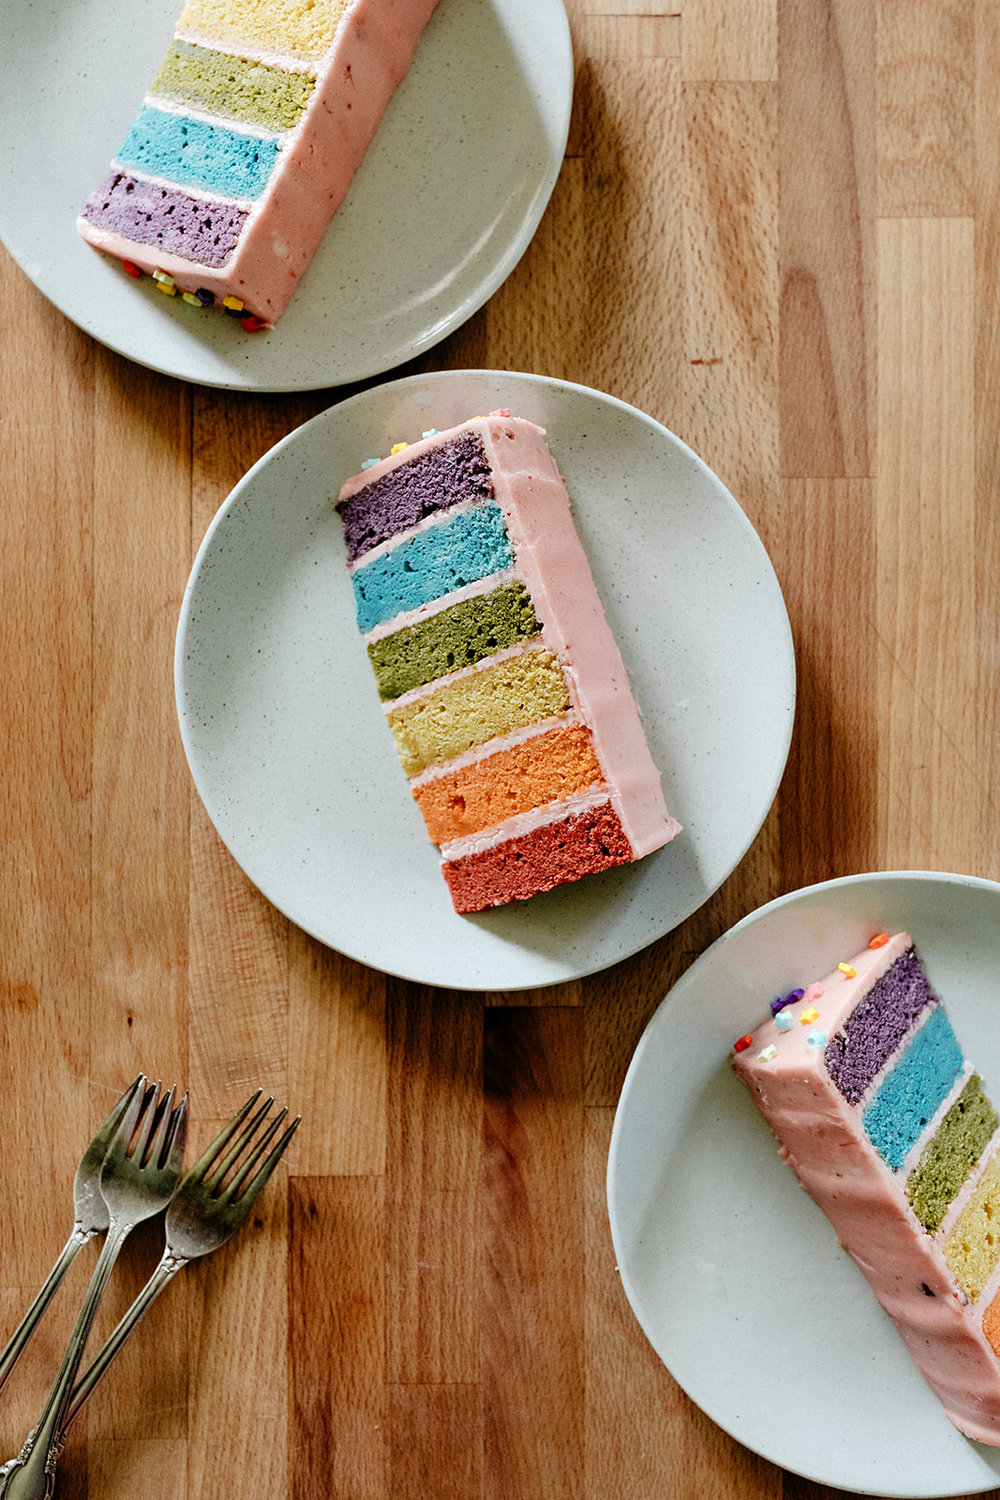
I am so happy with the end result, both aesthetically and texturally. I was admittedly nervous about the texture since adding food coloring to batter requires so much extra stirring (and an over-stirred batter can lead to a gummy weird cake) but I ended up basically saving the last stir until I divided the batter between the six bowls and added the food coloring, and that kept the texture just how I like it: fluffy, dense, and moist! This cake is sooo rich, delicious, buttery, and sweet. I like adding coconut oil in addition to butter to up the richness. I typically use refined coconut oil, which doesn’t have any coconutty flavor, but this time I went with unrefined and the tiny hint of coconut flavor was so good, almost almondy. The frosting is flavored with a plop of strawberry preserves which adds a hint of sourness that balances the sweetness quite nicely. I loved eating this cake! I would have eaten way too much of it if I didn’t have the Girl Meets Farm crew here to share it with.
The colors that I used were all Americolor and in ROYGBV order, they are: chili pepper, pumpkin, dijon, moss, wedgewood, and eggplant. In another world I would have maybe tried to go the all-natural coloring route with matcha and freeze dried berries and turmeric but there was only so much Baby Beluga singing time that I was able to give up so I figured this was an OK compromise!
Obvi you can forego the food coloring all together and just make a hella good vanilla cake with strawberry frosting and maybe even add a layer of strawberry preserves between the cake layers, ooh that’d be good.
Happy baking!
Rainbow Cake with Strawberry Buttercream
makes one 6-layer 6” cake
ingredients
3 1/2 c (450g) all-purpose flour
1 tb baking powder
1 1/2 tsp kosher salt
1 1/4 c (300g) heavy cream, room temperature
1/2 c (120g) sour cream, room temperature
1 c (225g) unsalted butter, room temperature
1/2 c (100g) refined or unrefined coconut oil, soft but not melted
2 1/4 c (450g) sugar
4 large eggs, room temperature
1 tb vanilla bean paste or extract
1/2 tsp almond extract, optional
food coloring (see notes above for specific colors that I used)
strawberry buttercream:
1 c (225g) unsalted butter, room temperature
1/4 c (80g) strawberry preserves
5 c (600g) powdered sugar
1/8 tsp kosher salt
1 1/2 tsp vanilla bean paste or extract
6 tb (90g) heavy cream
a drop of pink food coloring, optional
clues
to make the cake:
preheat the oven to 350ºf. grease and line the bottoms of six 6” cake pans with parchment and set aside (if you don’t have six pans, you can bake in batches).
in a large bowl, sift together the flour and baking powder, and then lightly stir in the salt and set aside. in a large measuring cup, whisk together the heavy cream and sour cream and set aside.
in a stand mixer fitted with a paddle attachment, cream together the butter, coconut oil, and sugar on medium high for 3-4 minutes, until light and fluffy. add the eggs, one at a time, beating well after each. add the vanilla and almond extract, if using. reduce the mixer to medium low and add the dry mixture and cream mixture in 3 alternating additions, stopping right after you add the last of the dry mixture and cream mixture- don’t mix them in completely because when you mix in the food coloring you’ll continue to mix and that’s when everything will get combined. (the reason for this is that you want to prevent over-mixing at all costs!) divide the batter between 6 medium bowls (using a scale is the most efficient way to do this) and stir in good big plops of food coloring until the batter is bright. distribute the batter evenly between the cake pans and spread it out evenly.
bake until the tops of the cakes are set and a toothpick inserted into the center comes out with a few crumbs on it; begin checking for doneness at 22 minutes and try your darnedest not to let it overbake. let cool in the pans for 10 minutes and then transfer to a wire rack to cool completely.
to make the buttercream:
in a stand mixer fitted with a paddle attachment, beat together the butter and preserves until creamy. gradually add the powdered sugar, and then mix in the salt, vanilla, and heavy cream. mix until creamy.
to frost the cake, level the tops of the layers and then stack them up with a thin layer of frosting in between. frost all over and decorate as desired! enjoy!
Print this recipe-yeh!

We love Barcelona and if you are following us on social media you might have noticed that we return there in the summers. Our family has an apartment in the Raval area and Barcelona has therefore become almost like a second home to us. It has that rare combination of big city vibe, great weather and long beaches. We have shared a few recommendations on instagram but we wanted to put together a more proper guide of the places we like to visit for good food and family friendly places.
We are leaving out the Gaudí attractions, the Picasso museum and all other regular tourist attractions and focus on good vegetable centered places to eat, great coffee and delicious ice cream. There are thousands of restaurants and places in Barcelona and this is by no means a complete guide. But it’s the places that we often return to or have been recommended by people that know our preferences. If you think we have missed something good, please leave a comment and we might include it when we update the guide.
We have also marked all these places in a Green Kitchen Barcelona on Google Maps so you can easily find them. And to make things even better, we also marked all our favorite playgrounds because they can be pretty tricky to find. (If you don’t have kids you can just close that layer.)
Thanks for following along and enjoy Barcelona!

Cafés
– Satans Coffee – This has been one of our favorite coffee bars for years. It’s hidden away in an alley in Gotica. Apart from awesome coffee they serve a couple of cool food options and served quinoa bircher before we did :)
– Caravelle – This place quickly became one of our favorites. The ambience and service is great and the coffee is on spot. The food are inventive and taste amazing. You can easily ask for your flat white with oat milk and their cow’s milk comes from small farm just outside Barcelona.
– Little Fern Cafe – A New Zealand / Aussie style cafe in Pobleneu with lots of modern veggie options and great coffee. We loved the corn fritters and avocado and smashed pea sandwich.
– Federal Cafe – A typical hipster place with cool interior and good coffee. They allow laptops so we go here when we need to work and enjoy a tomato and melted cheese croissant sandwich.
– Bohl – If you are looking for smoothie bowls and porridge bowls in Barcelona, this is the place to go. A beautiful location located in the Eixample neighborhood.
– Nømad Coffee Lab & Shop – Specialty coffee roasters with 3 locations serving hot coffee and signature cold brew.
– Onna Coffee – Serious coffee café, making their coffee with small batch hand-roasted coffee beans. You can find sweet breakfast and match lattes too. Located in the nice neighbourhood Grácia.
Restaurants
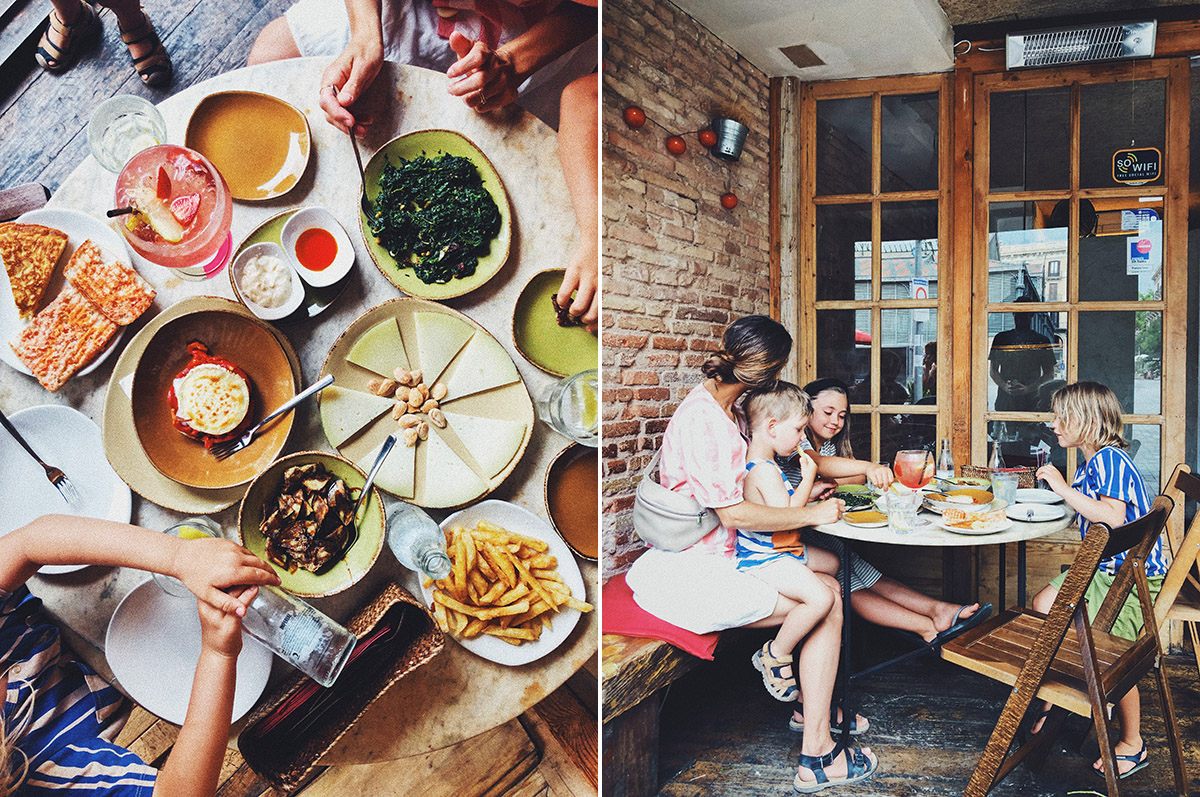
– Bormuth – A classic catalan tapas restaurant in Born that we always return to. It’s decently priced and has many good vegetarian tapas options. Try the red pepper and goat’s cheese, the aubergine with honey and the wilted spinach with pine nuts and raisins.
– Teresa Carles / Flax & Kale – This is a vegetarian institution in Barcelona. Famous for their creative vegetarian food, colorful smoothies and beautiful locations. Teresa Carles was the first restaurant but now they have a few more have two sister restaurants and also Teresas Stairway as their third location focused on smoothies and smaller bites. A little pricey but shouldn’t be missed if you are a vegetarian visiting Barcelona.
– El Jardi – A little tapas and drink bar hiding inside a garden in the middle of busy Raval. They often have live music in the afternoons and then it’s well worth stopping by for a drink and a snack.
– Bar Lobo -A fancier tapas bar on a quieter street just behind La Rambla. The food is good and the location is pretty although a little expensive. It’s a good place to bring friends to as they have a big outdoor seating area in the sun, but you might want to reserve a table first.
– Tantarantana – An old favorite tapas restaurant in Born that we have visited for years. Food and service are great and they make the best fried aubergine.
– Honest Greens – New cool and huge restaurant and café with breakfast, lunch and dinner and a separate coffee bar with healthy-ish treats and snacks. Perfect if you are around Plaça de Catalunya and are looking for something green. Extra points for their kombucha on tap.
– The Green Spot – A fancier vegetarian restaurant right in the beginning of Barceloneta. We have tried their charcoal pizza with zucchini and smoked burrata, root carpaccio with spirulina and iced turmeric latte with espresso.
– Parking Pita / Parking Pizza – These two neighbor places were recommended to us by a bunch of people but we went there without checking their opening hours and came before they were open for dinner (kids life!). We didn’t have time to go back but will def try it next time we are in town. The photos on their instagram look great.
– Sopa Barcelona – We haven’t made it here yet but heard that we should go for good vegetarian food and soups. Might be worth a visit if you are in the Poblenou neighborhood.
– Baldomero – We haven’t made it here yet, but it has been recommended to us by many. And the photos on their instagram looks aesthetically pleasing with shades of pink and a communal style kitchen.
– Väcka – A small vegan place with lots of fun and creative vegan burgers, waffles, vegan cheeses and cakes.

Ice Cream Bars
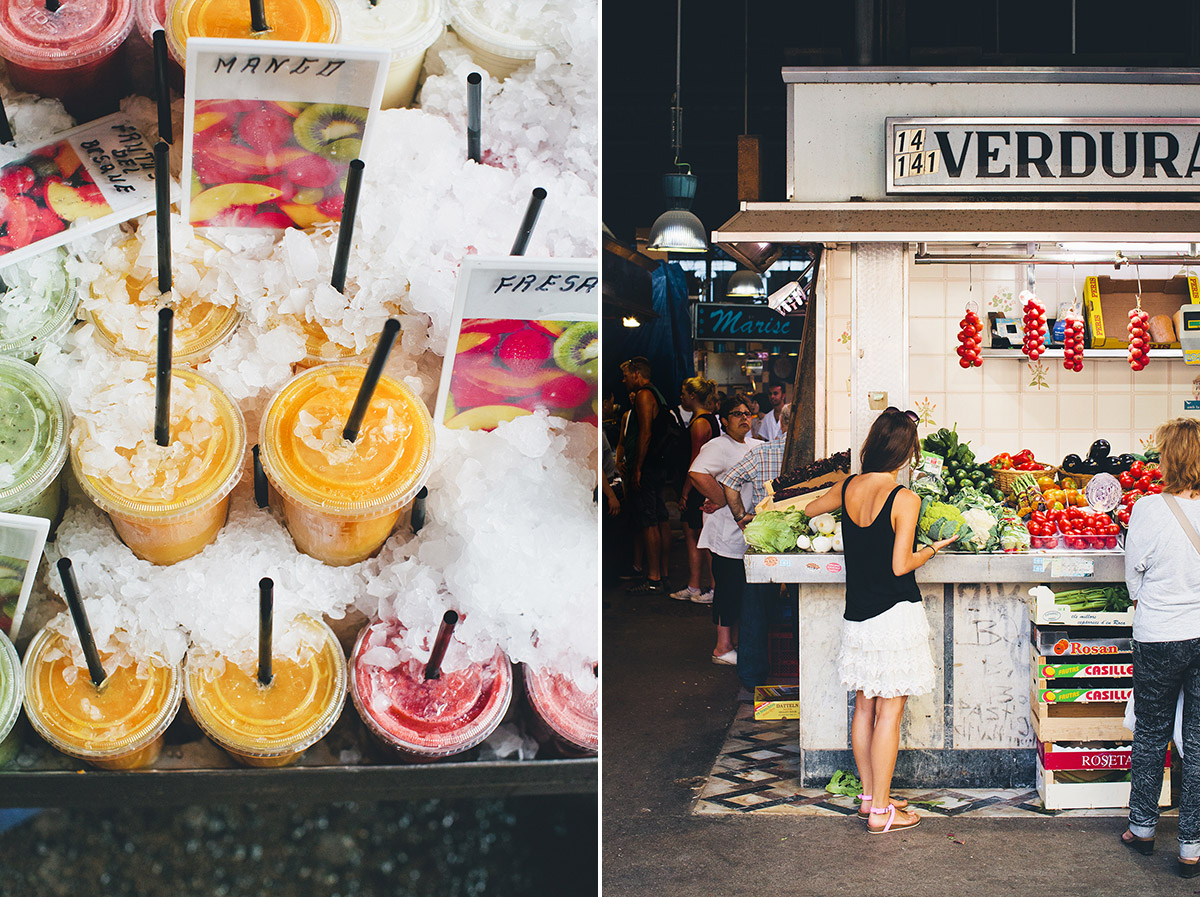
– Gocce Di Latte – A great ice cream bar between Born and Barceloneta. We often stop by here own the way back from the beach. They have an all vegan location around the corner.
– Amorino gelato – Super touristy but our kids love that they shape their ice cream into roses. They have serval locations in the city, we usually go to the Portaferrissa street.
– Dela Crem – Several people tipped us about this ice cream place which is located on a cosy walking street with several nice cafes and restaurants a little north of Plaça Catalunya. The salted pistachio ice cream was insanely good and their coffee and mascarpone too.
– Bar Campana – Located next to a cute courtyard in Born. Worth a stop for their coffee ice cream and good nougat flavors too.
– Paralello Gelato – Artisinal ice cream shop. We actually never made it here but it’s on our list for next time.
STORES
– Veritas – This is an organic supermarket where we go if we want decently priced and clean ingredient products like nut butters, plant milks, quinoa, vegan ice creams, kombucha, veggie sausages, the best tempeh and tofu. We often stop by here during our first days and stock up on things that we enjoy to keep at home.
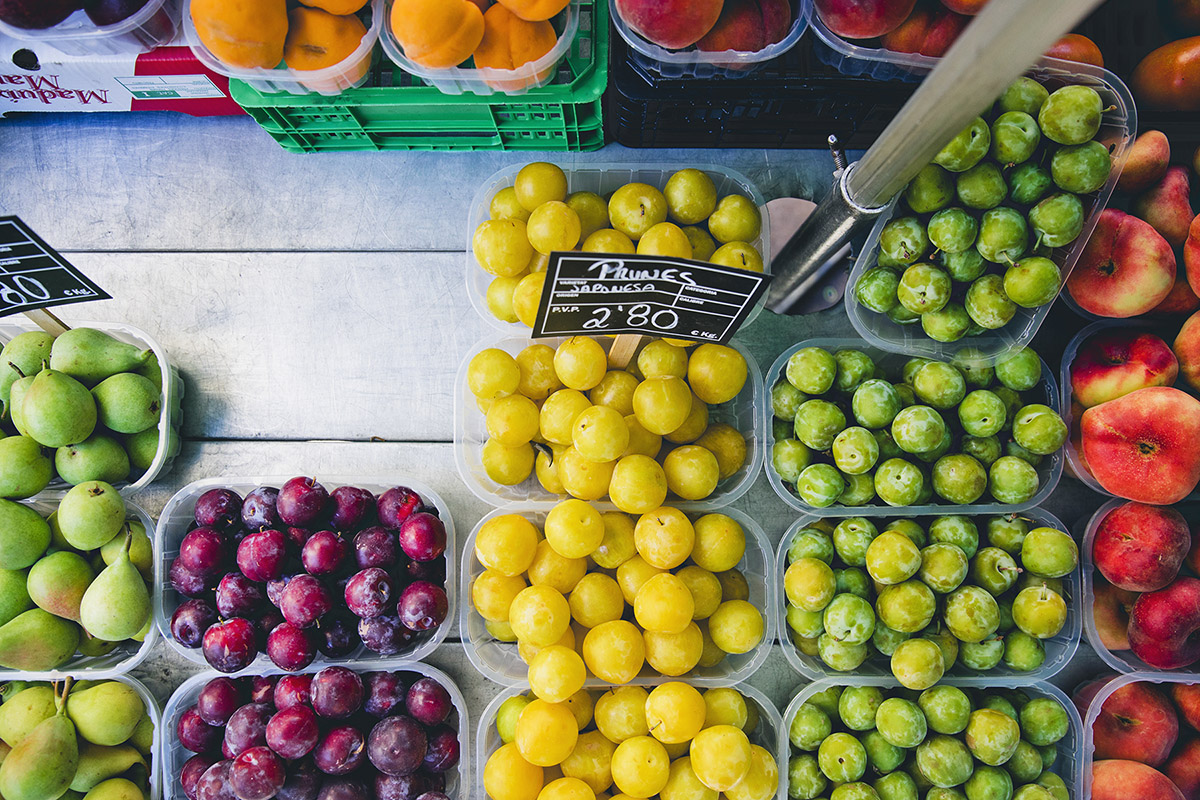
– La Bouqeria – The classic market in Barcelona filled with colorful and creatively displayed fruit and vegetables, (sweetened) fruit juices, nuts, cheeses, restaurants (and meats)
– Santa Caterina Market – This is a similar market to La Bouqeria but indoor with a little less tourists.
– Ferment 9 – An entire shop and workshop space devoted to ferments like sauerkraut, kimchi, vegetables and kombucha. If you love bubbles and gut friendly bacterias, you must stop by and if you haven’t tried it yet, go and get your ferment addiction started.
– Origo – An organic sourdough bakery in Graçia, in case you get tired of the standard Spanish baguette type of bread.

Things to do with kids
There are plenty of small playgrounds spread out in every neighborhood in Barcelona and many of them also have a coffee shop or tapas bar next door which we think is excellent. They aren’t really marked on any official maps, so we have marked a few of our favorite playgrounds on our Google Map so you easily can find them. If you are looking for larger playgrounds, check out the parks Joan Miro,
– Labyrinth de Hoerta – Take the metro here and walk up through the peaceful garden, watch the old fountains and then get lost in the large garden labyrinth. We usually bring lunch and have it there as there aren’t any good food options. They have a pretty fun playground as well.
– Tibidabo Amusement Park – A little tivoli on top of a mountain with a view over Barcelona. It’s a fun day trip if you have kids but bring food as they don’t have many vegetarian options other than fries and popcorn.
– Beach – Barceloneta is a long beach that can be reached within a 15 minute walk from La Rambla. It’s well taken care of and have lots of lifeguards although water can get a little dirty as with most city beaches. If you rent a bike, it’s worth riding a bit further away to Bogatell beach and further on. Water gets cleaner and it gets a little less crowded. If you are in Bogatell, you should also take a walk up the beautiful Rambla del Poblenou after the beach.
– Swimming Pools – There aren’t that many great swimming pools for kids (unless you want to invade one of the hotels). However, if your kids can swim you should go up to one of the two swimming pools on Montjuic. Both places only have deep pools but they are reasonably priced and have 50 meters pools. Piscina Municipal de Montjuïc has an amazing panoramic view over the city but apart from that it’s all very basic with no sunbeds or shadow places. Piscines Bernat Picornell don’t have the view but it has both an indoor and an outdoor pool, lifeguards, sunbeds and a little café.



Ingredients
2 Tbsp. avocado or extra virgin olive oil
1/2 a yellow onion, roughly chopped
3 garlic cloves
1 (1.5 lb.) head of cauli, leaves and core removed, broken into florets (or 12 oz. fresh, not frozen, riced-cauli)
3/4 tsp. Kosher salt/ 1/2 tsp. sea salt
Fresh ground pepper
1/2 tsp. cumin
1 tsp. chili powder
1 tsp. coriander
1 cup canned tomato sauce (I like Muir Glen!)
1 cup cooked lentils, drained
Instructions
Heat the oil in a large pot or Dutch oven. Preheat the oven to 400’ and line a large rimmed baking sheet with parchment.
Into a food processor, add the onions and garlic. Pulse a few times to chop well. Transfer to the pot with the hot oil and give it a quick stir. Put the cauli florets into the food processor and pulse, scraping down the sides every few times until it is in tiny rice-like pieces. Add it to the pot along with salt and pepper, sauté about 5 minutes until things soften and get golden in places.
Add the cumin, chili powder, coriander (or about 1 Tbsp. taco seasoning) and stir. Add the tomato sauce and lentils, stir again. You’re going to think it looks like a soggy mess, but press on! Turn off the heat, let the mixture cool down.
Transfer the cauli mixture to the prepared baking sheet and spread it in an even layer. Let all the steam off, then bake it in the upper third for 35 minutes, stirring once or twice during the baking time. Turn the oven up to 450’, and cook another 5-10 minutes. Turn off the oven, but leave the tray in there for another 10-15 minutes to dry it out further. The moisture level will be different per person because some cauli can be pretty watery, lentils can have different textures etc. It should look a little charred in spots. Stir it around to cool.
Assemble as you wish - into a taco or roasted sweet potato or room temp into a taco salad. We didn’t make it super spicy so it would be kid-friendly too.
Store covered in the fridge for up to five days, or freeze for up to a few months.
Part omelet, part flatbread, and 100% delicious zucchini soccatas (chickpea flour pancakes). Made with 3 ingredients, they have 7 g protein each and are naturally grain-free, vegan, and gluten -free.
This Lighter Eggplant Parmesan is one of my favorite ways to eat eggplant. No breading, just eggplant, cheese and marinara.
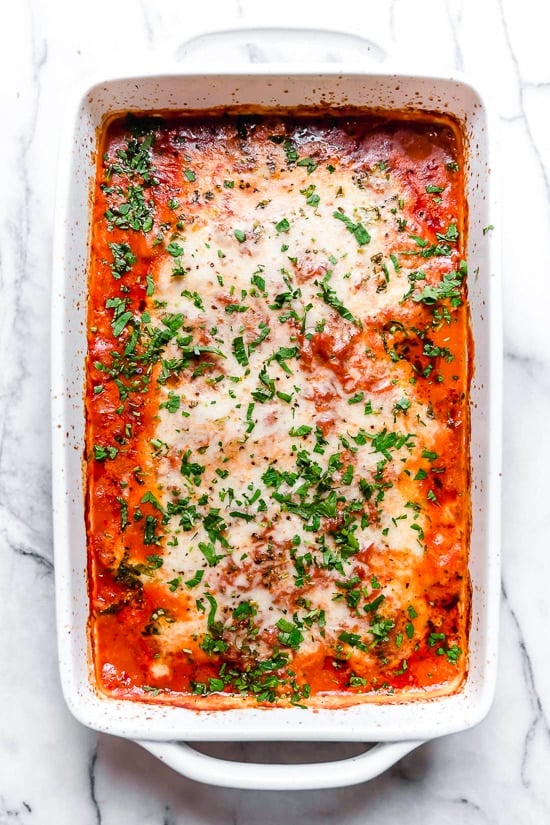
Baked Eggplant Parmesan
What is eggplant parmesan? Traditionally eggplant parmesan is breaded and fried before baking. I made this low-carb and lighter by roasting the eggplant in the oven instead and skipping the breadcrumbs altogether.
The post Lighter Eggplant Parmesan appeared first on Skinnytaste.
This Herbed Tomato Soup is a totally delicious soup to enjoy when you have a lot of fresh tomatoes on your hands!
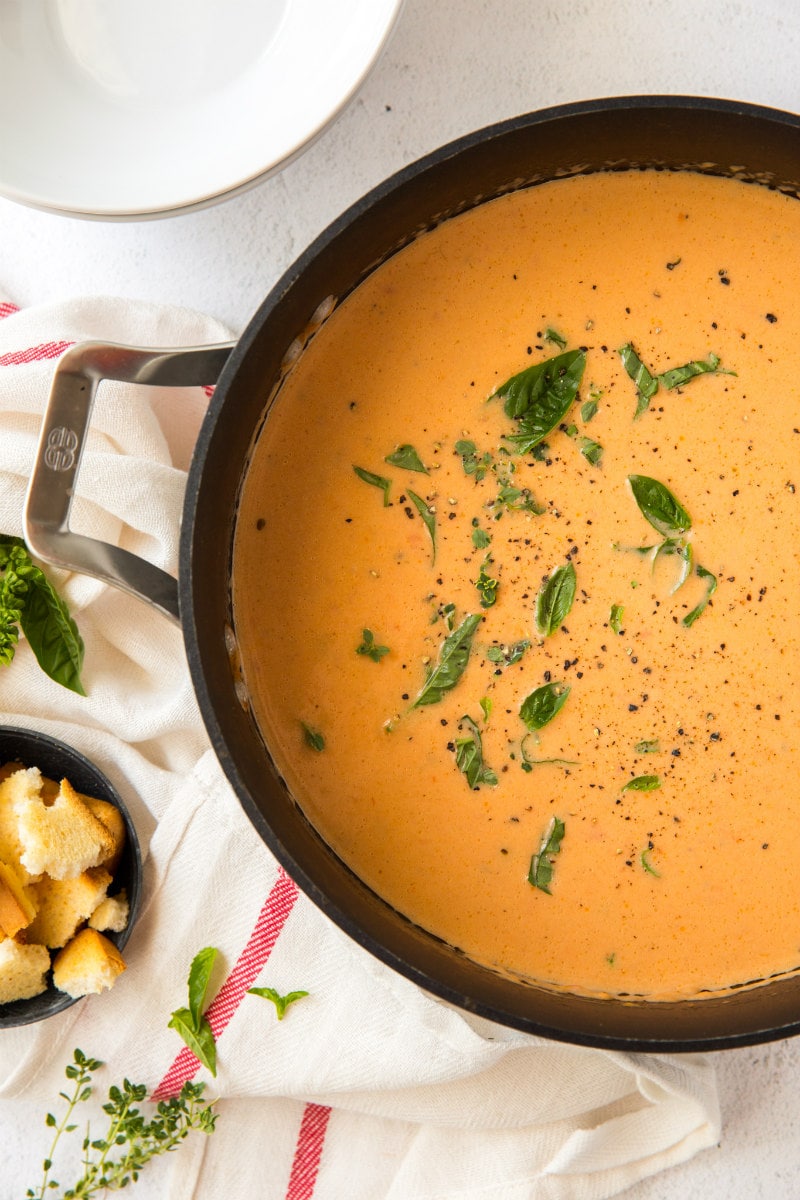
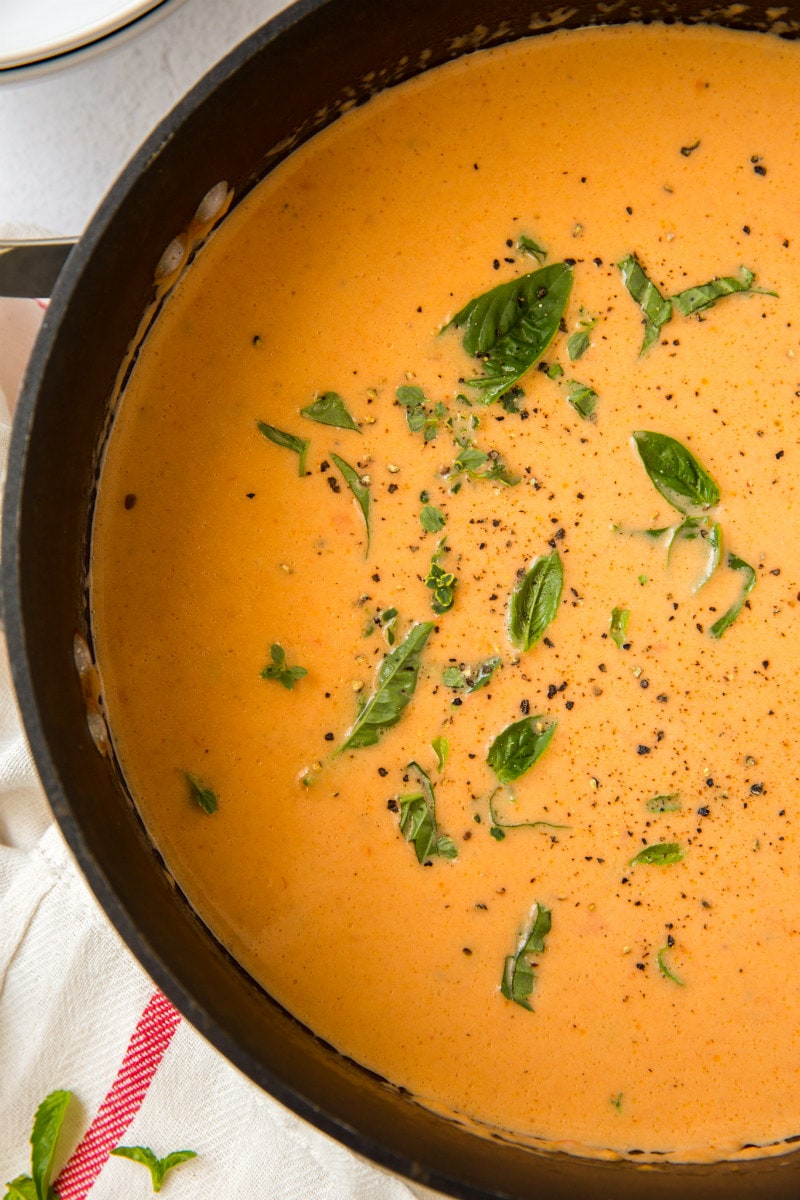
If you’re looking for a delicious soup recipe, you might consider trying this homemade tomato soup! It’s so flavorful and creamy with a lot of fresh tomatoes and fresh herbs (basil and thyme). It’s going to be one of those soup recipes where you’ll want seconds. I recommend serving it as a side to your favorite sandwich or some good, crusty garlic bread.
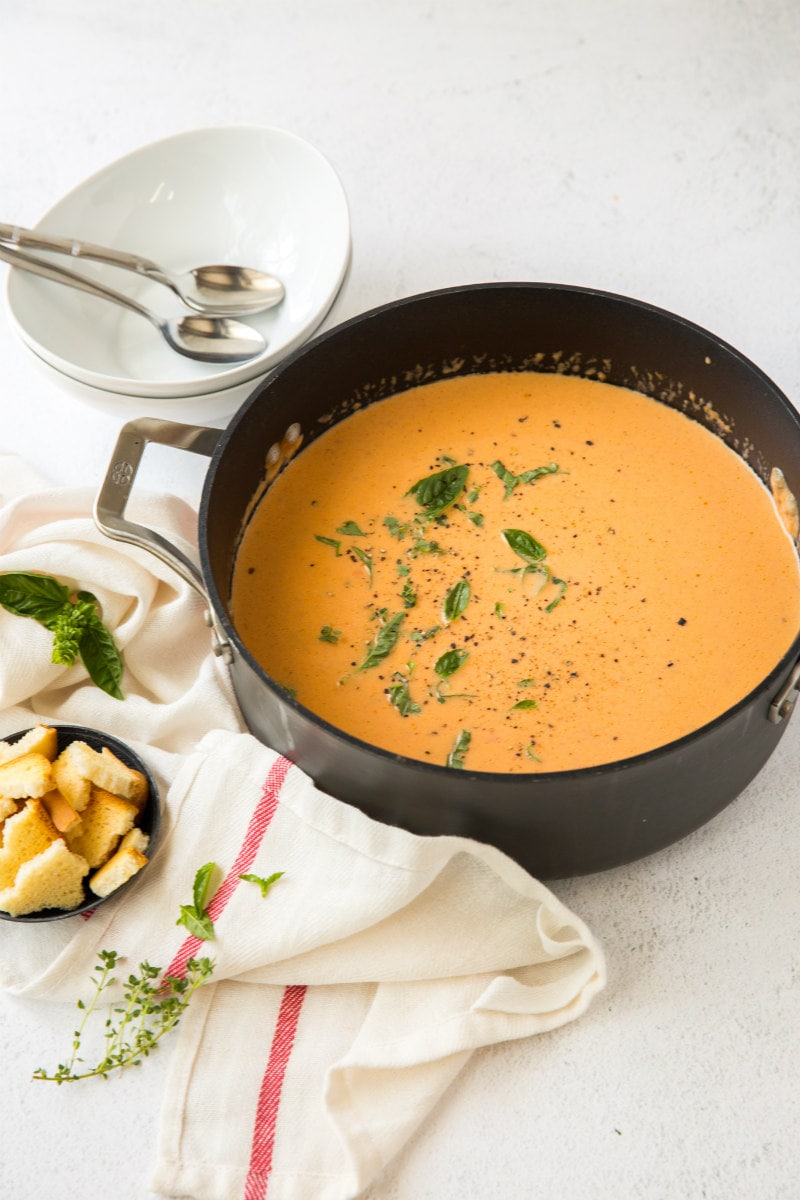
How to make Herbed Tomato Soup:
You’ll sauté onions and fresh herbs, then add in fresh tomatoes and tomato paste. Broth is added in- chicken or vegetable (if you want it to remain vegetarian), and the soup is simmered for 30 minutes. After simmering, the soup is pureed, and then a tiny bit of sugar is added along with cream. Butter is swirled in at the end. It’s creamy and wonderful!
How to peel tomatoes:
It’s actually pretty easy to do. Take off any stickers, and remove the stems with a paring knife. Cut an “X” on the bottom of each tomato. This will make peeling much easier. Fill a large bowl with ice water. Place a pot of water on the stove and bring it to a boil. Then drop the tomatoes into the boiling water. You can add several at a time. Remove them after 30 seconds or when the skin begins to peel and move them to the bowl of ice water. Let the tomatoes sit in the ice bath for 5 minutes. Once the tomatoes have chilled, remove them from the ice water. The tomatoes should still be very firm, with the skin wrinkled and coming off the flesh. Peel the skins off with your hands.
Can you use canned tomatoes for this recipe?
Yes! If you don’t want to use fresh tomatoes, substitute one 35-ounce can of tomatoes, with liquid. This is a good option in the winter when fresh tomatoes are not as good.
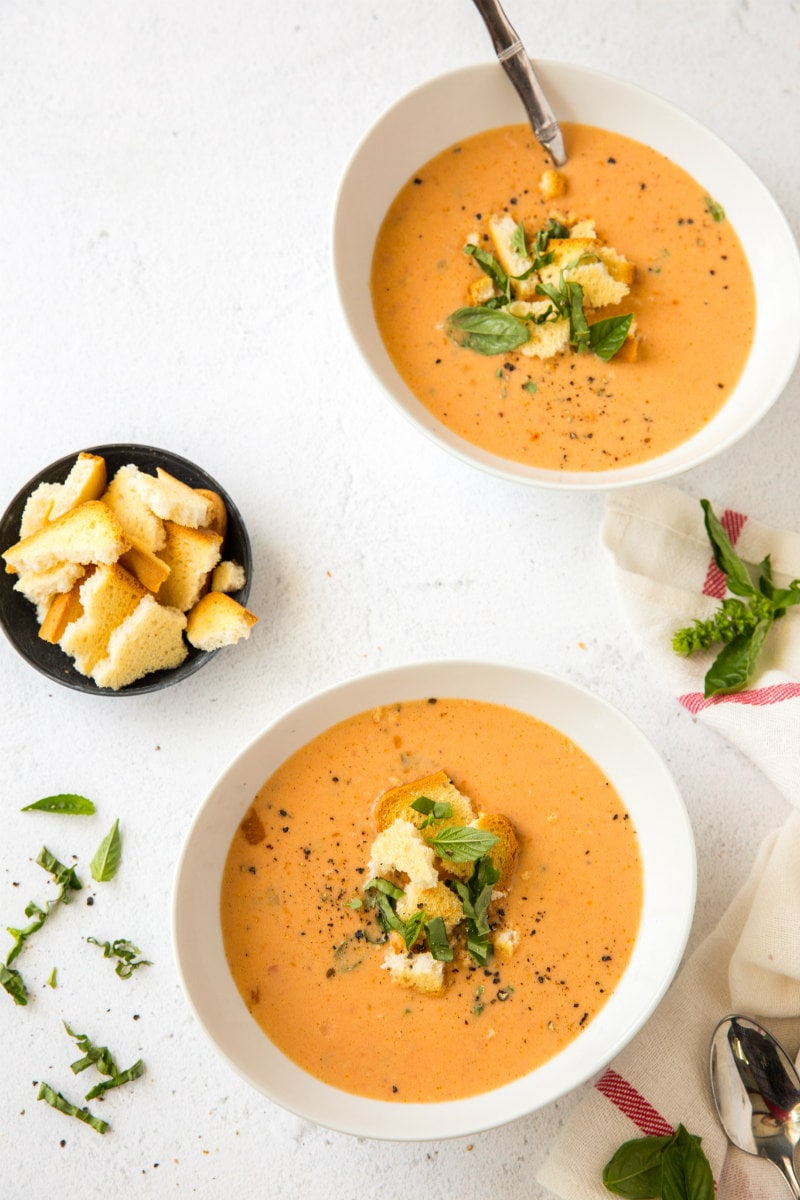
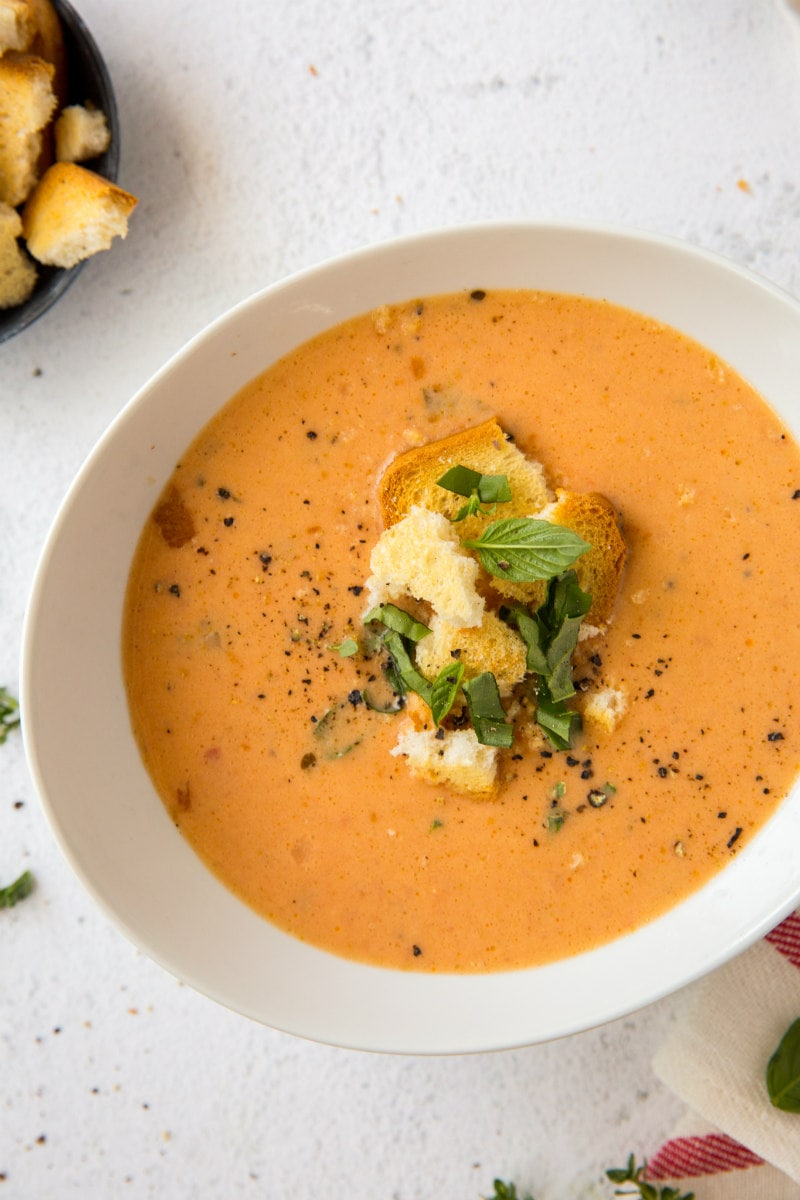
Garnish this delicious soup with some crumbled croutons and snips of fresh basil. Better yet, serve it with a grilled cheese sandwich for delicious dunking (my favorite way to eat it!)
Can this soup be lightened up with less butter and cream?
Honestly, I haven’t tried it yet. You can certainly give it a shot. Maybe 1/2 the amount of butter and olive oil in the recipe and use milk in place of cream. That’s what I’d do. But like I said… you’d be experimenting. If you lighten it up, leave us a comment and let us know how it turned out!
Here are a few more soup recipes you might like to try:
- Easy Cheeseburger Soup
- Italian Vegetable Soup
- Roasted Chicken Noodle Soup
- Creamy Cabbage Soup
- Tuscan White Bean Soup with Prosciutto
- Creamy Broccoli Soup
- Weeknight Chicken Tortellini Soup
- Sweet Corn Soup
Herbed Tomato Soup

Totally great soup using up tons of fresh tomatoes!
- 1/2 cup (1 stick) butter, (divided)
- 2 tablespoons extra virgin olive oil
- 1 large onion, (thinly sliced)
- 4 sprigs fresh thyme
- 4 large basil leaves, (chopped)
- salt and freshly ground black pepper, (to taste)
- 2 1/2 pounds fresh tomatoes, (peeled and cored)
- 3 tablespoons tomato paste
- 1/3 cup all purpose flour
- 4 cups chicken or vegetable broth
- 1 teaspoon granulated white sugar
- 1 cup heavy whipping cream
- croutons, (for garnish (optional))
-
Melt 1/4 cup (1/2 stick) of butter in a large saucepan and add the olive oil. Add the onion, thyme, basil, salt and pepper and cook, stirring occasionally, until the onion is wilted. Add the tomatoes and tomato paste and stir to blend. Simmer 10 minutes.
-
Place the flour in a small mixing bowl and add 5 tablespoons of broth, stirring to blend. Combine the flour mixture with the tomato mixture. Add the remaining broth and simmer 30 minutes, stirring frequently to prevent scorching.
-
Puree the soup in a food processor or blender, then return to heat and add the sugar and cream. Simmer, stirring occasionally, 5 minutes. Swirl in the remaining 1/4 cup (1/2 stick) butter.
-
Serve hot, garnished with croutons- if desired.
- *If you don’t have fresh thyme and basil on hand, substitute 1 teaspoon dried for each
- *If you don’t want to use fresh tomatoes, substitute 1 (35 ounce) can of tomatoes, with liquid
The post Herbed Tomato Soup appeared first on Recipe Girl®.

Happy Monday from our sleepy, milky corner of Alabama. I promise I am planning on giving the real-deal scoop on our new little Charlie guy ASAP, but because I’m not sure if anything I’m typing is even coherent (Is it? Am I still sane? Do you guys still love me?), I’ll skip the mumbo jumbo and go head-first into today’s baked good of choice: blueberry babka.
There’s a number of reasons I love this blueberry babka. First, have you ever made bread? Like, a real yeast-risen bread loaded with butter and swirled with fruit filling? It’s a good choice. This blueberry babka is tender, mildly flavored, and makes some of the best dang buttered toasts your breakfasts will have ever experienced. My kids are huge on the toast bandwagon these days and I love being able to offer something new and homemade that feels special. This blueberry babka is just the ticket.
No lie, making a homemade babka can be super intimidating. I get a little nervy about it every time I saddle up to the counter, but if you follow instructions the bread can be very forgiving and is worth taking a stab at. Here’s the lowdown on how to make it. First, we dissolve yeast in a bowl of warm milk and allow it to bubble and froth. An egg and egg yolk comes next and is combined with the milk before we add the dry ingredients. As the flour, sugar, and salt get stirred in, the dough becomes a lot more tough, and you’ll be glad to have a stand mixer on hand to do the grunt work for you. Finally, highly quality butter (and loads of it) are added to the mix to create a stringy, soft dough that pulls away from the sides of the bowl easily.
Undoubtedly, you already know that I rely on Kerrygold butter for this job. Anytime butter plays a leading role in a recipe, it’s important to call upon a quality product that is well-flavored and loaded with the best kind of fat. Kerrygold is always my choice for babka, and their large blocks are the perfect amount for this recipe.
The only semi-annoying thing about making this blueberry babka is that the dough has to rest overnight. This allows the dough to chill and the flavors to amp up. After a few hours in the fridge, we’re ready to roll out our dough. Use a floured rolling pin and a floured workspace to roll the dough into a large rectangle. Work quickly to keep your dough chilly! Next, we spread a blueberry jam/lemon zest mixture all over the dough. I prefer to use quality store bought jam here to save time, but if you’d prefer something different, go for it! The added lemon zest gives dimension to the filling flavor and prevents it from being way too sweet. Roll the dough tightly, slice it down the middle and roll the two strands of dough together to keep the exposed innards facing upwards. Simple!
After a final rise, each loaf of blueberry babka bakes in a preheated oven for 40 minutes. If you’d like an extra-sweet, extra-moist loaf, you can opt to douse the baked loaves with a syrup after baking. I skip this set sometimes to keep the bread a little more guilt-free, but if you want to go all in, GO FOR IT. I’m here for you.
Many thanks to my friends at Kerrygold for sponsoring this and a million other butter-laden posts. I love working with a brand I love and trust so much, and I hope you’ll come to adore them as well. Give their products a try, especially if you decide to make this blueberry babka! Happy baking, happy Monday, and have a great week!
If you like this blueberry babka you should try:
Blueberry Babka

This blueberry babka is a braided loaf filled with blueberry lemon preserves!
- Author: Kate Wood
- Prep Time: 60
- Cook Time: 40
- Total Time: 360
- Yield: 2 Loaves
- Category: Bread
Ingredients
For the dough:
- 1 cup (240 gm) milk, lukewarm
- 2-1/4 teaspoons active dry yeast
- 1 large egg plus one large egg yolk
- 4 cups (560 gm) all-purpose flour
- ½ cup (100 gm) sugar
- 2 teaspoons salt
- 10 tablespoons (140 gm) unsalted butter, at room temperature
For the syrup (optional)
- ½ cup (100 gm) sugar
- ½ cup water
For the filling:
- 1 cup high quality blueberry preserves
- 1 tablespoon lemon zest
- 2 teaspoons cinnamon
Instructions
To prepare the dough:
- In the bowl of a stand mixer or a large dough, sprinkle the yeast over the milk and allow to dissolve, about five minutes. Add the egg and egg yolk and beat on medium speed for 2 minutes. Add the flour, sugar, and salt and beat on low to combine. Once combined, continue beating for an additional 5 minutes. With the mixer on low, add the butter 1 tablespoon at a time until combined and then beat on medium speed for 3 minutes. If your dough is extremely sticky and doesn’t stretch some away from the wall of the bowl, sprinkle in another 2 tablespoons or so of all-purpose flour. The dough will be loose and wet but should hold its shape decently. Once combined well put the dough into a large, lightly greased bowl and cover with plastic wrap. Allow it to rest for an hour. After an hour, dump the dough out onto a lightly floured surface and divide into two equal-sized pieces. Gently work each piece into a flat square. Place a sheet of parchment or Silpat on a baking sheet and grease it with baking spray. Place both squares of dough on the parchment, cover the sheet with plastic wrap, and allow the dough to rest in the fridge overnight.
- To shape the loaves:
- When the filling is nearly cooled, spray two (8”x4”) loaf pans with cooking spray and line the long sides and bottom with a piece of parchment paper. Combine the jam, zest, and cinnamon in a small bowl. Roll one piece of dough out onto a floured surface into a 13”x16” rectangle. Spread half of the filling in a thin layer over the top of the dough leaving a 1/2 “ border around the perimeter of the dough rectangle. Starting at one of the short ends, roll the dough up tightly and then pinch the end to the roll to seal. Use a sharp knife to cut down the length of the center of the dough log into two pieces. Twist the two pieces around each other into a spiral and then place the wrapped loaf in one of the prepared pans. Repeat the process with the second piece of dough. Cover the pans week and allow the loaves to rise in a warm spot in your kitchen, about 1-1/2- 2 hours.
To prepare the syrup (optional):
- Combine the sugar and water in a small saucepan. Bring to a gently boil over medium heat, stirring occasionally, until the sugar has dissolved. Set aside while you bake your loaves. This can be made and refrigerated in advance as well.
When ready to bake:
- Preheat the oven to 350 degrees. Remove the covers from the pans and place in the preheated oven to bake for about 40 minutes or until the top is golden and the inside registers at 180 degrees F. Remove the loaves from the oven and use a thin skewer or cake tester to poke tiny holes all over the loaves. Pour or brush the syrup over top (optional) or each loaf. Allow to cool slightly in the pan and then continue cooling completely on a cooling rack.
This healthy Southwestern Black Bean, Quinoa and Mango Salad is delicious, a great way to get more vegetables and plant-based foods to your diet.
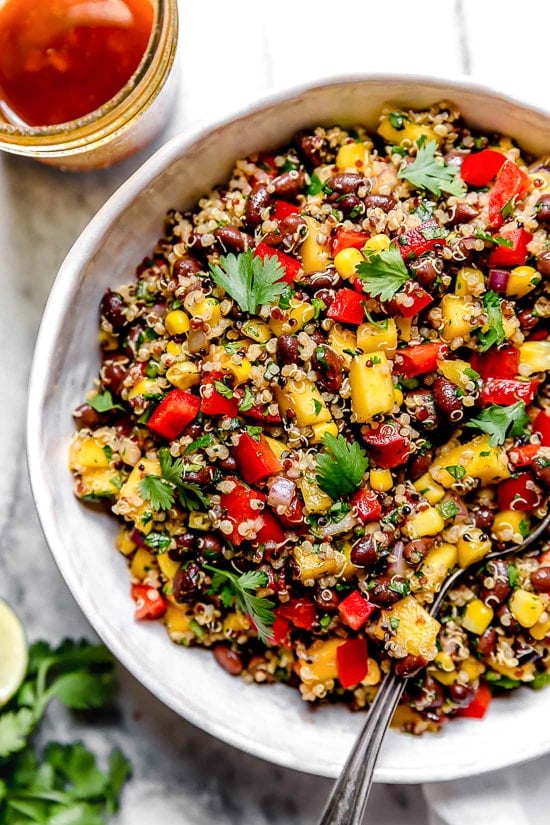
Quinoa, black beans, mango and vegetables with cilantro and lime juice – a delicious combination perfect for lunch or as a side dish. (perfect for Meatless Mondays!) Leftovers are great, the flavors only get better the next day.
The post Southwestern Black Bean, Quinoa and Mango Salad appeared first on Skinnytaste.
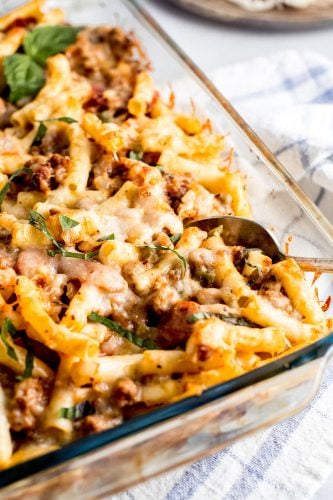
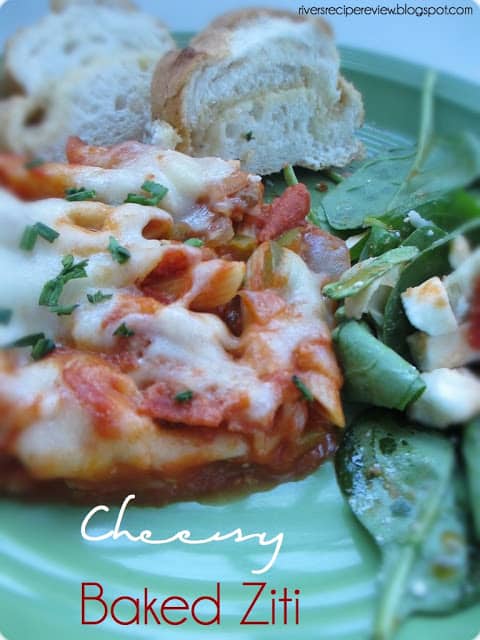
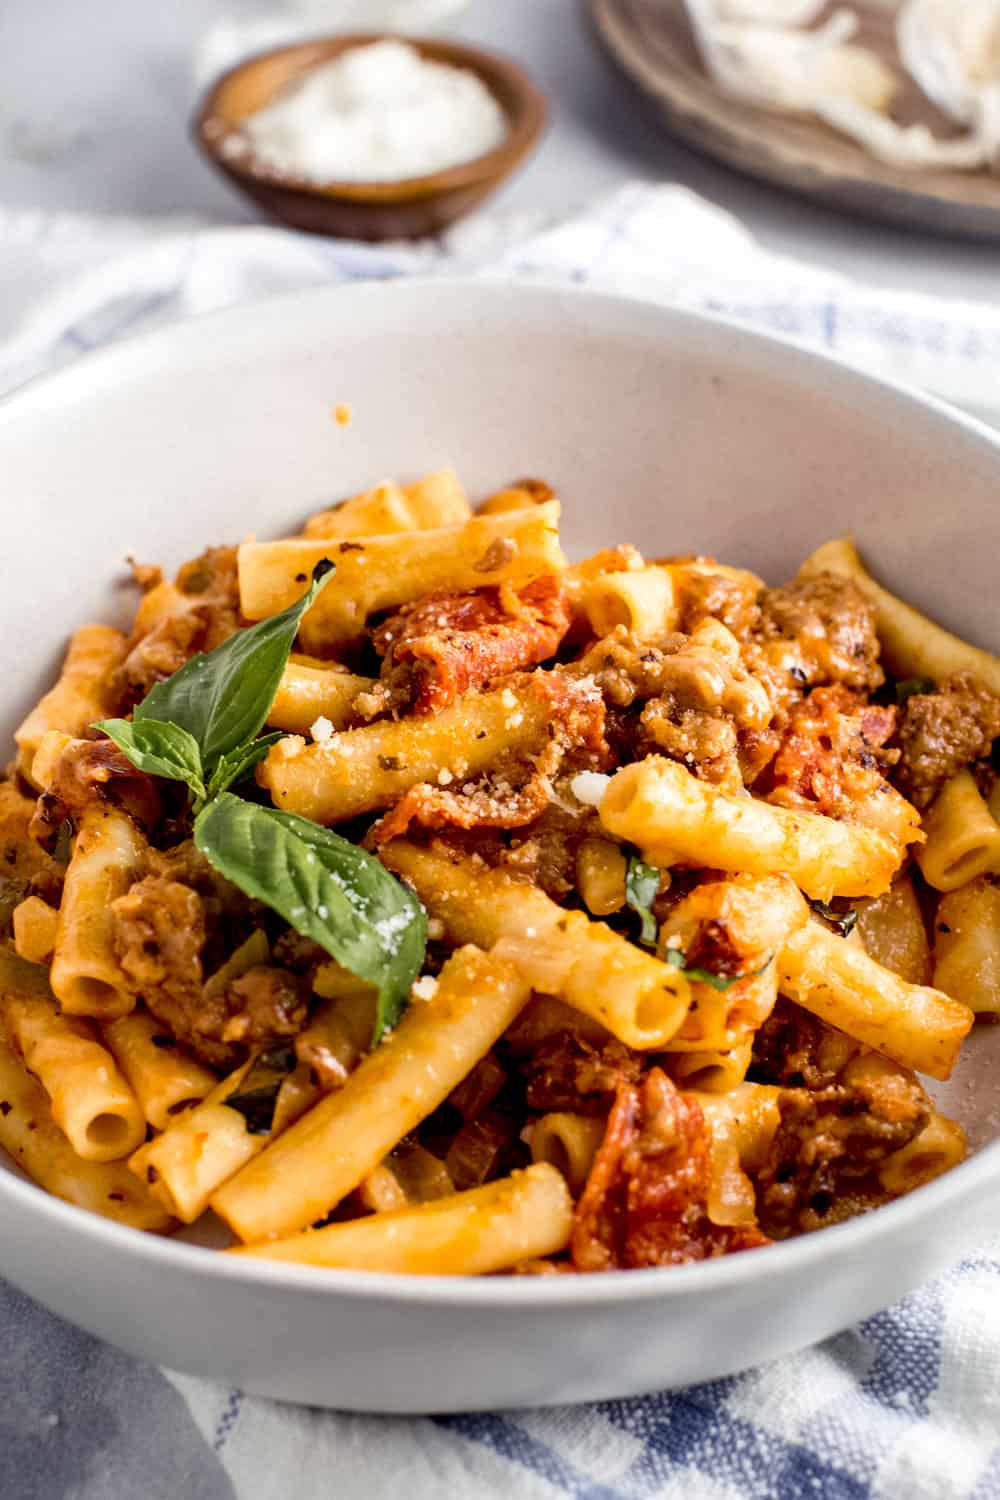
Cheesy Baked Ziti has both sausage and pepperoni for a comforting spice flavor with cooked ziti mixed together in marina sauce layered with mozzarella cheese and baked to perfection! A classic Italian dish!
We love pasta dishes that are comforting and easy to make! Try these Chicken Parmesan Casserole, Pasta Puttanesca with Chicken or Chicken Caprese Pasta Casserole.
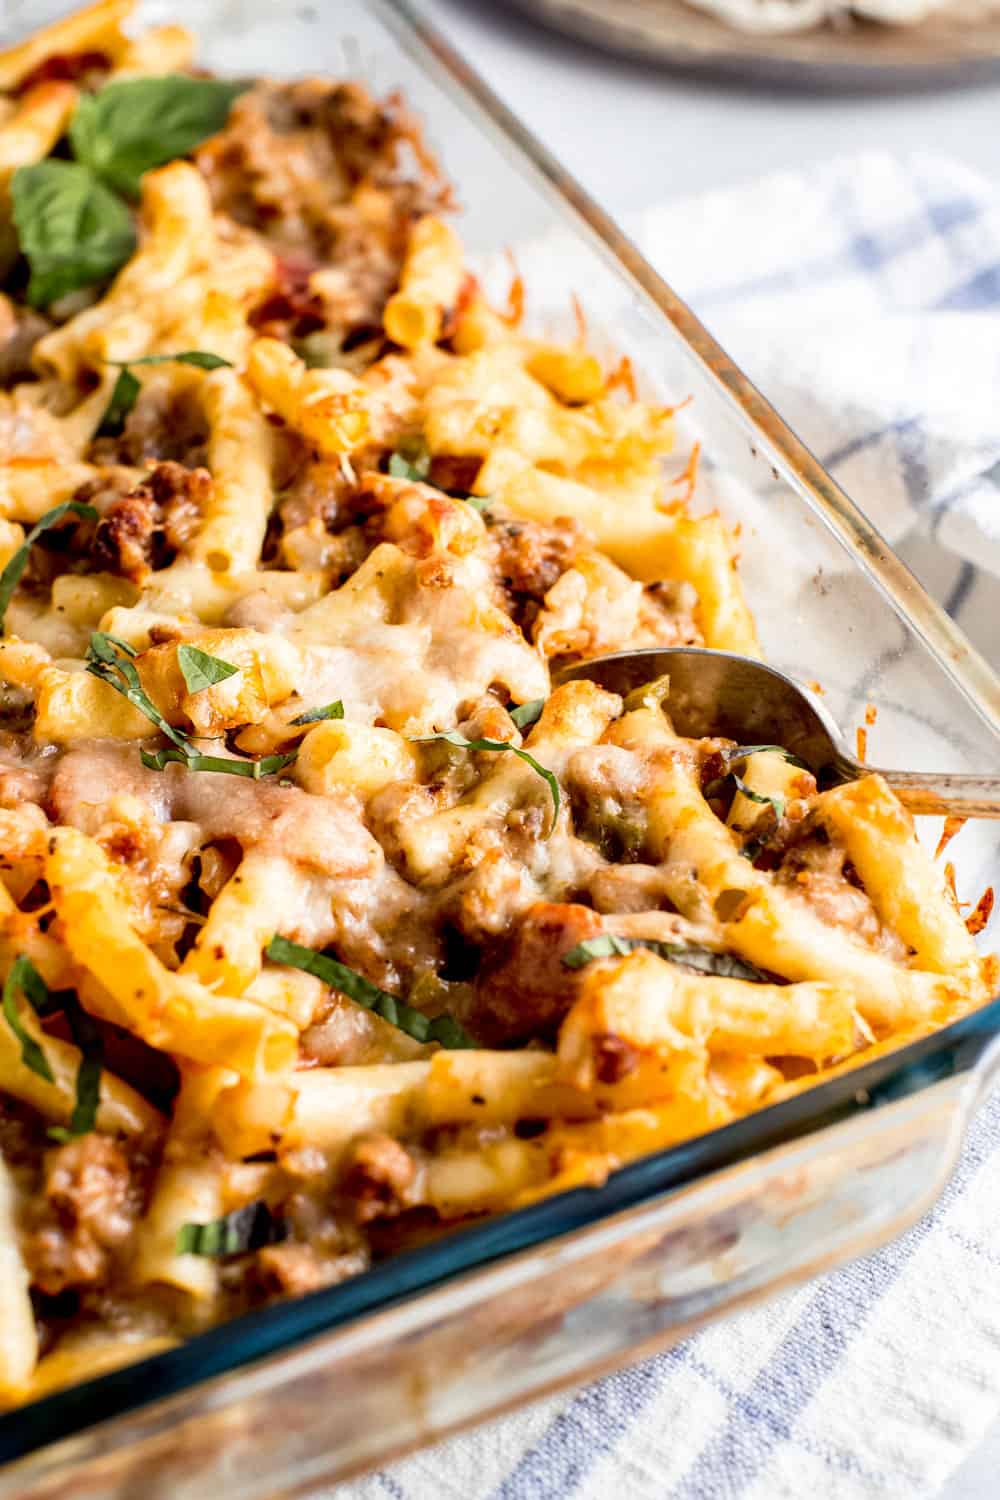
Cheesy Baked Ziti
I decided to switch things up for dinner last night and have an Italian night. This Baked Ziti Recipe has been in the family for years. It is so yummy and cheesy. I like how it has pepperoni and sausage in it, which gives it such a good flavor.
Ingredients for cheesy baked ziti
- Sausage
- Pepperoni
- Onion
- Garlic
- Green Pepper
- Prego Sauce
- Mozzarella Cheese
- Ziti Noodles
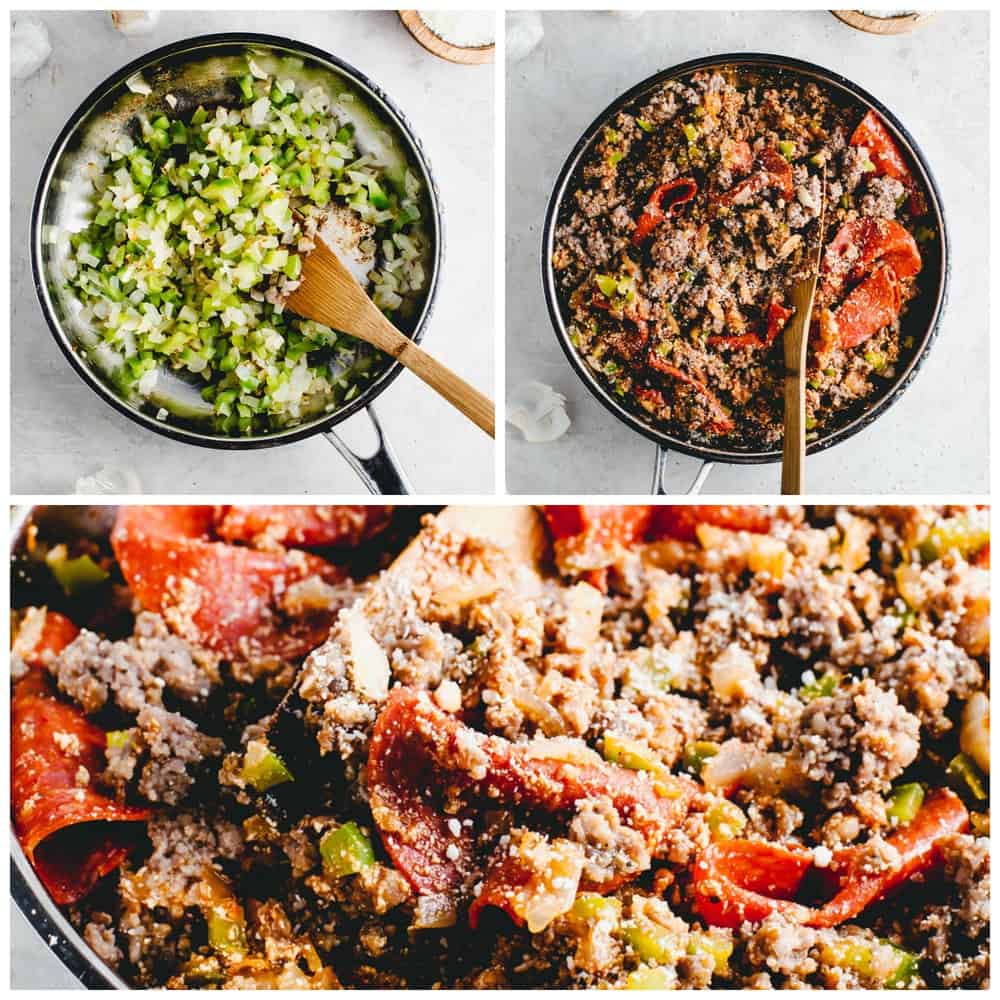
How do you make cheesy baked ziti?
- Brown the sausage and pepperoni together and drain the grease. Cook onion and green pepper and garlic, put with meat.
- Add 1/2 cup grated Parmesan and prego sauce. Cook 2 cups of noodles. Mix everything together, put Pam in 9×13 pan.
- Put half of noodle mixture and sprinkle with 1 cup of cheese.
- Put remaining and top with the rest of the mozzarella.
- Bake for 25 minutes at 375.
What goes with cheesy baked ziti?
We love a complete meal with this. Try one of these salads Italian Avocado Cucumber Tomato Salad or Chilled Cucumber Tomato Salad with breadsticks 20 Minute Italian Bread Twist and dessert No Churn Brownie Batter Ice Cream.
What noodles are best for cheesy baked ziti?
If you don’t have ziti on hand you can use any medium shape in this recipe. You will want to make sure when cooking the pasta that it is a little undercooked for baking purposes.
- Farfalle
- Fusilli
- Penne
- Rigatoni
- Rotini
What meat is best for cheesy baked ziti?
I prefer both sausage and pepperoni for a little spice in our dish. Other variation are just as good with this cheesy baked ziti!
- Chicken
- Ground beef
- Italian Sausage
- Salami
Can you make this cheesy baked ziti meatless?
Yes! If you are looking for a vegetarian cheesy baked ziti just leave out the meat in for this recipe! This is a great dish that doesn’t need the meat. Enjoy it just the way you like it!
What cheese is best for cheesy baked ziti?
- Parmasan
- Provolone
- Ricotta or blend cottage cheese with an egg
How do you store cheesy baked ziti?
It is best to store cheesy baked ziti in an airtight container or resealable plastic bag. This can be refrigerated for 3 to 5 days.
Can this be made ahead?
Yes! This is a great dinner meal to either prepare ahead of time or make ahead.
Prepare ahead without baking: assemble the cheesy baked ziti without baking it and cover with foil or an airtight lid and keep in the refrigerator up to 2 days. When ready to bake, remove foil and follow baking instructions.
Prepare ahead with baking: follow the recipe on the recipe card. When done baking let cool completely. Refrigerate for 3 to 5 days in an airtight container or covered with foil.
Reheat the cheesy baked ziti by loosely covering the casserole dish with foil and cook in oven at 350 degrees Fahrenheit. Bake for about 15 minutes or until ziti is warmed throughout.
Can you freeze cheesy baked ziti?
Yes! We love to make a few at a time and freeze them for school nights.
Freezing cheesy baked ziti: follow the recipe on the recipe card. When done baking let cool completely. Freeze for 1 month in an airtight container or resealable container.
Reheat: Remove from the freezer and place in the refrigerator to thaw over night or place in the preheated oven right away.
Bake the cheesy baked ziti by loosely covering the casserole dish with foil and cook in oven at 350 degrees Fahrenheit. Bake for about 1 hour or until ziti is warmed throughout.
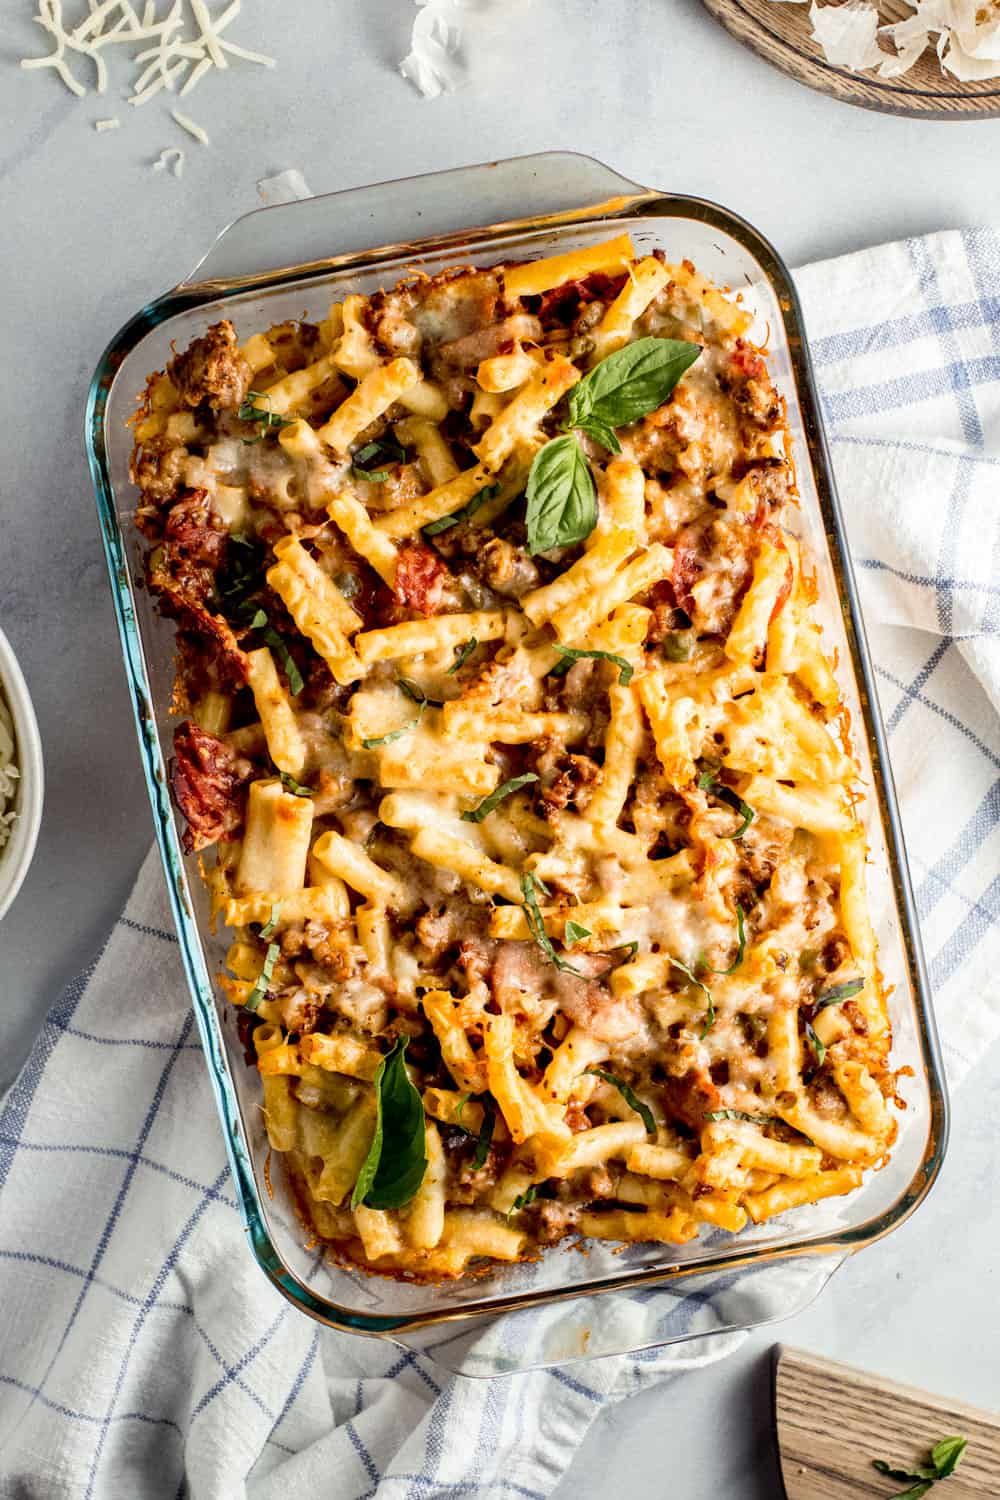
Looking for more Italian dishes?! Here are some faves!
- Italian Orzo and Sausage Skillet
- Creamy Tomato Italian Parmesan Chicken
- Classic Italian Wedding Soup
- Italian Meatball Sliders
- Crispy Chicken with Creamy Italian Sauce
Cheesy Baked Ziti
Cheesy Baked Ziti has both sausage and pepperoni for a comforting spice flavor with cooked ziti mixed together in marina sauce layered with mozzarella cheese and baked to perfection!
- 1 pound sausage
- 3/4 pepperoni
- 1 onion chopped
- 1 clove garlic minced
- 1/4 cup chopped green pepper
- 14 ounces prego sauce
- 2 cups mozzarella cheese (I ball the ball of cheese and shred it)
- 2 cups cooked noodles (You can also use penne for this)
- Brown the sausage and pepperoni together and drain the grease. Cook onion and green pepper and garlic, put with meat.
- Add 1/2 cup grated Parmesan and prego sauce. Cook 2 cups of noodles. Mix everything together, spray a 9×13 pan.
- Put half of noodle mixture and sprinkle with 1 cup of cheese.
- Put remaining and top with the rest of the mozzarella.
- Bake for 25 minutes at 375.
